6
106
Settings
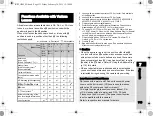
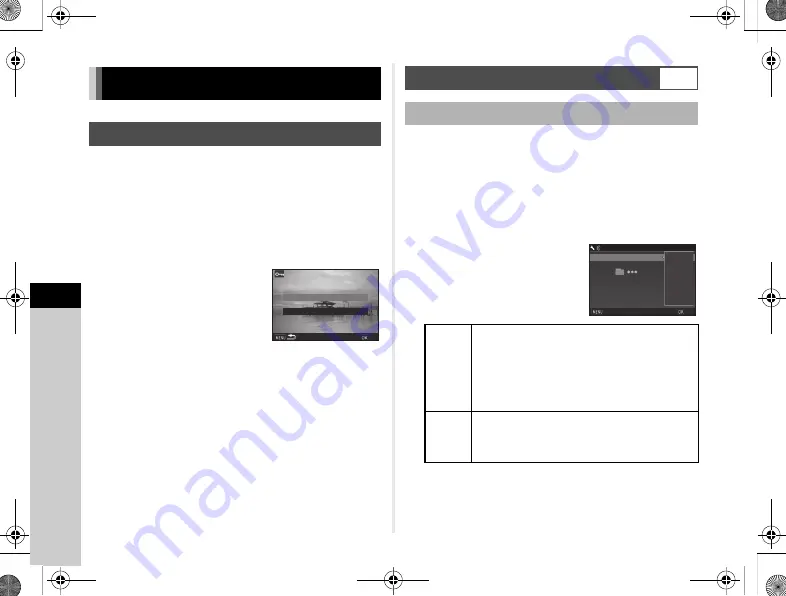
You can protect images from being accidentally deleted.
u
Caution
• Even protected images are deleted if the inserted memory
card is formatted.
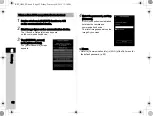
1
Select
f
in the playback mode palette.
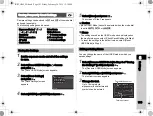
The screen for selecting the unit for processing appears.
2
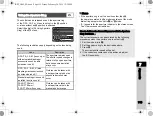
Select [Select image(s)]
or [Select a folder] and
press
E
.
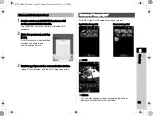
3
Select the image(s) or folder to protect.
Refer to Step 2 of “Deleting Selected Images” (p.78)
for how to select the image(s).
Proceed to Step 5 if [Select a folder] is selected.
4
Press
G
.
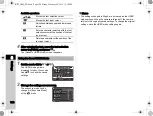
The confirmation screen appears.
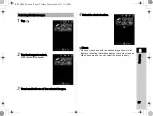
5
Select [Protect] and press
E
.
t
Memo
• To protect all images stored in the memory card, select
[Protect All Images] of the
B
1 menu.
When images are captured with this camera, a folder is
automatically created and the captured images are stored in it.
Each folder name consists of a sequential number from 100
to 999 and a string of 5 characters.
The folder name can be changed.
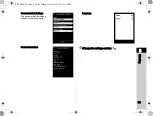
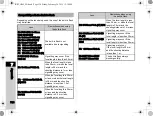
1
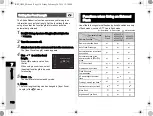
Select [Folder Name] in
D
2 menu and press
D
.
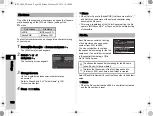
The [Folder Name] screen appears.
2
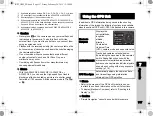
Select a folder name
and press
E
.
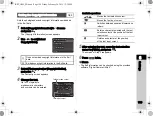
Proceed to Step 6 if you selected [Date] or do not need
to change the character string from “PENTX”.
File Management Settings
Protecting Images from Deletion (Protect)
Select image(s)
Select image(s)
Select a folder
Select a folder
OK
OK
Selecting the Folder/File Settings
D
2
Folder Name
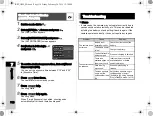
Date
The two digits of the month and day on which
the picture was taken are assigned after
the folder number.
The month and day appear according to the date
format set in [Date Adjustment].
Example) 101_0125: for images taken
on January 25th
PENTX
The character string “PENTX” is assigned after
the folder number.
The character string can be changed arbitrarily.
Example) 101PENTX
_MMDD
_MMDD
PENTX
PENTX
Folder Name
Folder Name
Date
Date
Cancel
Cancel
OK
OK
Folder Name
Folder Name
KS2_OPM_EN.book Page 106 Friday, February 20, 2015 12:10 PM

