3
64
Shooting
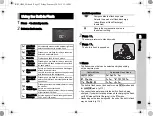
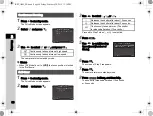
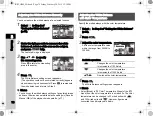
1
Press
D
in standby mode.
The Drive Mode screen appears.
2
Select
q
and press
B
.
3
Use
CD
to select
q
,
r
, or
s
.
Proceed to Step 7 if you do not need to change the shooting
conditions.
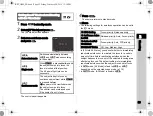
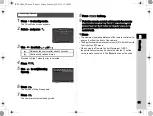
4
Press
G
.
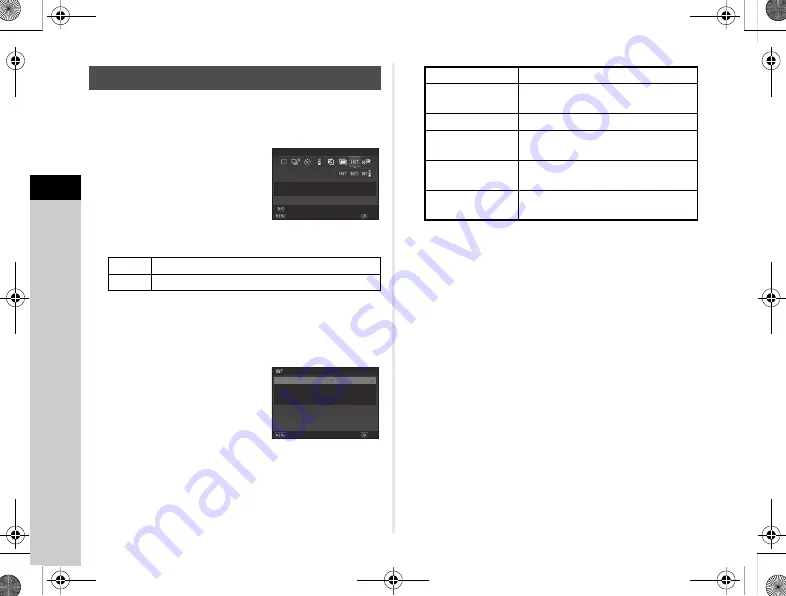
5
Set the shooting conditions.
6
Press
E
.
The screen of Step 2 reappears.
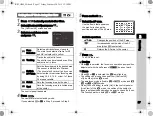
7
Press
E
.
The camera returns to standby mode.
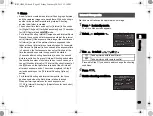
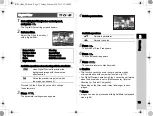
8
Shoot.
When [Start Interval] is set to [Now], the first picture
is taken. When set to [Set Time], shooting starts at the set
time.
To cancel shooting, press
F
in standby mode.
After the specified number of shots are taken, the camera
returns to standby mode in Step 7.
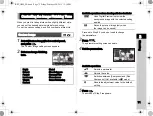
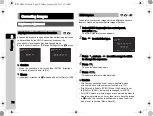
Interval Shooting
r
Takes pictures with the self-timer.
s
Takes pictures with remote control.
0002
0002
00 : 00´02˝
00 : 00´02˝
Interval Shooting
Interval Shooting
Cancel
Cancel
Parameter Adj.
Parameter Adj.
Interval
Interval
Number of Shots
Number of Shots
OK
OK
times
times
00 : 00´02˝
00 : 00´02˝
0002
0002
1 0 : 0 0
1 0 : 0 0 PM
PM
Interval Shooting
Interval Shooting
Interval
Interval
Set Time
Set Time
Start Interval
Start Interval
Start Time
Start Time
Number of Shots
Number of Shots
times
times
Cancel
Cancel
OK
OK
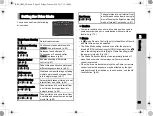
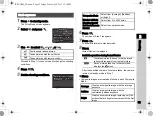
Interval
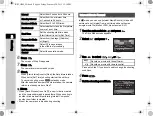
Select from 2 seconds to 24 hours.
Standby Interval
Select from the minimum time
or 1 second to 24 hours.
Number of Shots
Select from 2 to 2000 times.
Start Interval
Select whether to take the first picture
now or at a set time.
Start Time
Set the shooting start time when
[Start Interval] is set to [Set Time].
Self-timer/Remote
Control
Select the operation mode.
KS2_OPM_EN.book Page 64 Friday, February 20, 2015 12:10 PM


