3
68
Shooting
6
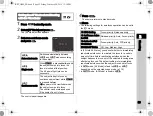
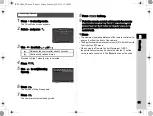
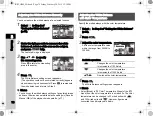
Press
E
.
The screen of Step 2 reappears.
7
Press
E
.
The camera returns to standby mode.
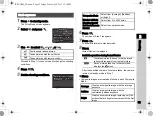
8
Shoot.
When [Start Interval] is set to [Now], the first picture is taken.
When set to [Set Time], shooting starts at the set time.
To cancel shooting, press
F
in standby mode.
After the specified number of shots are taken, the camera
returns to standby mode in Step 7.
u
Caution
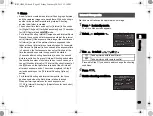
• [Movie SR] is fixed to [Off].
• [Recording Sound Level] is fixed to [Mute].
t
Memo
• The camera operates in
L
mode regardless of the mode dial
setting.
• Mount the camera on a tripod during shooting.
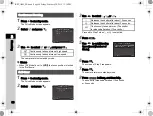
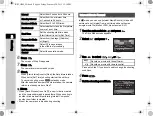
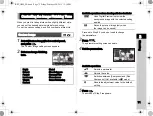
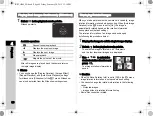
1
Press
B
in standby mode.
The White Balance setting screen appears.
2
Select the desired white
balance setting.
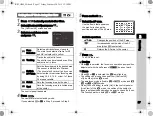
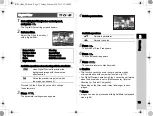
Recorded Pixels
Select from
z
,
u
, or
t
.
Standby Interval
Select from the minimum time
or 1 second to 24 hours.
Number of Shots
Select from 8 to 2000 times.
(When [Recorded Pixels] is set to
z
, select from 8 to 500 times.)
Start Interval
Select whether to take the first picture
now or at a set time.
Start Time
Set the shooting start time when
[Start Interval] is set to [Set Time].
Fade-out
Select the fade-out effect level of light
trails from Off, Low, Medium, or High.
Self-timer/Remote
Control
Select the operation mode.
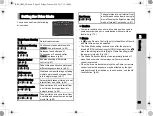
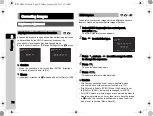
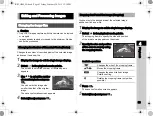
Setting the White Balance
g
Auto White Balance
u
Multi Auto White Balance
h
Daylight
i
Shade
j
Cloudy
k
q
Fluorescent - Daylight Color
r
Fluorescent - Daylight White
s
Fluorescent - Cool White
t
Fluorescent - Warm White
l
Tungsten
m
Flash
n
Color Temperature Enhancement
o
Manual White Balance
p
Color Temperature
WB±
WB±
Auto White Balance
Auto White Balance
Cancel
Cancel
Check
Check
OK
OK
KS2_OPM_EN.book Page 68 Friday, February 20, 2015 12:10 PM


