Printed in Japan Copyright© 1999 - 2001
G520-8610B
○○○○○○○○○○○○○○○○○○○○○○○○○○○○○○○○○○○○○○○○○○○○○○○○○○○○○○○○
○○○○○
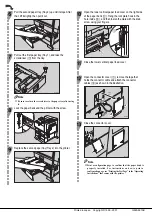
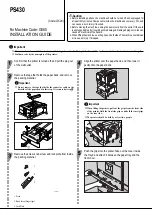
Pull the second paper tray (Tray 2) up until it stops. After
that, lift it slightly, then pull it out.
TAPH210E
Pull out the first paper tray (Tray 1), and take the
screwdriver (
a
) from the tray.
TAPP720E
Note
❒
Be sure to return the screwdriver to the paper tray after using
it.
Lock the paper bank and the printer with the screw.
TAPP031E
Replace the second paper tray (Tray 2) into the printer.
TAPH221E
○○○○○○○○○○○○○○○○○○○○○○○○○○○○○○○○○○○○
○○○○○○○○○○○○○○○○○○○○○○○
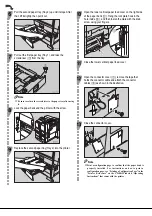
Open the lower vertical paper feed cover on the right side
of the paper bank (
a
). Hang the lock plate hook in the
hole inside (
b
), and then fasten the plate with the knob
screw using your fingers.
TAPP050E
Close the lower vertical paper feed cover.
Open the connector cover (
a
), remove the tape that
holds the connector cable and attach the connector
cables (
b
) as shown in the illustration.
TAPP061E
Close the connector cover.
TAPP070E
Note
❒
Print a configuration page to confirm that the paper bank is
properly installed. For instructions on how to print a
configuration page, see “Printing the Test Page” in the “Operating
Instructions” that comes with the printer .


