58
w
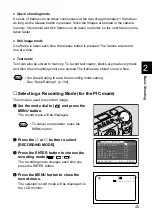
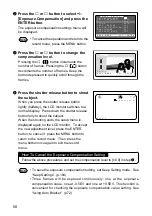
Press the
▼
or
▲
button to /–
[Exposure Compensation] and press the
ENTER button.
The exposure compensation settings menu will
be displayed.
Note
• To cancel the operation and return to the
record menu, press the MENU button.
e
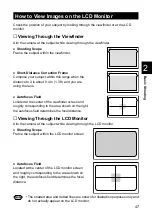
Press the
▼
or
▲
button to change the
compensation level.
Pressing the
▲
(
) button increments the
number of frames. Pressing the
▼
(
) button
decrements the number of frames. Keep the
button depressed to quickly scroll through the
frames.
r
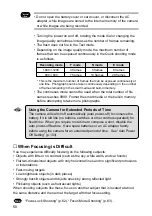
Press the shutter release button to shoot
the subject.
When you press the shutter release button
lightly (halfway), the LCD monitor switches to a
normal display. Press down the shutter release
button fully to shoot the subject.
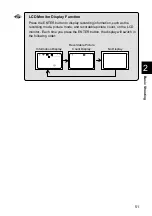
When the shooting ends, the setup menu is
displayed again on the LCD monitor. To accept
the new adjustment level, press the ENTER
button; to cancel it, press the MENU button to
return to the record menu. Then, press the
menu button once again to exit the record
menu.
Note
• To save the exposure compensation setting, set Keep Setting mode. See
“Keep Settings”. (p.104)
• Three frames will be exposed continuously: one at the exposure
compensation value, one at -0.5EV and one at +0.5EV. This function is
convenient for checking the exposure compensation value setting. See
“Using Auto Bracket”. (p.72)
1 2
1 8 0 0 x 1 2 0 0 N
E V + 0 . 5
How To Cancel the Exposure Compensation Setting
Follow the above procedures and set the compensation level to [±0.0] in step
e
.
M E N U [ R E C O R D ]
R E C O R D I N G M O D E :
W H I T E B A L A N C E : A U T O
+ / – : O F F
F O C U S : A U T O
D A T E I M P R I N T : O F F
R E D E Y E R E D U C T I O N : O F F
M O N O C H R O M E : O F F
I N T E R V A L M O D E : O F F
B A C K : M E N U S E L . : E N T E R
+ / –
+ 2 . 0
– 2 . 0
E V + 0 . 0
B A C K : M E N U S E L . : E N T E R


