Removing Printing Jams
• Jammed paper may be covered in toner. Be careful not to get toner on your hands or clothes.
• Toner on prints made immediately after clearing a paper jam may be insufficiently fused and can
smudge. Make test prints until smudges no longer appear.
• Do not forcefully remove jammed paper, as it may tear. Torn pieces remaining inside the machine
will cause further jams and possibly damage the machine.
• Paper jams can cause pages to be lost. Check your print job for missing pages and reprint any
pages that did not print out.
Removing Jammed Paper from Tray 1
1.
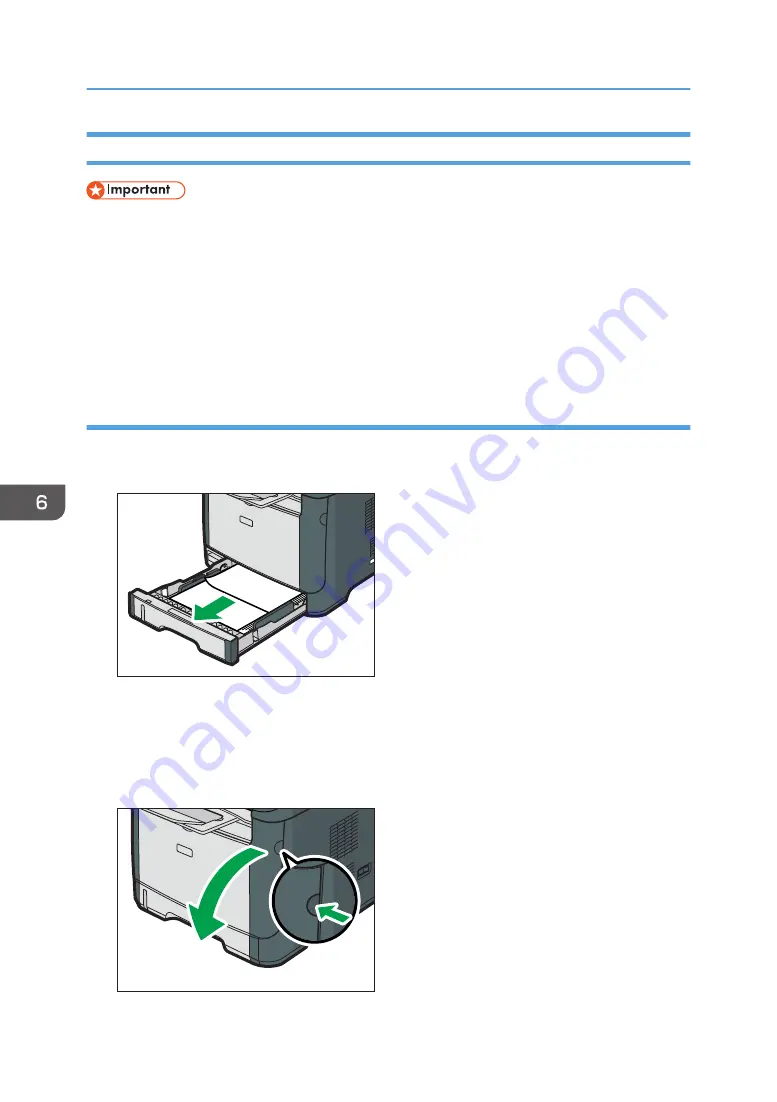
Pull tray 1 halfway out, and check for jammed paper. If there is jammed paper, remove it
carefully.
CVW022
2.
Carefully slide tray 1 back in until it stops.
3.
If paper is loaded in the bypass tray, remove the paper.
4.
Close the bypass tray.
5.
Push the side button to open the front cover, and then carefully lower it.
CVW023
6. Troubleshooting
76
Summary of Contents for SP 310 DN
Page 2: ......
Page 6: ...Trademarks 110 INDEX 113 4...
Page 14: ...12...
Page 26: ...1 Guide to the Machine 24...
Page 40: ...11 Click Close 2 Loading Paper 38...
Page 48: ...3 Printing Documents 46...
Page 74: ...5 Maintaining the Machine 72...
Page 94: ...6 Troubleshooting 92...
Page 107: ...USB 2 0 Wi Fi Printer language PCL6c Fonts 80 fonts Specifications of the Machine 105...
Page 114: ...7 Appendix 112...
Page 117: ...MEMO 115...
Page 118: ...MEMO 116 GB GB EN US EN AU M174 8600...
Page 119: ...2013...
Page 120: ...M174 8600 AU EN US EN GB EN...


