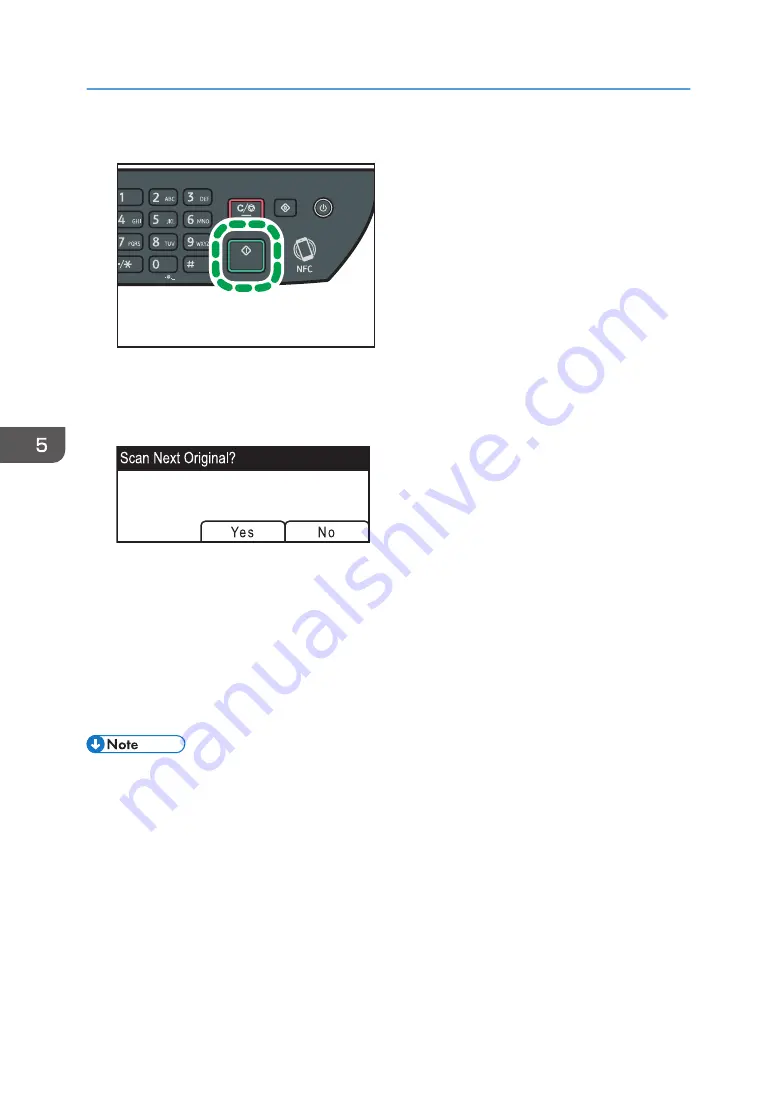
3.
Press the [Start] key.
DSG133
4.
Select the file format from [TIFF] or [PDF] by pressing the corresponding selection key.
If the [Limitless Scan] setting under [Scan Settings] is enabled, you may see the following screen on
the display when scanning from the exposure glass.
If you see this screen, proceed to the next step.
5.
If you have more originals to scan, place the next original on the exposure glass, and
then press [Yes]. Repeat this step until all originals are scanned.
6.
When all originals have been scanned, press [No] to start sending the scanned file.
7.
Wait until "Completed the Process" is displayed on the screen.
Scanned files are saved in the root directory of the USB flash memory device.
8.
Remove the USB flash memory device from the machine.
• To cancel scanning, press the [Scanner] key, and then press the [Clear/Stop] key. The scan files
are discarded.
5. Scanning Originals
122
Summary of Contents for SP 320SFN
Page 2: ......
Page 14: ...Smart Organizing Monitor 1 Click Help on the Printer Configuration screen DSG253 12 ...
Page 18: ...16 ...
Page 36: ...1 Guide to the Machine 34 ...
Page 81: ...2 Press the Clear Stop key DSG129 Basic Operation of Copying 79 ...
Page 136: ...5 Scanning Originals 134 ...
Page 138: ...DSG273 6 Sending and Receiving a Fax 136 ...
Page 222: ...7 Configuring the Machine Using the Control Panel 220 ...
Page 293: ...DSG187 5 Lower the ADF Clearing Misfeeds 291 ...
Page 320: ...11 Configuring Network Settings Using OS X 318 ...
Page 376: ...MEMO 374 ...
Page 377: ...MEMO 375 ...
Page 378: ...MEMO 376 EN GB EN US EN AU M289 8616A ...
Page 379: ... 2016 ...
Page 380: ...M289 8616A AU EN US EN GB EN ...


