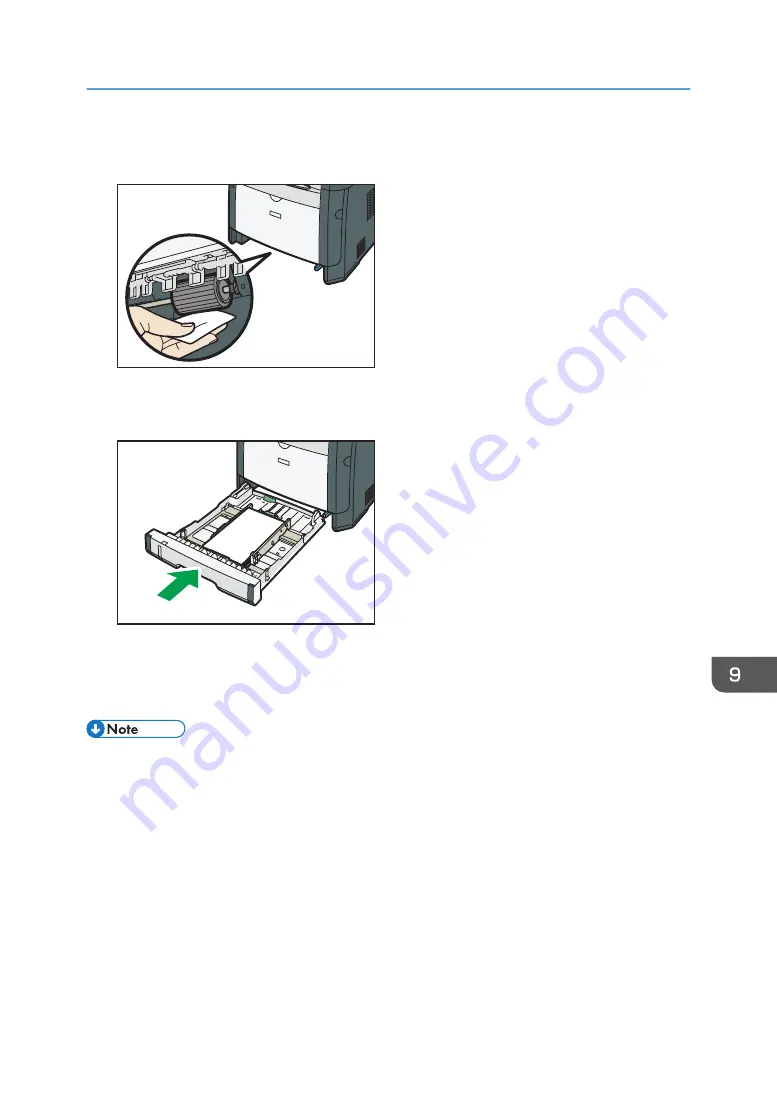
5.
Wipe the rubber part of the roller with a soft damp cloth. After that, wipe it with a dry
cloth to remove the moisture.
DSG173
6.
Reload the removed paper into the tray, and then push the tray carefully into the machine
until it clicks into place.
DSG174
7.
Insert the plug of the power cord into the wall socket securely. Connect all the interface
cables that were removed.
8.
Turn on the power.
• If jams or multi-sheet feeds occur after cleaning the friction pad, contact your sales or service
representative.
Cleaning the Friction Pad and Paper Feed Roller
265
Summary of Contents for SP 320SFN
Page 2: ......
Page 14: ...Smart Organizing Monitor 1 Click Help on the Printer Configuration screen DSG253 12 ...
Page 18: ...16 ...
Page 36: ...1 Guide to the Machine 34 ...
Page 81: ...2 Press the Clear Stop key DSG129 Basic Operation of Copying 79 ...
Page 136: ...5 Scanning Originals 134 ...
Page 138: ...DSG273 6 Sending and Receiving a Fax 136 ...
Page 222: ...7 Configuring the Machine Using the Control Panel 220 ...
Page 293: ...DSG187 5 Lower the ADF Clearing Misfeeds 291 ...
Page 320: ...11 Configuring Network Settings Using OS X 318 ...
Page 376: ...MEMO 374 ...
Page 377: ...MEMO 375 ...
Page 378: ...MEMO 376 EN GB EN US EN AU M289 8616A ...
Page 379: ... 2016 ...
Page 380: ...M289 8616A AU EN US EN GB EN ...


