7.
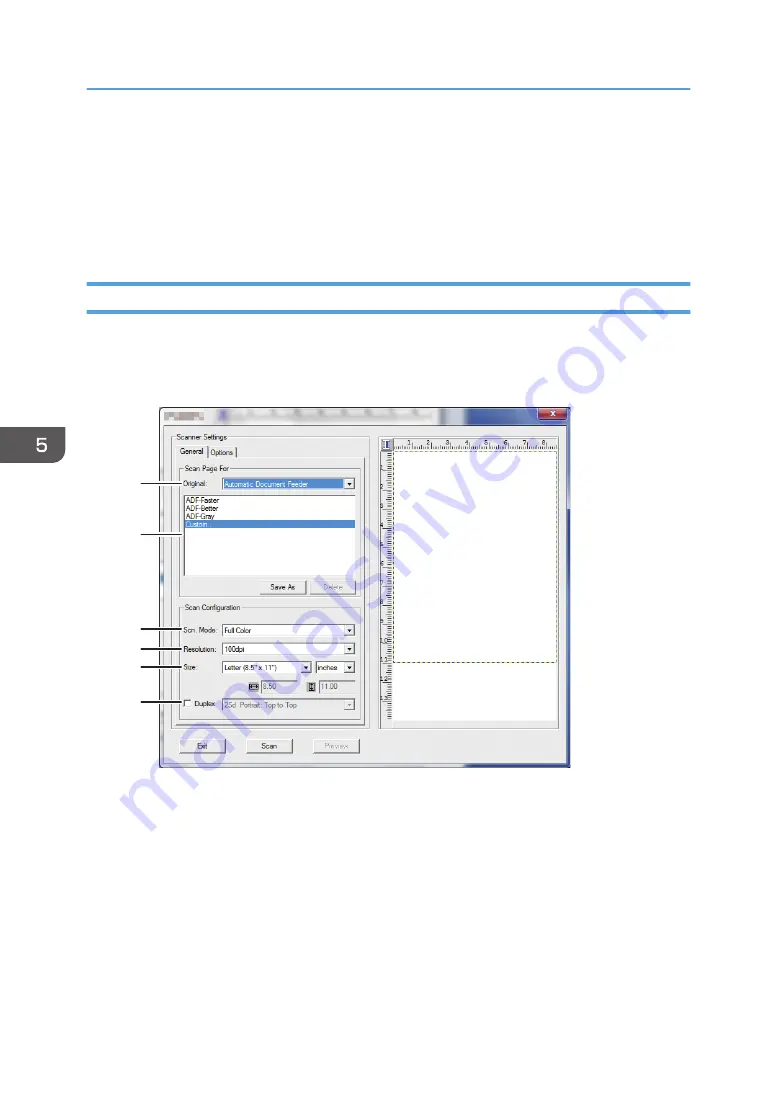
On the [General] tab, specify settings according to the types of originals and scanning,
and the orientation of the original.
8.
On the [Options] tab, specify the file format and the directory to save the file.
9.
Click [Scan].
10.
After all originals are scanned, click [Exit].
Scanner Settings You Can Configure for Smart Organizing Monitor
The following explains the setting options you can configure when Smart Organizing Monitor is used for
scanning.
[General] tab
DSG280
1
2
3
4
5
6
1. Original: (only SP 320SFN, SP 377SNwX, and SP 377SFNwX)
Select [Exposure Glass] to scan from the exposure glass or [Automatic Document Feeder] to scan from
the ADF.
2. Original type
According to your original, select a setting from the list of options detailed below, or select [Custom...] to
configure your own scan settings. [Scn. Mode], [Resolution], and [Size] under [Scan Configuration] will
change according to the original type setting you selected here.
• When using the exposure glass:
[Editing Text (OCR)]
[Faxing, Filing, or Copying]
5. Scanning Originals
124
Summary of Contents for SP 320SFN
Page 2: ......
Page 14: ...Smart Organizing Monitor 1 Click Help on the Printer Configuration screen DSG253 12 ...
Page 18: ...16 ...
Page 36: ...1 Guide to the Machine 34 ...
Page 81: ...2 Press the Clear Stop key DSG129 Basic Operation of Copying 79 ...
Page 136: ...5 Scanning Originals 134 ...
Page 138: ...DSG273 6 Sending and Receiving a Fax 136 ...
Page 222: ...7 Configuring the Machine Using the Control Panel 220 ...
Page 293: ...DSG187 5 Lower the ADF Clearing Misfeeds 291 ...
Page 320: ...11 Configuring Network Settings Using OS X 318 ...
Page 376: ...MEMO 374 ...
Page 377: ...MEMO 375 ...
Page 378: ...MEMO 376 EN GB EN US EN AU M289 8616A ...
Page 379: ... 2016 ...
Page 380: ...M289 8616A AU EN US EN GB EN ...


