T
echnical
B
ulletin
PAGE: 44/58
Model:
Taurus-C1 / P1
Date:
21-Oct-11
No.:
RD074026
to [Special Mode] or set SP2-225-12 to 15 to "1:
ON".
No Replace the drum unit. ( p.553)
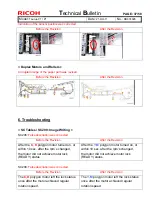
< Troubleshooting for Image Quality Problems \ Color Loss \ White Spots >
The description “Before Action” was deleted.
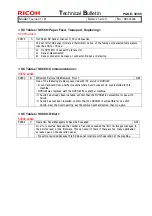
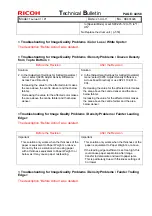
< Troubleshooting for Image Quality Problems \ Density Problems \ Uneven Density
from Top to Bottom >
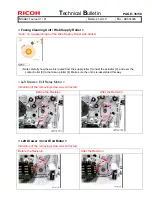
Before the Revision
After the Revision
Solution:
2. In the [Adjustment Settings for Skilled Operators]
menu, select [0205: Adjust Density Difference
Across Feed Direction].
Increasing the value for the affected color makes
the area above the centre denser and that below
fainter.
Decreasing the value for the affected color makes
the area above the centre fainter and that below
denser.
Solution:
2. In the [Adjustment Settings for Skilled Operators]
menu, select [0205: Adjust Density Difference
Across Feed Direction] or use SP2-113-001 to
004.
Decreasing the value for the affected color makes
the area above the centre denser and the area
below fainter.
Increasing the value for the affected color makes
the area above the centre fainter and the area
below denser.
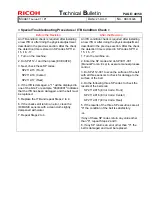
<Troubleshooting for Image Quality Problems \ Density Problems \ Fainter Leading
Edge>
The description “Before Action” was deleted.
Before the Revision
After the Revision
Important
•
This solution only works when the thickness of the
paper is equivalent to Paper Weight 4 or above.
Do not try this as a solution when using paper
with a thickness equivalent to Paper Weight 3 or
below, as it may cause paper misfeeding.
Important
•
This solution only works when the thickness of the
paper is equivalent to Paper Weight 4 or above.
•
If the leading edge coefficient is set too high, this
could cause paper separation after image
transfer to deteriorate and lead to paper jams.
This is particularly true with thickness settings of
3 or lower.
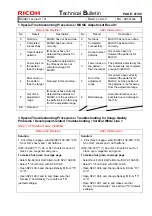
< Troubleshooting for Image Quality Problems \ Density Problems \ Fainter Trailing
Edge >
The description “Before Action” was deleted.


