Ricoma Quick Start Guide
20
4.1 Make sure the printing size is the same as the original size of your design in the cutting software.
4.2 You can see the size of your design when you save it as an image. Printing size should be the same on all
computers.
4.3 If the printing size does not fit within the second marks on the plotter, it will not always scan properly.
4.4 If the contour still shifts after you have gone through the steps above, check “How to calibrate camera
contour” in example 5 below.
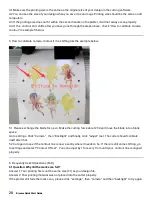
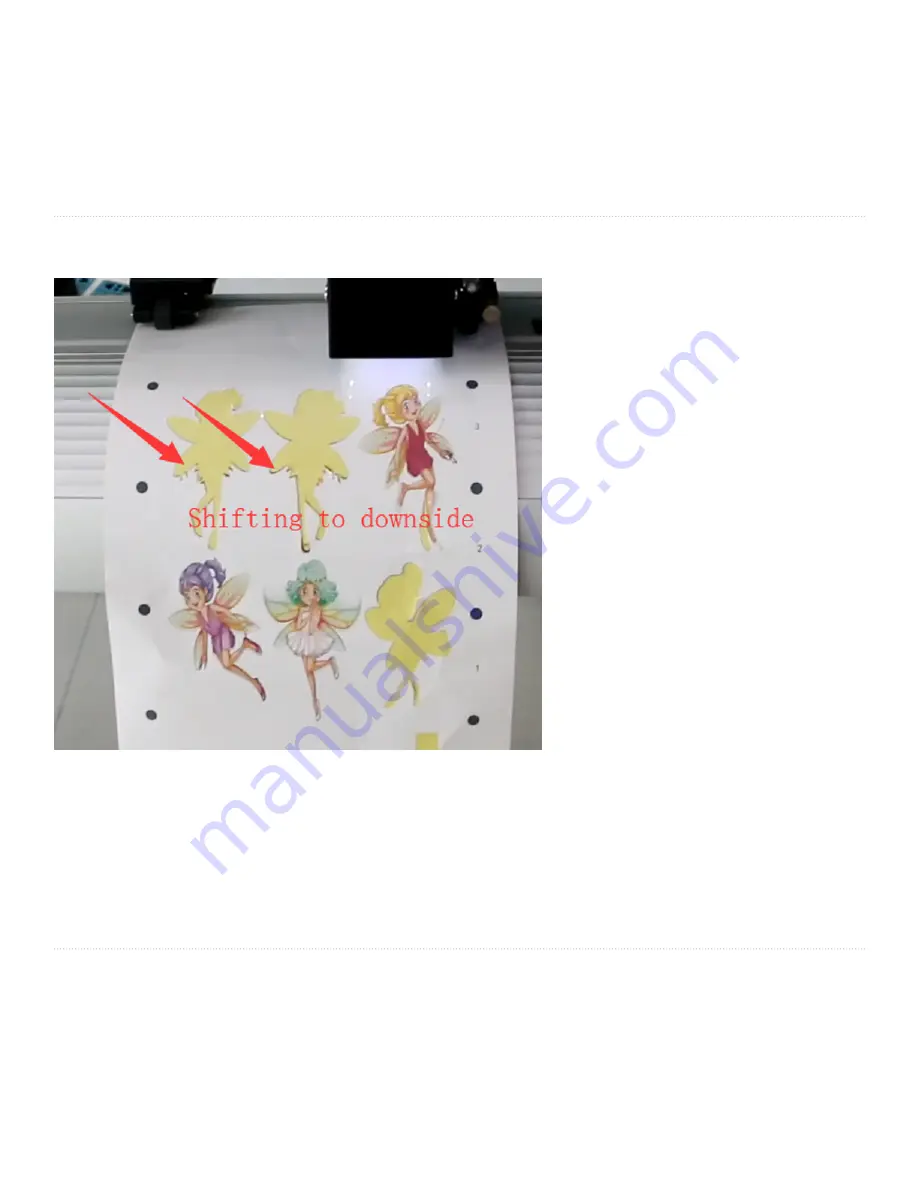
5. How to calibrate camera contour if it is shifting like the example below:
5.1 Please exchange the blade for a pen. Make the cutting force about 200 and move the blade into a blank
space.
Go to settings. Click “Camera”, then “Backlight” and finally, click “adjust” last. The cutter should calibrate
itself after that.
5.2 Cut again to see if the contour line is now exactly where it needs to be. If there is still some shifting, go
to settings and select “Contour Offset”. You can adjust by 1 for every 1mm until your contour line is aligned
properly.
6. Frequently Asked Questions (FAQ)
6.1 Question: Why did the mark scan fail?
Answer 1: Your printing file is not the same size (1:1) as your design file.
Answer 2: Your printing material was not placed into the cutter properly.
If the plotter still fails the mark scan, please click “settings”, then “camera” and then “backlight” to try again.


