K-75A/B, K-1500A/B, & K-1500SP Drain Cleaning Machines
Kollmann
Ridge Tool Company • Elyria, Ohio • U.S.A.
7
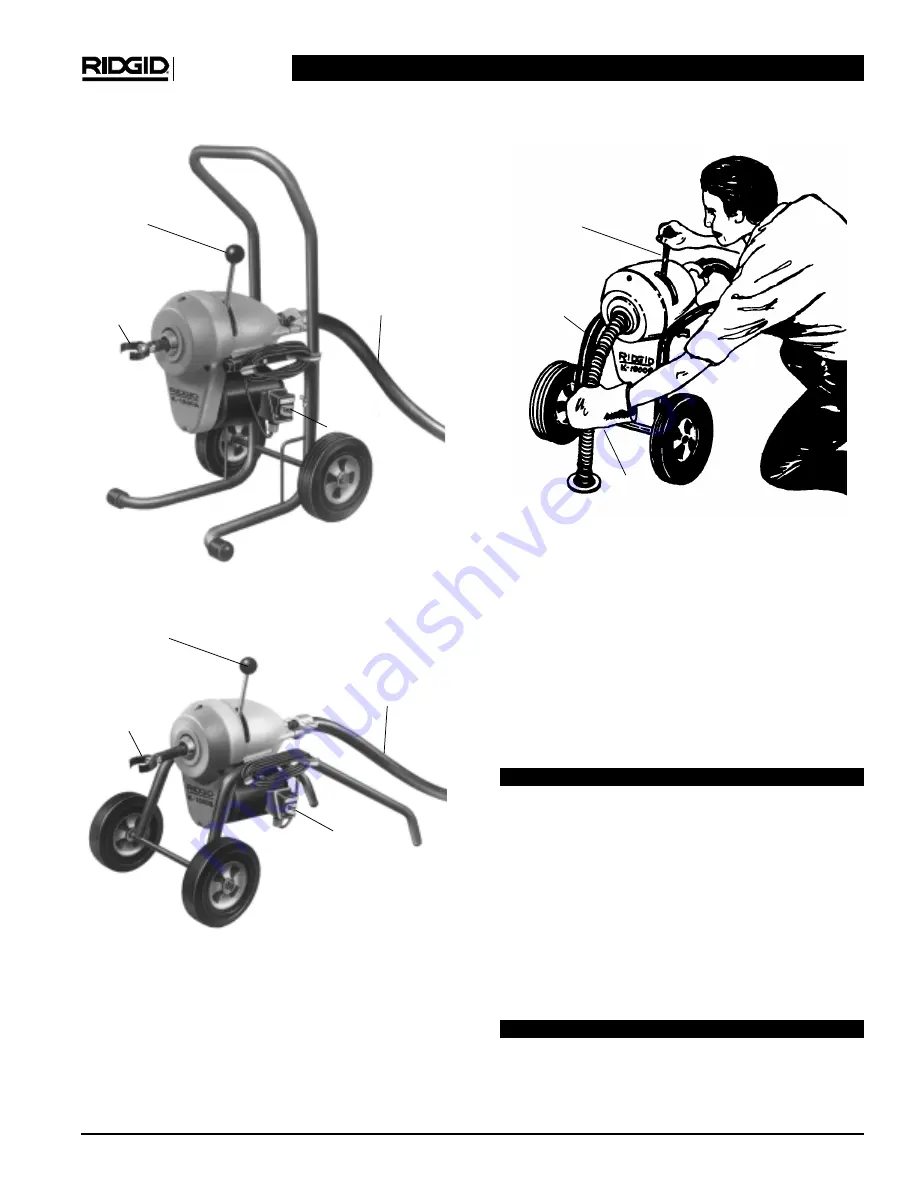
Figure 5 – K-75A and K-1500A Drain Cleaning Machines
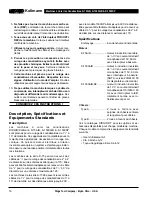
Figure 6 – K-75B, K-1500B and K-1500SP Drain Cleaning
Machines
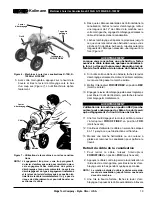
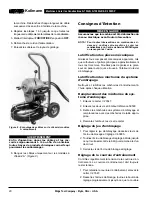
5. With mittened hand, push down on top of loop and pull
clutch handle downward with a definite snap (Figure
7). The tool will easily pass through trap.
Figure 7 – Operating Drain Cleaning Machine
NOTE! A slow or gradual engaging of clutch results in a
weak grip of clutch driver jaws and causes exces-
sive wear. The clutch is instant acting and returning
clutch handle to its original position frees cable in-
stantly. There is no overrun to loop or break cable.
6. As soon as excess cable has gone into line, release
clutch handle and pull 12
″
of cable out of machine with
left hand, engage clutch and allow cable to feed into
drain.
7. Release clutch and repeat process until obstruction or
cable end is reached. Add additional cable(s) as
needed one at a time. (Figure 7)
CAUTION
When obstruction is reached, advance cable inches
at a time. At this point, progress depends upon
sharpness of tool and nature of obstruction.
8. If tool gets hung up in obstruction, release clutch
handle and let motor come to a complete stop before
reversing.
9. Place FOR/OFF/REV Switch in REV (reverse) po-
sition.
10. Engage clutch handle only until tool is free of ob-
struction. Release clutch handle immediately.
CAUTION
Operating machine in REV (reverse) position can
cause cable damage and is used only to back tool
out of an obstruction.
Clutch
Handle
Tool
FOR/OFF/REV
Switch
Guide
Hose
Clutch
Handle
Guide
Hose
FOR/OFF/REV
Switch
Tool
Clutch
Handle
Cable
Mitten


