tightening of the handle decreases cutter wheel life
and increases the size of the burrs formed during cut-
ting. Do not support the pipe by hand. Let the piece
being cut off be supported by the threading machine
carriage and pipe stand.
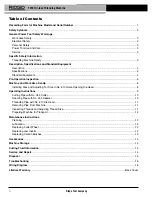
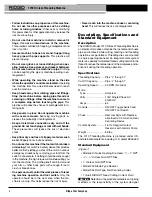
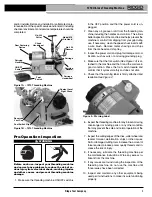
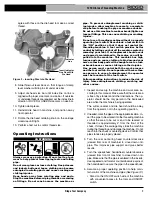
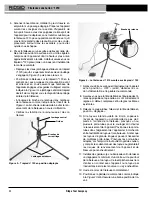
Figure 11 – Cutting Pipe with No. 354 Cutter
7. Release the foot switch and remove foot.
8. Move the ON/OFF switch to the OFF position.
9. Raise the cutter into the position away from the op-
erator.
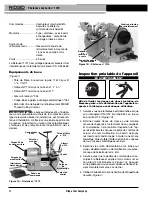
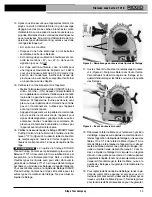
Reaming Pipe with No. 334 Reamer
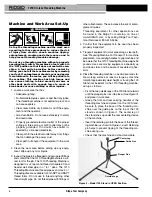
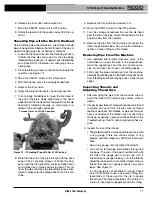
1. Rotate the reamer into the reaming position. Make
sure that it is securely in position to prevent it from
moving during use.
2. Move the ON/OFF switch to the ON position.
3. With both hands, grasp the carriage handwheel.
4. Depress the foot switch.
5. Turn carriage handwheel to move the reamer to the
end of the pipe. Apply slight pressure to the hand-
wheel to feed the reamer into the pipe to remove
the burr as desired.
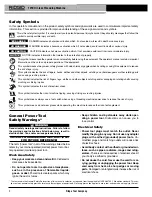
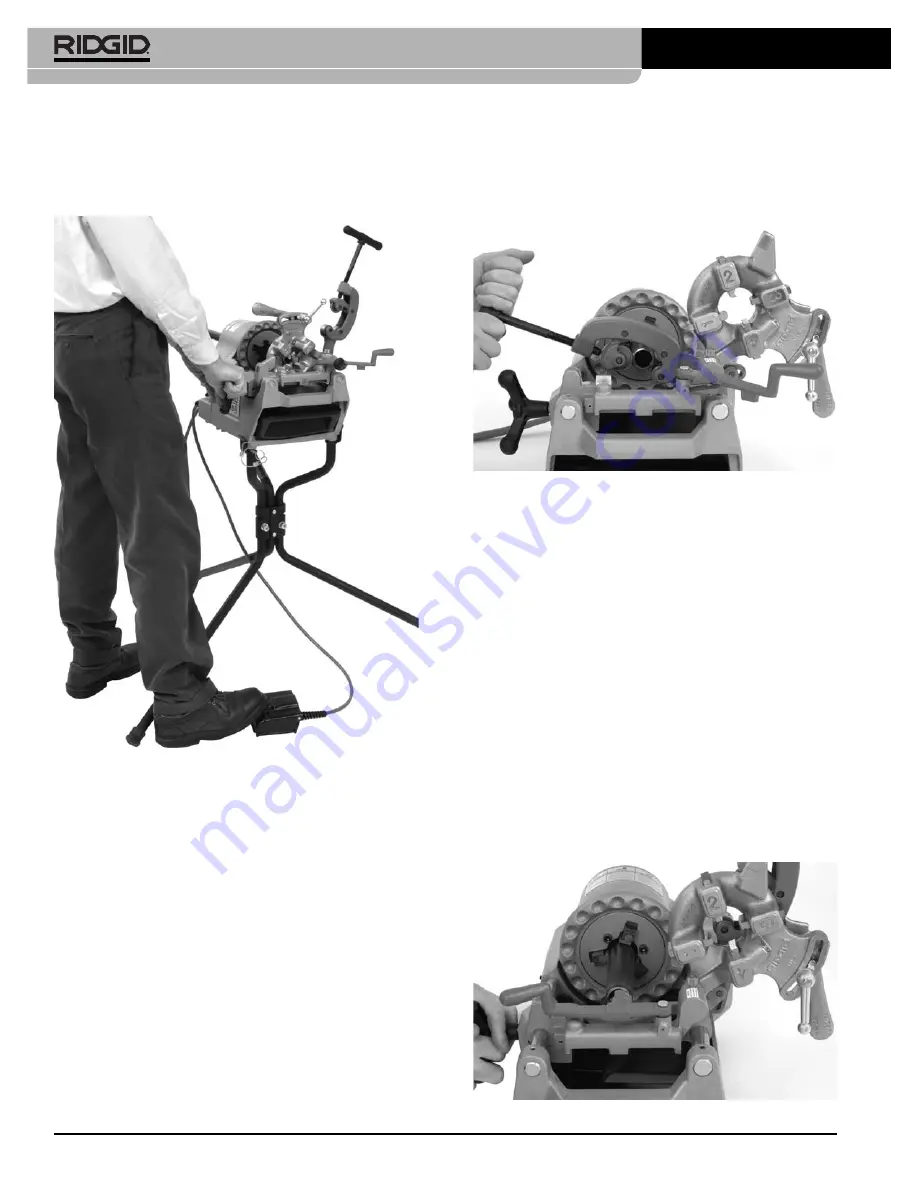
Figure 12 – Reaming Pipe with No. 334 Reamer
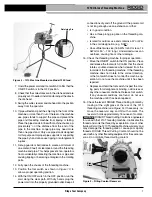
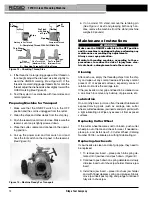
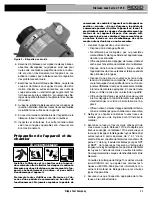
• Be sure that you can control the foot switch. Do
not step on foot switch yet.
• Be sure that you have good balance and do not
have to over reach.
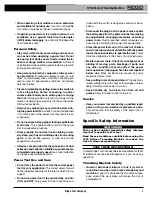
Figure 10 – Operator in a proper operating position
Cutting Pipe with No. 354 Cutter
1. Open cutter by turning feedscrew counter-clockwise.
Lower cutter into the cutting position over the pipe.
Use the carriage handwheel to move the cutter over
the area to be cut, and align the cutter wheel with the
mark on the pipe. Cutting threaded or damaged sec-
tions of pipe can damage the cutter wheel.
2. Tighten the cutter feedscrew handle to bring the cut-
ter wheel firmly in contact with the pipe while keeping
the cutter wheel aligned with the mark on the pipe.
3. Move the ON/OFF switch to the ON position.
4. With both hands, grasp the pipe cutter feed handle.
5. Depress the foot switch.
6. Tighten the feed screw handle one half turn per ro-
tation of the pipe until the pipe is cut. More aggressive
Ridge Tool Company
10
1210 Oil-less Threading Machine


