2814
10
GB
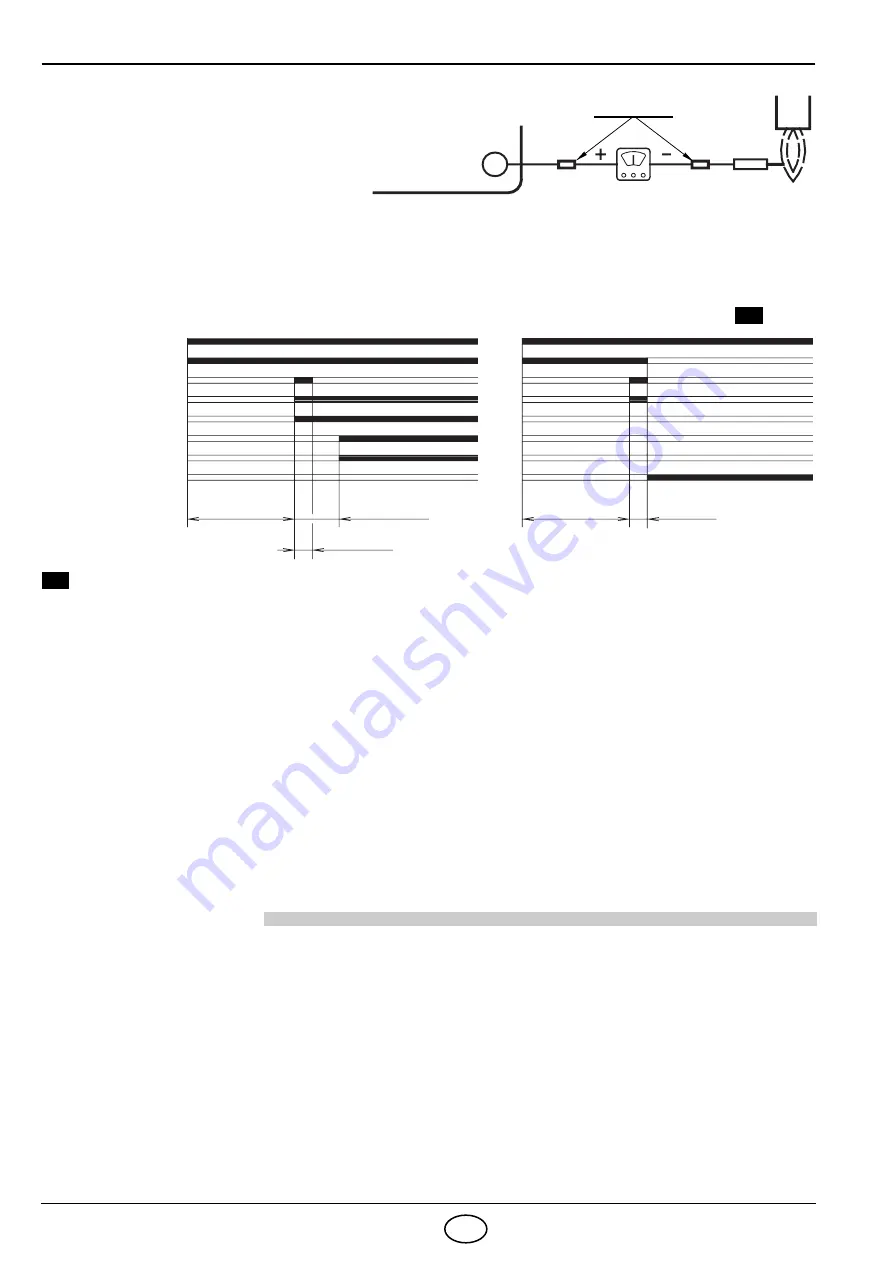
IONIZATION CURRENT
The minimum current necessary for the
control box operation is 5 µA.
The burner normally supplies a higher cur-
rent value, so that no check is needed.
Anyway, if you want to measure the ioni-
zation current, you have to open the con-
nector (CN1) (see electrical scheme page 6) fitted on the wire and insert a microammeter, (see fig. 10).
4.5
BURNER START-UP CYCLE
Lock-out is indicated by a lamp on the control box (4, fig. 1, page 1).
When the flame-failure occurs during working, shut down takes place within one second.
4.6
AIR PRESSURE SWITCH
Adjust the air pressure switch after having performed all other burner adjustments with the air pressure
switch set to the start of the scale.
With the burner operating at the required power, slowly turn knob clockwise until burner locks out.
Then turn the knob anti-clockwise by about 20% of the set point and subsequently check to see if burner
has started correctly. If the burner locks out again, turn the knob anti-clockwise a little bit more.
The burner leaves the factory with the pressure switch set at the beginning of the scale.
Attention:
As a rule, the air pressure switch must prevent the air pressure from lowering below 80 % of the adjustment
value as well as preventing the CO in the fumes from exceeding 1% (10,000 ppm).
To check this, insert a combustion analyser into the chimney, slowly close the fan suction inlet
(for example
with cardboard)
and check that the burner locks out, before the CO in the fumes exceeds 1 %.
5.
MAINTENANCE
The burner requires periodic maintenance carried out by a qualified and authorised technician in conform-
ity with legislation and local standards
.
Maintenance is essential for the reliability of the burner, avoiding the excessive consumption of fuel and
consequent pollution.
Before carrying out any cleaning or control always first switch off the electrical supply to the
burner acting on the main switch of the system.
THE BASIC CHECKS ARE:
Leave the burner working without interruption for 10 min., checking the right settings of all the components
stated in this manual. Then carry out a combustion check verifying:
●
CO
2
( %) content
●
Smoke temperature at the chimney
●
CO content (ppm).
Probe
Connector
Terminal block
of control-box
D5006
Fig. 10
Thermostat
Motor
Ignition transformer
First valve
First flame
Second valve
40s min.
3s max.
40s min.
3s max.
Lock-out, due to light failure
A
Normal
Second flame
Lock-out
3 – 8s
D5016
A


