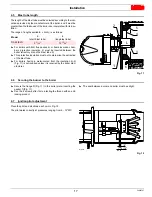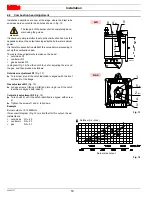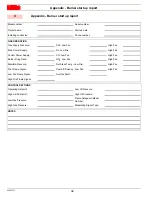
20026767
24
Start-up, calibration and operation of the burner
5.4
Burner calibration
The optimum calibration of the burner requires an analysis of the
flue gases at the boiler outlet.
Adjust successively:
Firing output
Maximum burner output
Minimum burner output
Intermediate outputs between low and high fire
Air pressure switch
Minimum gas pressure switch
5.5
Burner start-up
Supply electricity to the burner via the disconnecting switch on
the boiler panel.
5.5.1
Adjusting gas/air delivery
Adjust the burner up to the maximum output (gas butterfly
valve completely open);
adjust the required maximum output with the gas pressure sta-
bilizer;
set the combustion parameters with the air servomotor and
store the maximum combustion value;
proceed slowly to the decrease of the output by synchronizing
the combustion with the two servomotors and storing the dif-
ferent setting values.
Close the thermostats/pressure switches, set the parameters on
the RWF 40 regulator. Please refer to the specific manual for this
operation.
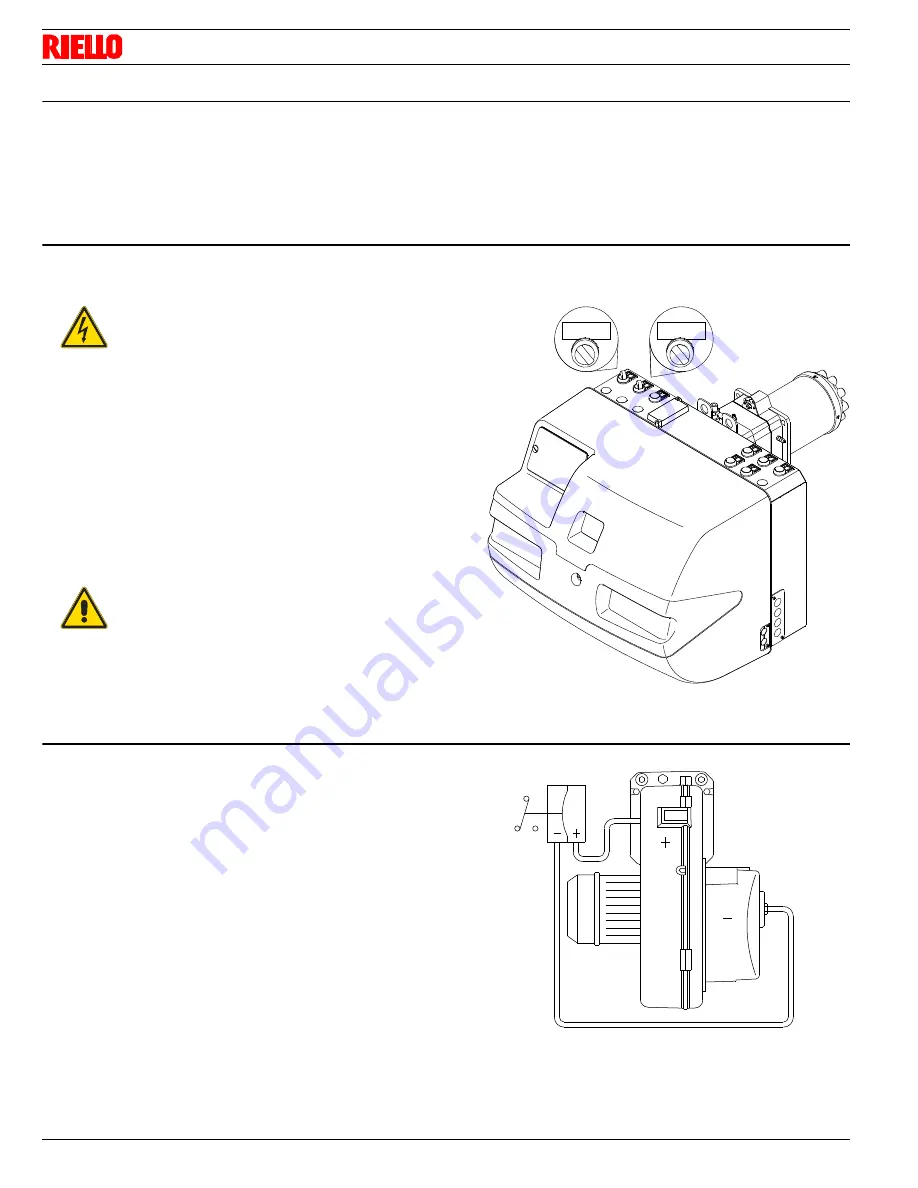
Turn the switch to position “ON” (Fig. 29) and the switch of to posi-
tion “LOCAL”.
5.6
Air pressure switch
The air pressure switch is connected in differential (Fig. 30) and is
activated by both the negative pressure of the air intake and the air
pressure from the fan.
Adjust the air pressure switch (Fig. 27) after having performed all
other burner adjustments with the air pressure switch set to the
min. of the scale.
With the burner operating at low fire, adjust the pressure switch by
slowly turning the relative knob clockwise until the burner locks out.
Then turn the knob counter-clockwise about 20% of the set point
and start-up the burner again to ensure the set point is correct.
If the burner locks out again, turn the knob counter-clockwise a little
bit more.
DANGER
Make sure that the lamps or testers connected to
the solenoids, or indicator lights on the solenoids
themselves, show that no voltage is present. If volt-
age is present, stop the burner
immediately
and
check the electrical wiring.
WARNING
For the start-up procedure and the parame-
ters calibration, refer to the specific instruc-
tion manual of the LMV37... electronic cam
supplied with the burner.
REMOTE
LOCAL
OFF
ON
Fig. 29
D10439
Fig. 30
20049408
Summary of Contents for C9541400
Page 2: ......
Page 30: ...20026767 28 Appendix Spare parts A Appendix Spare parts...
Page 35: ......

