15
CHAPTER
5
Preparation for start up
5.6
Pressure switches setting
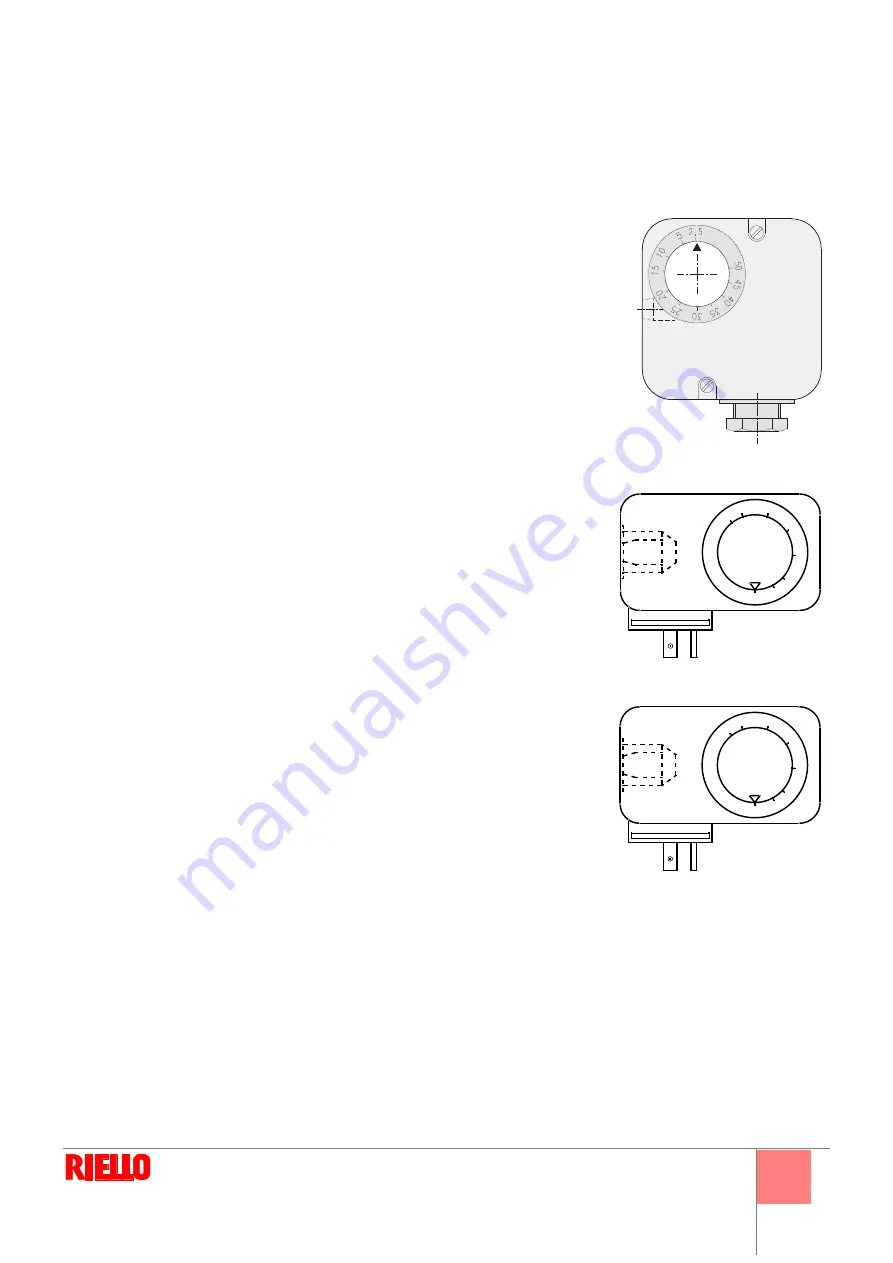
Air pressure switch
Adjust the air pressure switch after having performed all other burner adjustments with
the air pressure switch set to the start of the scale (Fig. 20).
With the burner operating at max. output, increase adjustment pressure by slowly turning
the relative knob clockwise until the burner locks out. Then turn the knob anti-clockwise
by about 20% of the set point and repeat burner starting to ensure it is correct.
If the burner locks out again, turn the knob anticlockvise a little bit more.
Attention:
as a rule, the air pressure switch must limit the CO in the fumes to less than
1% (10.000 ppm). To check this, insert a combustion analyser into the chimney, slowly
close the fan suction inlet (for example with cardboard) and check that the burner locks
out, before the CO in the fumes exceeds 1%.
Maximum gas pressure switch
Adjust the maximum gas pressure switch after having performed all the other burner
adjustments with the pressure switch set at the end of the scale (Fig. 21).
With the burner operating at maximum output, decrease adjustment pressure by slowly
turning the relative knob anti-clockwise until the burner locks out.
Then turn the knob clockwise by 2 mbar and repeat burner starting to ensure it is uni-
form. If the burner locks out again, turn the knob anti-clockwise again by 1 mbar.
Minimum gas pressure switch
Adjust the minimum gas pressure switch after having performed all the other burner
adjustments with the pressure switch set at the start of the scale (Fig. 22).
With the burner operating at maximum output, increase adjustment pressure by slowly
turning the relative knob clockwise until the burner locks out.
Then turn the knob anti-clockwise by 2 mbar and repeat burner starting to ensure it is
uniform.
If the burner locks out again, turn the knob anti-clockwise again by 1 mbar
.
Final checks
Before leaving the plant:
-
ensure the adjustment and safety devices work correctly;
-
check all the mechanical blocking systems on the adjustment devices are tightly closed.
D2215
Fig. 20
D3571
Fig. 21
D3571
Fig. 22
Summary of Contents for DB 4 SM BLU
Page 2: ......
Page 39: ...1...
Page 48: ...10 4 4 1 D7543 C GF HPG LPG MM PA PGM PGm RG SRV VE VPS VR VS 0 5 4 bar 500 mbar 12...
Page 49: ...11 4 4 2 DANGER WARNING MB PA PGM SM SO TA TB D7904 13...
Page 51: ...13 5 5 3 1 4 2 3 5 6 7 1 2 0 3 20 4 5 20 130 1 4 5 4 130 19 18 D1500 3 2 4 1 19 1 2 3 4 D1499...
Page 52: ...14 5 MAN 3 1 130 90 2 19 2 19 20 2 2...
Page 54: ...16 5 5 7 6 A 100 A 5 8 1 2 3 4 5 1 2 3 4 5 6 D3097 23 A...
Page 55: ...17 6 6 1 1 2 3 VR VR VS VR WARNING DANGER...
Page 56: ...18 6...
Page 57: ......
Page 58: ......
Page 59: ......


