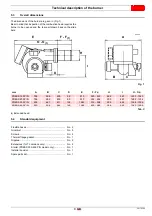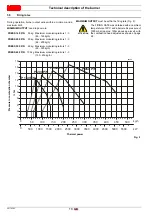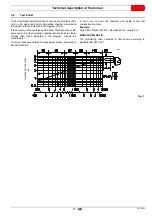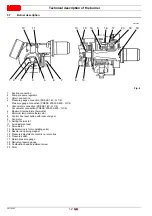
20170392
18
GB
Installation
6.7
Securing the burner to the boiler
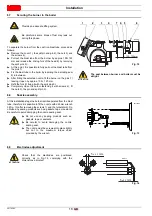
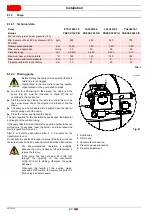
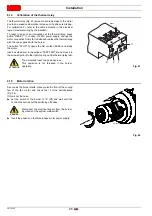
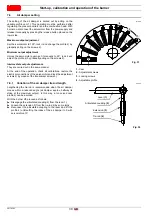
To separate the burner from the cast iron blast tube, proceed as
follows:
Remove the cover 1), the split pin and pin 2), the nuts 3) and
the screws 4).
Pull out the blast tube from the burner by approx. 100÷120
mm and release the driving fork of the head 6) by removing
the split pins 5).
At this point, it is possible to fully pull out the blast tube from
the pins 7).
Fix the blast tube to the boiler by inserting the insulating seal
8) in-between.
After fitting the selected nozzle, fit the burner on the pins 7)
leaving it open by approx. 100 ÷ 120 mm.
Refit the fork 6) fixing it with the split pins 5).
Completely close the burner fastening it with screws 4), fit
the nuts 3), the pin and split pin 2).
6.8
Nozzle assembly
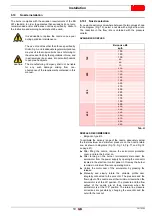
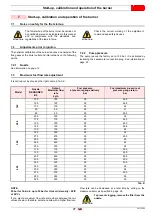
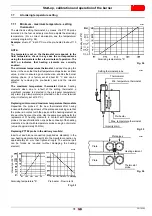
At this installation stage the burner is still separated from the blast
tube; therefore it is possible to fit the nozzle with a 24mm wrench
3)(Fig. 13) after removing the screws 1) and the turbulator 2). Do
not use any sealing products such as: gaskets, tape or sealants.
Be careful to avoid damaging the nozzle sealing seat.
6.9
Electrodes adjustment
Provide an adequate lifting system.
Be careful as some drops of fuel may leak out
during this phase.
ATTENTION
The seal between burner and boiler must be
airtight.
100÷120mm
1
2
3
4
7
6
8
5
Fig. 12
D2590
ATTENTION
Do not use any sealing products such as:
gaskets, tape or sealants.
Be careful to avoid damaging the nozzle
sealing seat.
The nozzle must be screwed into place tightly
but not to the maximum torque value
provided by the wrench.
Fig. 13
20119193
ATTENTION
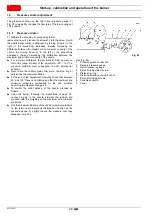
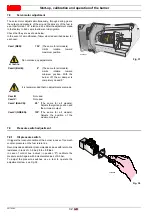
Check that the electrodes are positioned
correctly, as in Fig. 14, complying with the
dimensions indicated.
5
± 0.2
mm
5
± 0.2
mm
Fig. 14
D8677
Summary of Contents for PRESS 140 P/N
Page 2: ...Translation of the original instructions...
Page 57: ...55 20170392 GB Appendix Electrical panel layout 0 1 2 2 2 0 DIRECT START UP...
Page 58: ...20170392 56 GB Appendix Electrical panel layout 0 1 1 1 STAR TRIANGLE START UP...
Page 59: ...57 20170392 GB Appendix Electrical panel layout 0 1 0...

