2902936
4
GB
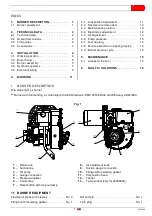
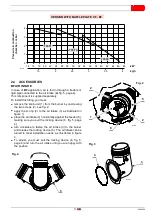
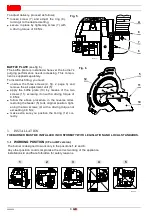
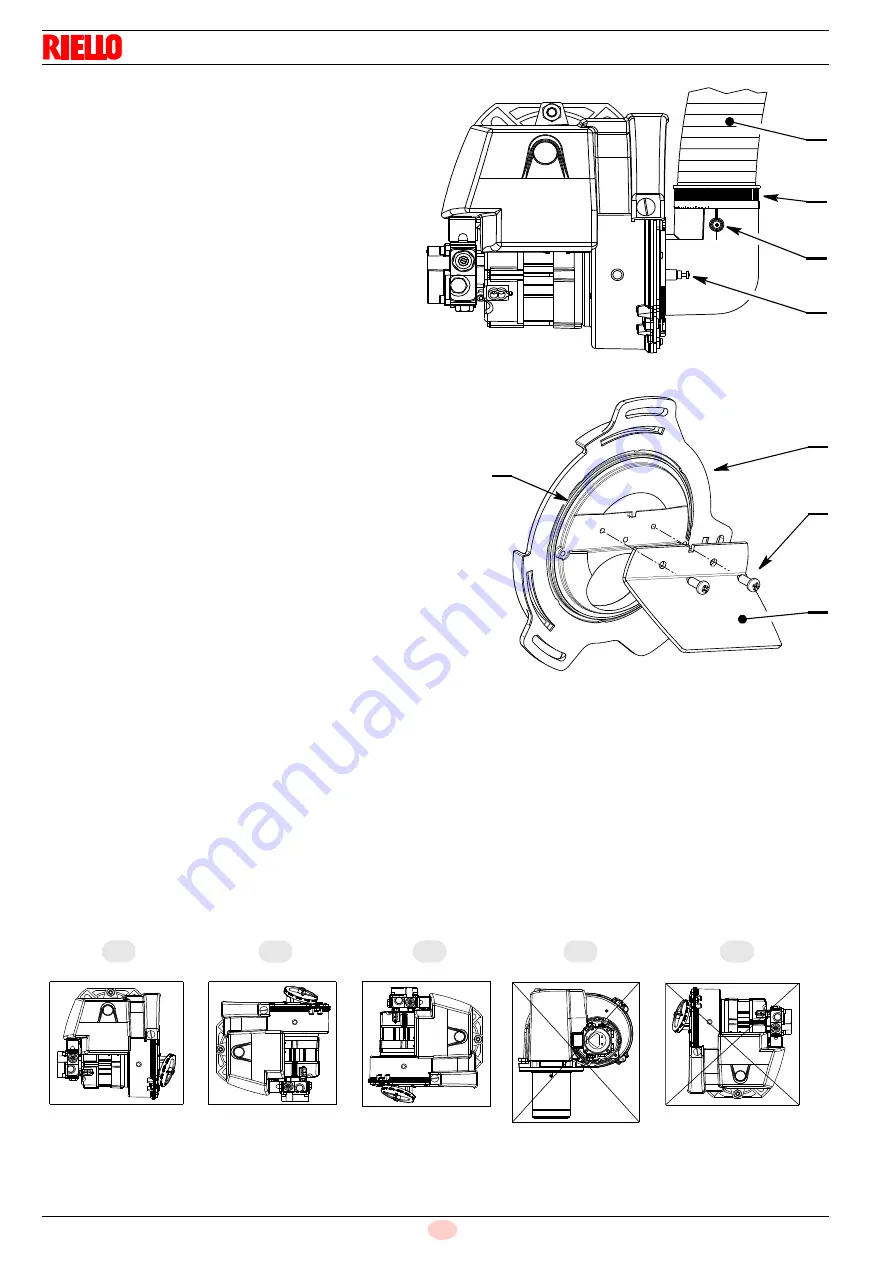
To adjust delivery, proceed as follows:
➤
loosen screw (7) and adjust the ring (8),
turning it to the desired setting;
➤
secure in place by tightening screw (7) with
a driving torque of 0.8 Nm.
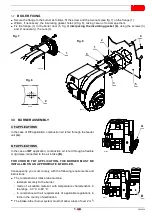
BAFFLE PLATE
(see fig. 6)
The baffle plate is installed whenever the burner’s
purging performance needs increasing. This compo-
nent is supplied separately.
To install this fitting, you must:
➤
unscrew the three screws (9, fig. 2 page 3) and
remove the air adjustment unit (5);
➤
apply the baffle plate (10) by means of the two
screws (11), screwing it on with a driving torque of
0.8 Nm;
➤
follow the above procedure in the reverse order,
restoring the feeder (5) to its original position, tight-
ening the two screws (9) with a driving torque not
exceeding 0.8 Nm;
➤
make extra sure you position the O-ring (12) cor-
rectly.
3.
INSTALLATION
THE BURNER MUST BE INSTALLED IN CONFORMITY WITH LEGISLATION AND LOCAL STANDARDS.
3.1
WORKING POSITION
(CF and BF version)
D7011
Fig. 5
6
7
A
8
D7013
5
10
11
12
Fig. 6
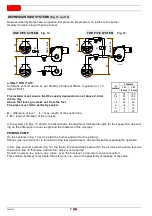
The burner is designed to work only in the positions 1, 2 and 3.
Any other position could compromise the correct working of the appliance.
Installations 4 and 5 are forbidden for safety reasons.
D7003
1
2
3
4
5


