RF627Weld [Revision 1.1.1] 03.08.2020
Laser Seam Tracking System for Welding Automation. RF627Weld Series
65
#
Description
1
The scanner fixed to the robot transmits data to the controller (or to the PC with the Riftek Lamia
software installed).
2
Riftek Lamia processes the data in accordance with the selected math algorithm and transmits the
results to the robot controller over the selected protocol.
3
The robot controller makes decisions based on the received information. For example, corrects the
position of the welding torch during the welding process.
15.6.3. Connection procedure
Important!
Before connecting to the robot, it is necessary to activate the license for the Riftek Lamia
software. The license activation procedure is described in par.
.
To connect to the robot, start Riftek Lamia and perform the following steps:
Step
Description
1
Click the SEARCH button and connect to the scanner.
2
Go to the PROTOCOLS tab and click LOCK SENSOR.
NOTE:
This step is performed only once when connecting a new scanner. If the scanner has
previously been connected to the robot, you do not need to click the LOCK SENSOR button
again.
3
Select a protocol and configure parameters.
4
Enable the "State" option.
15.6.4. Riftek P1 protocol
15.6.4.1. General information
The
Riftek P1
protocol is based on the client-server model (
Riftek Lamia
is a
client, a robot is a server) and uses port 502 by default.
All values are hexadecimal, byte order – from left to right.
After turning on/off the Modbus function, the scanner must be rebooted. The TCP
connection temporary deactivates the Modbus function; when activating the Modbus
function (the scanner finds the IP address and successfully connects to port 502), other
scanner functions will be deactivated (including TCP).
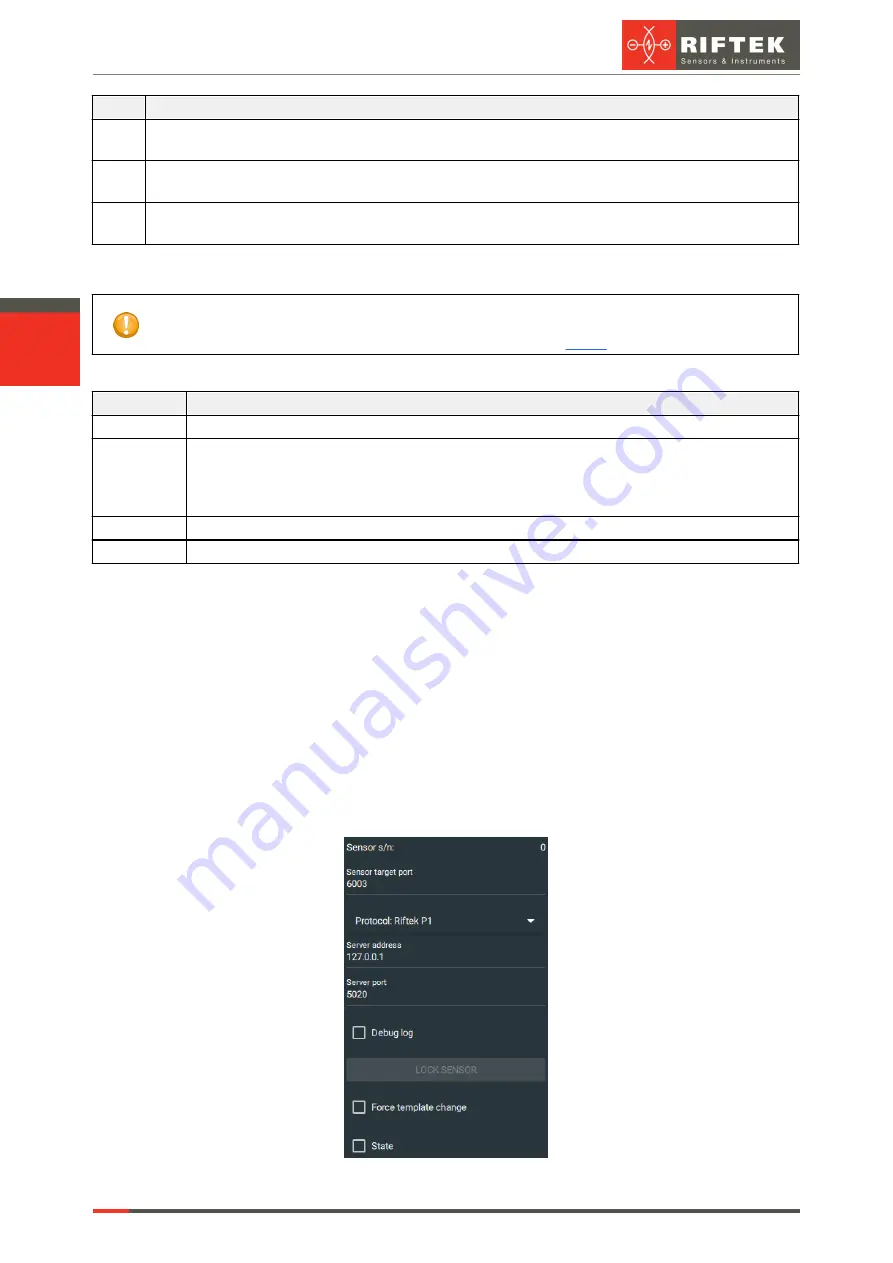
The
PROTOCOLS
tab with the
Riftek P1
protocol selected:

