30
Prior to set up
Floor bearing capacity
Ensure that the substructure is capable of bearing the weight of the
stove prior to set-up.
Note
No modifications may be made to the firing installation. This also
leads to loss of warranty and guarantee.
Floor protection
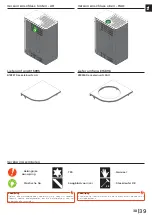
A glass, sheet steel or ceramic plate is required, if the floor is
combustible (wood, carpet, etc.).
Flue pipe connection
Q
Flue pipes pose a particular source of hazard regarding gas leaks
and fire. Get the advice of an authorised specialist company for
the layout and assembly.
Q
Please observe the corresponding installation guidelines for walls
panelled with wood when connecting your flue pipes to the stove,
Q
Observe the formation of flue gas (atmospheric inversion) and
draughts when the weather is unfavourable.
Q
Infeed of too little combustion air can lead to smoke in the rooms
or to flue gas leaks. Hazardous deposits in the stove and chimney
may also occur.
Q
If flue gas escapes, let the fire burn out and check whether all the
air inlet openings are free and the flue gas pipes and the stove
pipe are clean. If in doubt notify the master chimney sweep since
draught malfunctions may be connected to your chimney.
Convection air conduction
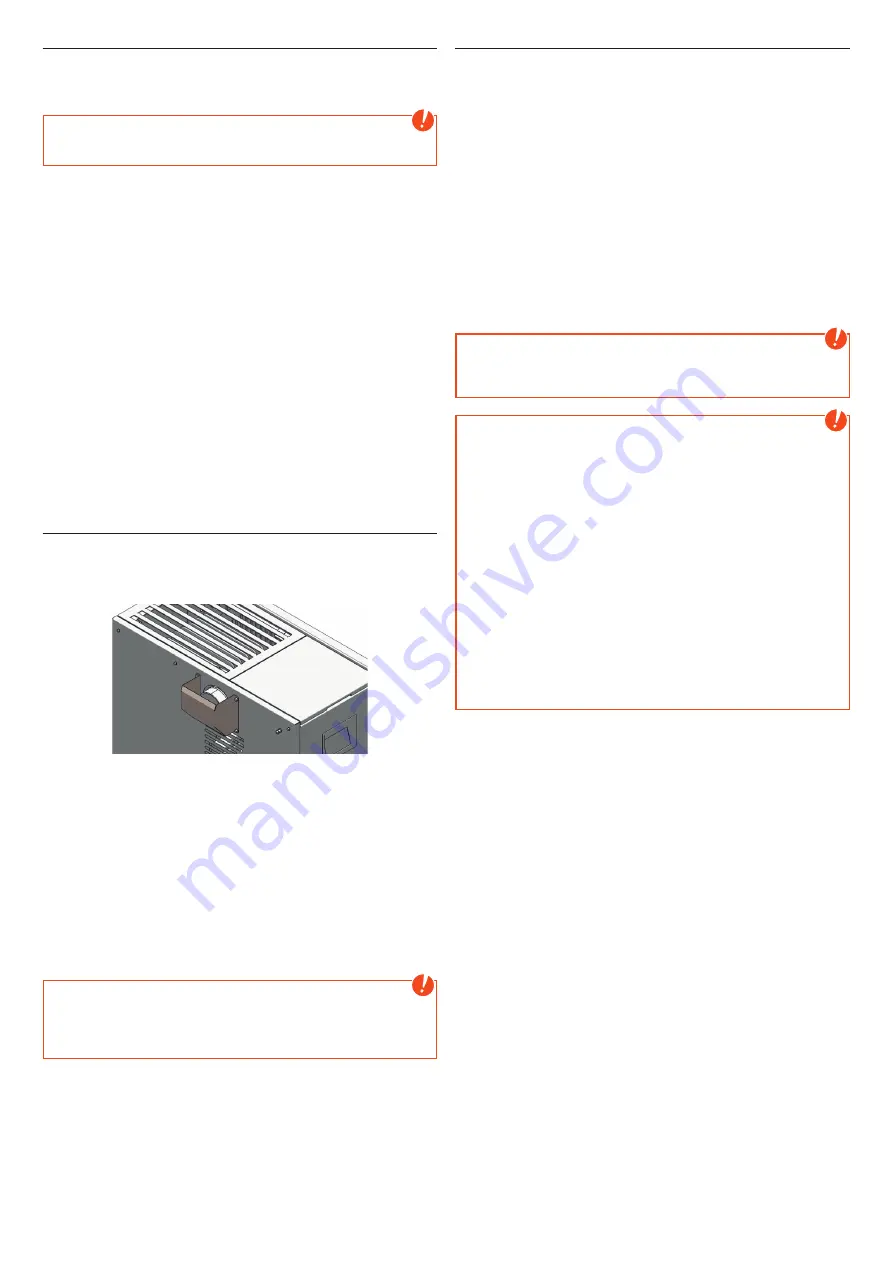
only for stoves with MultiAir
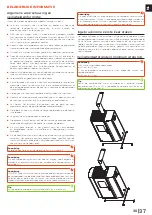
The MultiAir equipped stove is delivered with a cover on the
convection air outlet to prevent direct heat to the wall.
Operation without this cover or without attached convection pipes is
not allowed. If you do though no warranty and no liability is accepted
for damage.
Q
The amount of air and temperature of one fan is designed to heat
one additional room.
Q
Note the regional specific fire safety regulations and clarify the
connection situation with the competent authority
Q
The max. temperature of the convection air is 180 °C at the air
outlet.
Q
The convection air canal should be as short as possible.
Q
Keep the number of deflections as small as possible.
Note
Please pay attention to the national and country-specific building
and fire regulations when connecting the convection air pipes.
Installation and assembly must be performed by a trained
specialist only.
Stoves type 1 (BA 1):
Q
These may only be operated with the combustion chamber door
closed.
Q
Suitable for multiple occupancy. (note the different country
regulations)
Q
The combustion chamber door may only be opened to add fuel
and must then be closed again otherwise other firing installations
connected to the chimney may be endangered.
Q
The combustion chamber door is to be kept closed when the
stove is not in operation.
Q
Fouling of the chimney i.e. deposits of highly inflammable materials
such as soot and tar and subsequently fire in the chimney may
occur if the chimney is miscalculated and dimensioned wrong
and if wet wood is used.
If fire in the chimney occurs, disconnect the mains plug of the stove.
Phone the fire brigade and get yourself and other residents out of
harm’s way.
Note
Due to the size of the combustion chamber door it is necessary
not to open the door abruptly, to prevent the flames coming out.
Especially when reheating into blazing flames.
Note
on ROOM-AIR DEPENDENT and
ROOM-AIR INDEPENDENT OPERATION:
Your stove has been tested as a room-air independent stove
according to EN13240 and to EN14785 and can be installed as well
room-air dependent and independent. In Germany it does not
conform to the requirements for room-air independent operation.
When installed room-air dependent in combination with room-
air installations (e.g. controlled ventilation and venting systems
(extractors etc.) it must be ensured that the stove and the room
air system are monitored and safeguarded mutually (e.g. via a
differential pressure controller etc.).
The combustion air infeed of approx. 20 m
3
/h must be ensured.
Please observe the respective local regulations and rules in
consultation with your master chimney sweep. For changes after
the printing of this manual, we can not assume any liability. We
reserve the right to change without notice.
Summary of Contents for E15895
Page 1: ...E15895 Deckel AH E15896 Deckel RAO PARO ...
Page 9: ...PARO E15895 Couvercle AH E15896 Couvercle RAO ...
Page 17: ...E15895 Coperchio AH E15896 Coperchio RAO PARO ...
Page 25: ...E15895 Cover AH E15896 Cover RAO PARO ...
Page 33: ...E15895 Deksel AH E15896 Deksel RAO PARO ...
Page 41: ... 41 NL 40 ...
Page 42: ...Your Notes ...
Page 43: ... 43 NL 42 Your Notes ...


