8
Operation
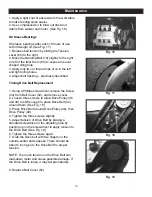
Fig. 13
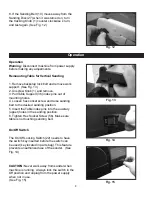
8. If the Sanding Belt (10) moves away from the
Sanding Disc (27) when it was turned on, turn
the tracking Knob (1) counter clockwise Ľ turn,
and test again. (See Fig. 12)
Fig. 12
Operation
Warning:
Disconnect machine from power supply
before making any adjustments.
Remounting Table for Vertical Sanding
1. Remove backstop lock bolt and remove work
support. (See Fig. 13)
2. Unscrew Knob (1) and remove.
3. Pull Table Support (36) index pins out of
mounting holes.
4. Loosen hex socket screw and raise sanding
bed to the desired sanding position.
5. Insert the Table index pins into the auxiliary
(upper) holes in the sanding position.
6. Tighten Hex Socket Screw (56). Make sure
table is not touching sanding belt.
On/Off Switch
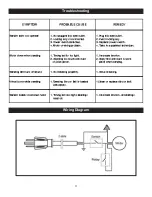
The On/Off Locking Switch (22) needs to have
the switch key inserted before the switch can
be used (key located in parts bag). This feature
prevents unauthorized use of the sander. (See
Fig. 14)
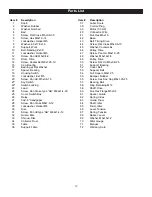
CAUTION:
Never walk away from sander when
machine is running. Always lock the switch in the
Off position and unplug from the power supply
when not in use.
(See Fig. 15)
Fig. 14
Fig. 15


