5.2.7. Donning the Welding Helmet:
First set the Welding helmets rake and adjust the welding filter to suit (See the helmet’s user
instructions)
Lift the helmet to it’s upper position.
Place over the head and adjust the headgear ratchet wheel by pushing it in and twisting until a
satisfactory tightness is achieved.
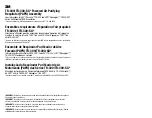
Pull the elasticated chin guard downwards and at the same time pull the helmet down. Ensure
the elasticated chin guard fits comfortably under the chin.
The Welding helmet is now ready for use
5.3. Usage:
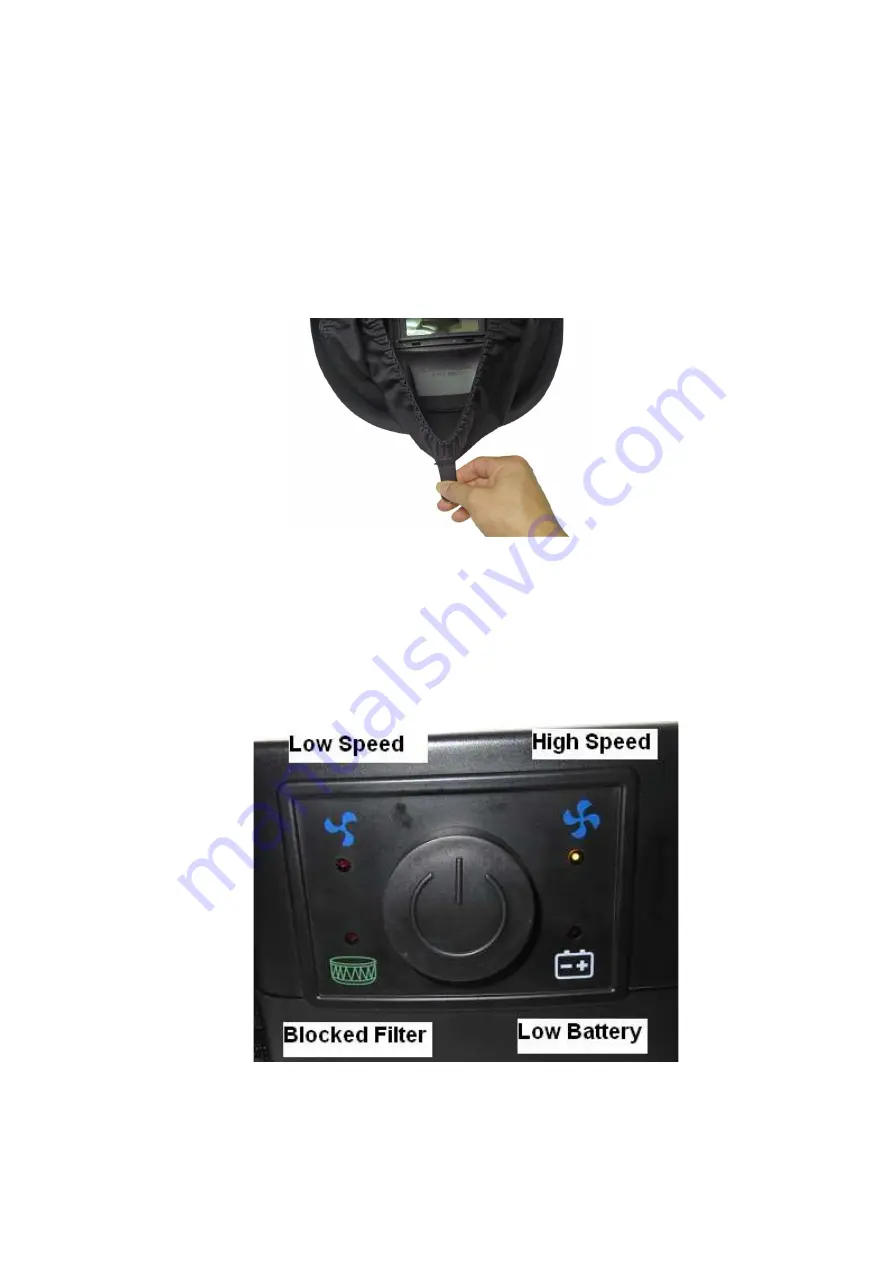
Switch on the unit by pressing the ON/OFF button on the control panel. The airflow can be
either the low speed 180 l/min or the high speed 220 l/min. The speed denoted buy the lit LED
and the fan symbol. You can change the speed by pressing the ON/OFF switch. Only by
depressing the ON/OFF switch for several seconds will stop the unit.
The unit ensures a constant supply of air. The microprocessor inside the unit automatically
regulates the motor speed to compensate the filter clogging and the battery state. If the
microprocessor cannot keep the adjusted airflow, the unit will sound a 'beeping' alarm (an
acoustic signal can be heard). At which point the user must check the blower unit. If possible,