4
4. BATTERY INSTALLATION & CHARGING
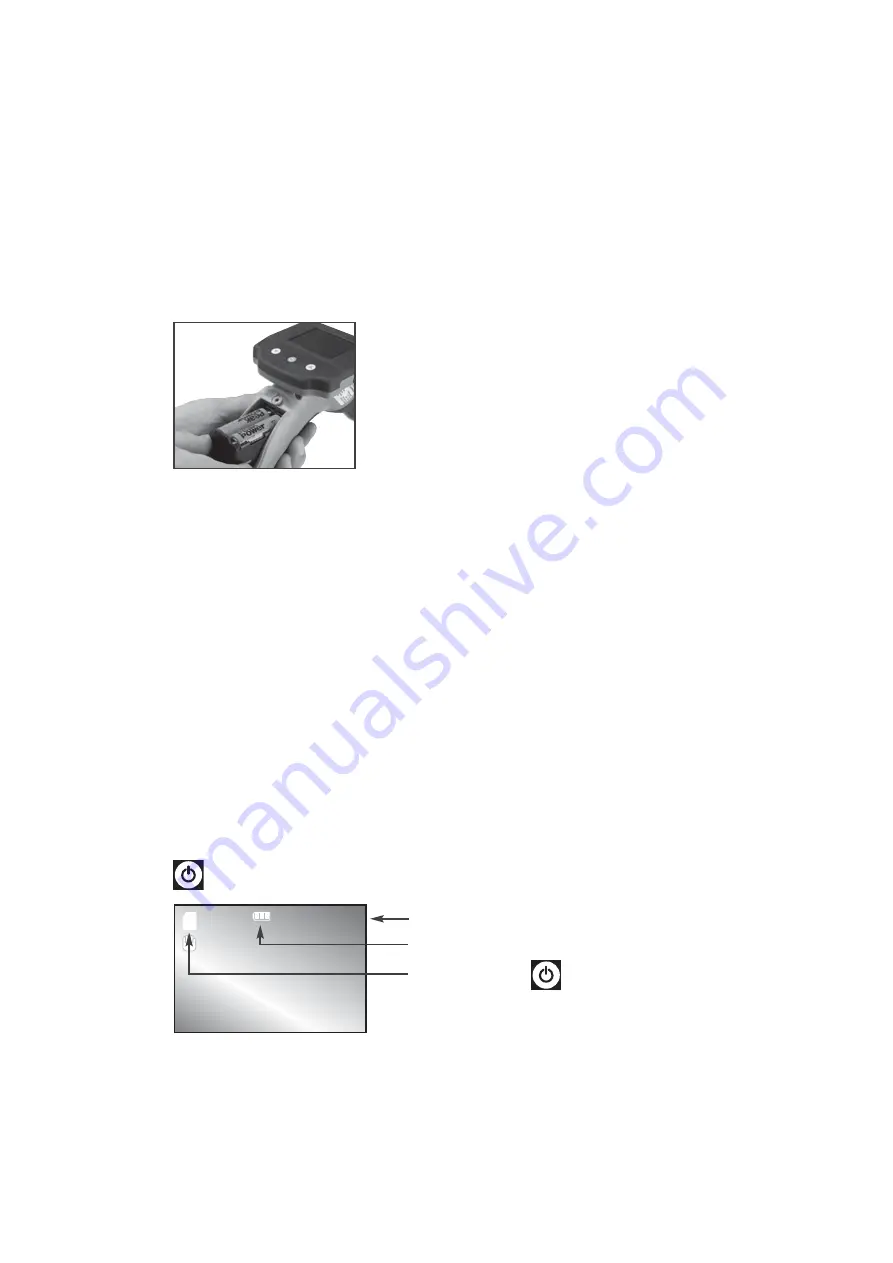
The unit is supplied with either 4 x AA batteries (RBS100/200) or a rechargeable battery pack (RBS300). When
the low battery indicator illuminates red, the batteries must either be replaced or charged.
4.1 Battery Installation (RBS100/200)
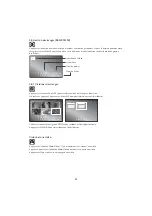
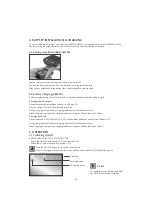
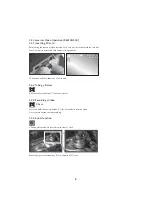
Loosen the security screw and open the battery compartment
Remove the battery holder and fit 4 x AA batteries, ensuring correct polarity
Slide battery holder back into position, close cover and tighten security screw
4.2 Battery Charging (RBS300)
Before charging ensure the unit is switched off, it cannot be operated whilst being charged.
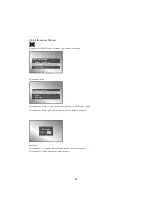
Charging from AC adapter
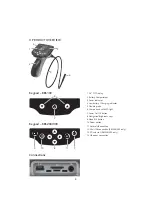
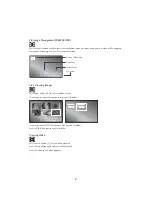
Connect the charger output lead to the mini USB port (12)
Plug the charger into the wall socket and switch on
During charging the low battery/charging indicator (4) will illuminate amber
When charging is complete the charging indicator will go out, this can take up to 7 hours
Charging from USB
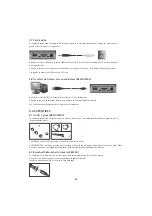
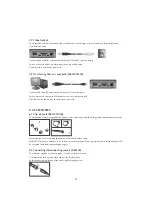
Connect one end of the USB lead (C) to a PC and the other end to the devices mini USB port (12)
During charging the low battery/charging indicator (4) will illuminate amber
When charging is complete the charging indicator will go out, this can take up to 7 hours
5. OPERATION
5.1 Switching On/Off
BEFORE USING THE UNIT FOR THE FIRST TIME:
• Ensure the time and date have been set (see section 5.4.2)
• Ensure the SD card is inserted (see section 5.5.1)
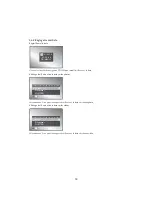
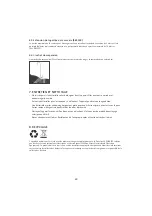
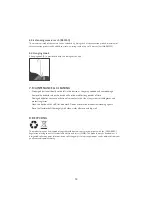
Press the ON/OFF button (7) to switch the device on.
The camera image will appear on the screen and the Power indicator (3) will illuminate green
2 7 / 0 7 / 2 010
0 9 : 01 : 2 8
SD
To switch the device off press and hold
the ON/OFF button for 3 seconds
3 Secs
Time/Date
Power indicator
SD card indicator


