Neo RIB2312 installation guide: 12148-A 01-17
|
25
Commissioning
Check for the correct settings
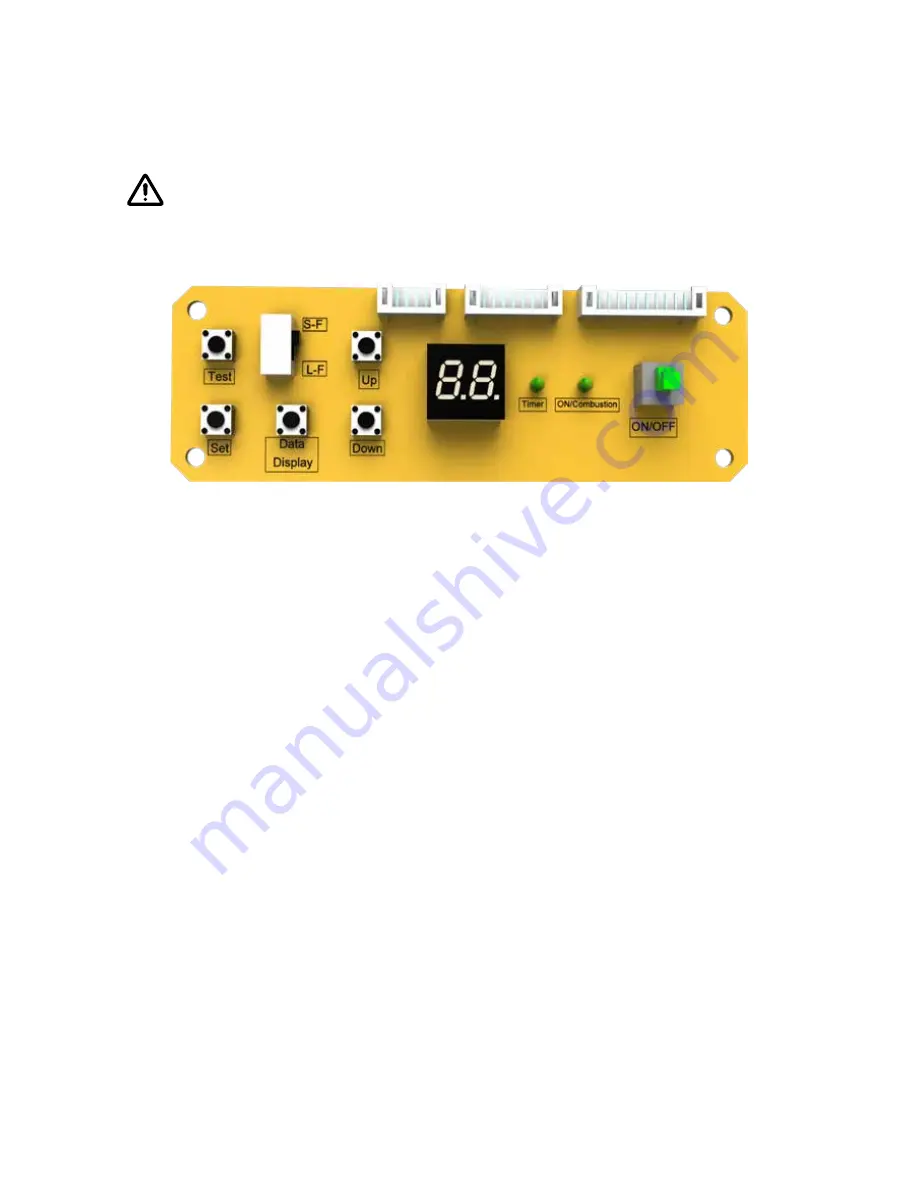
The appliance display settings are shown on
the LED display of the control PCB. If any of
the settings are incorrect, check the appliance
data plate (front left hand side).
Steps required to commission the PCB
Only required if the PCB is being replaced or
after a gas type conversion—this needs to be
done BEFORE the gas pressures are tested.
1. Turn on the gas supply.
2. With the appliance OFF, press ‘Test’, the
gas type code will display. Press the ‘Up’
and ‘Down’ buttons to obtain the gas code
for the unit, and press ‘Set’ to lock in the
code.
A1 = NG L1 = LPG
The gas pressures can now be checked if
required.
Gas pressure setting
Always check the pressures against those
printed on the data plate of the appliance. If
no adjustment is required during some stages
of the process you will still need to push ‘Set’
to go to the next setting.
Checking the supply pressure
1. Remove the inlet test point screw and
connect the manometer hose.
2. Press the heater ON/OFF button to start
the ignition sequence, ensuring the
correct flowing pressure is available with
all other gas appliances operating on high.
3. Press the heater ON/OFF button to stop
the heater operation.
4. Disconnect the manometer hose and
replace the inlet test point screw.
Checking the pilot pressure
1. Remove the pilot test point screw and
connect the manometer hose.
2. Press the heater ON/OFF button to start
the heater.
3. Press the ‘Test’ button twice, the heater will
light to the main burner on its lowest setting
(stage 1) and the display will show PL.
4. Adjust the pilot pressure as required by
manually adjusting the pilot regulator.
Press the ON/OFF button to stop the
heater operation.
5. Disconnect the manometer hose and
replace the pilot test point screw.
The gas pressures of the appliance are factory pre-set.
When commissioning the appliance electrical power will need to be
connected. Exercise caution as there is potential for electric shock from
exposed wiring and circuitry. DO NOT leave the appliance unattended when
the power is connected and the panels are removed.
CAUTION
Control panel PCB
Summary of Contents for Neo RIB2312L
Page 1: ...Neo Installation guide RIB2312N RIB2312L ...
Page 35: ......


