www.neutec.com
Crucible Parts
Page 4-3
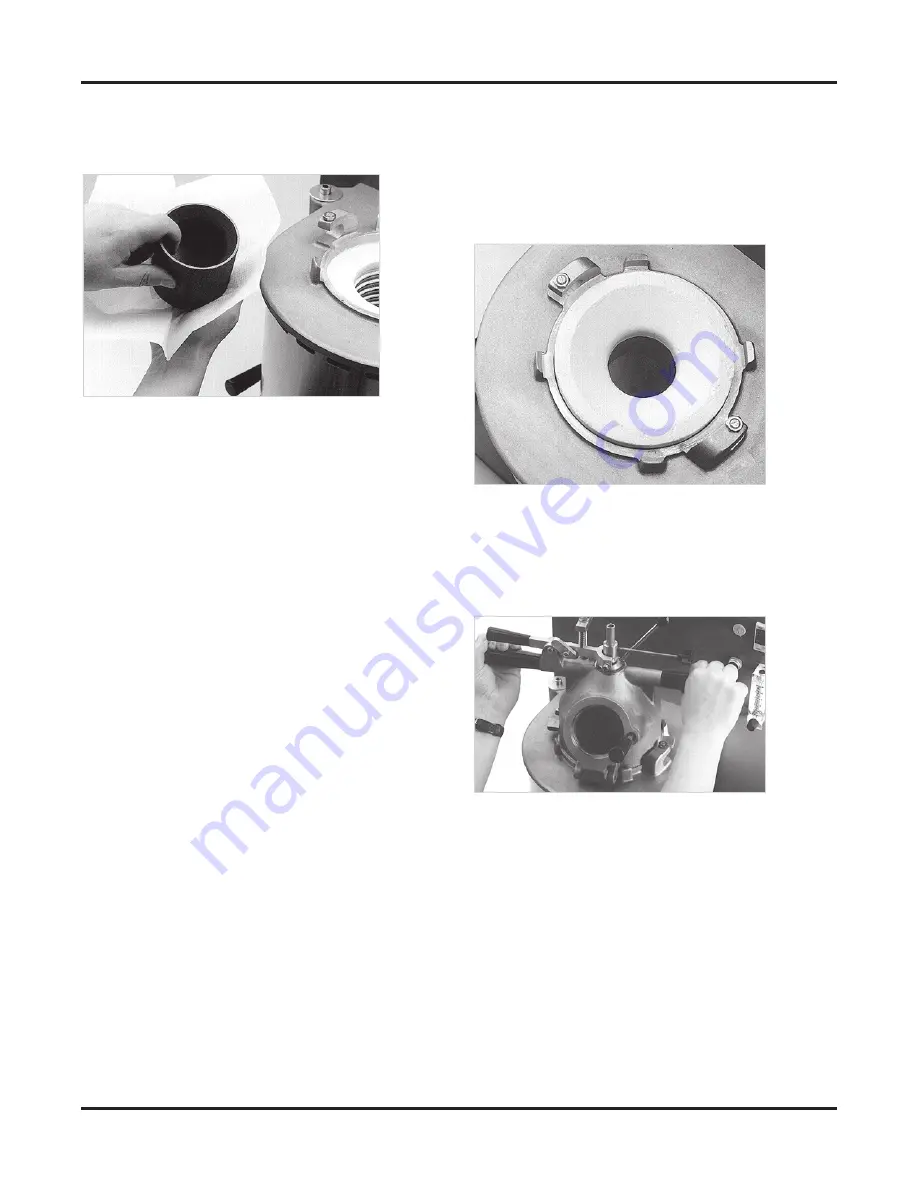
4. Wipe the new crucible inside and out
with a paper towel, making sure it is
clean and free of any debris.
Wipe the crucible inside and out.
5. Check the pour hole on the inside
of the crucible to make sure there are no
obstructions or imperfections that could
prevent a good seal.
6. Install the crucible in the machine. Check the
centering of the crucible by opening
the flask chamber and holding a mirror
(or any flat, light-colored surface) under the
pour hole. Center the crucible.
•
Warning! Never look up from under the
crucible chamber.
Important! Change the crucible if:
A) the sealing area around the pour hole
is damaged.
B) the crucible side-wall is thinned by
one-third or more.
C) any cracks or other imperfections are
present.
Using a crucible past its safe life can cause
a metal spill inside the crucible chamber.
Spilled metal in the crucible chamber can
damage the coil and leave your machine
unusable.
7. Install the filling cone.
Please Note: The filling cone is extremely
important. It prevents casting grain from
falling between the crucible and the heating
coil, fusing with the coil, and causing the coil
to fail.
Install the filling cone.
8. Check the sealing rod for wear. Install
a new one if needed (see Section 5).
9. Re-install the hood, turning it clockwise
until the ball-detent clamps click into place.
Turn the hood clockwise until clamps click into place.
10. Loosen the sealing rod collar screw, lower
the sealing rod holding tube into place and
tighten the collar screw. See Section 5 to
adjust sealing rod tension before using the
machine.
11. Insert the thermocouple into the sealing rod
and plug it in (see photo, page 4-1).


