9
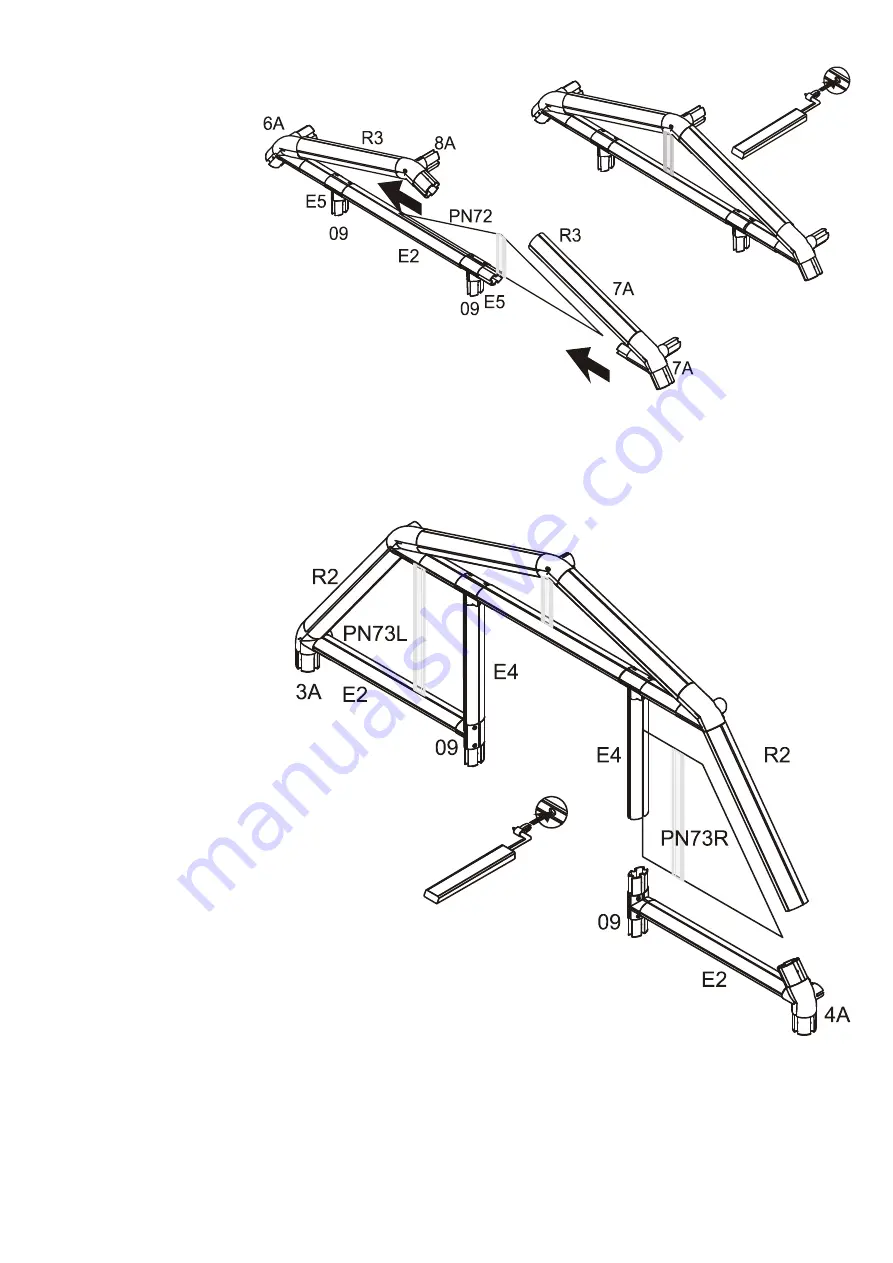
Assemble the Roof Pediments
1
Assemble all parts of
the hinged door
pediment except for
the 7A connector and
the R3 profile.
2
Slide the PN72 panel
into the open space of
the pediment.
Note:
The outside
surface of the panels
have special UV
protection, indicated by
the plastic identification
strip. Remove plastic ID
strips when as panels are
locked in place.
3
Complete the hinged
door pediment with
the 7A connector and the R3 profile, taking advantage of the flexibility of the profiles.
4
Lock the pediment in place using pins and remove the ID strips from the panel.
Complete Doorway Pediment
1
Attach the E4 and R2
profiles to the lower right
pediment.
2
Slide the PN73R panel in
place. Make sure that the
plastic ID strip faces out.
3
Connect the 4A and 09
connectors to an E2
profile and put it in place
taking advantage of the
flexibility of the profiles.
4
Lock the panel in with
pins.
5
Assemble the lower left
pediment in the same
way.
1
2
3
4
1
2
3
4
5


