6
EcoGrow Assembly Instructions
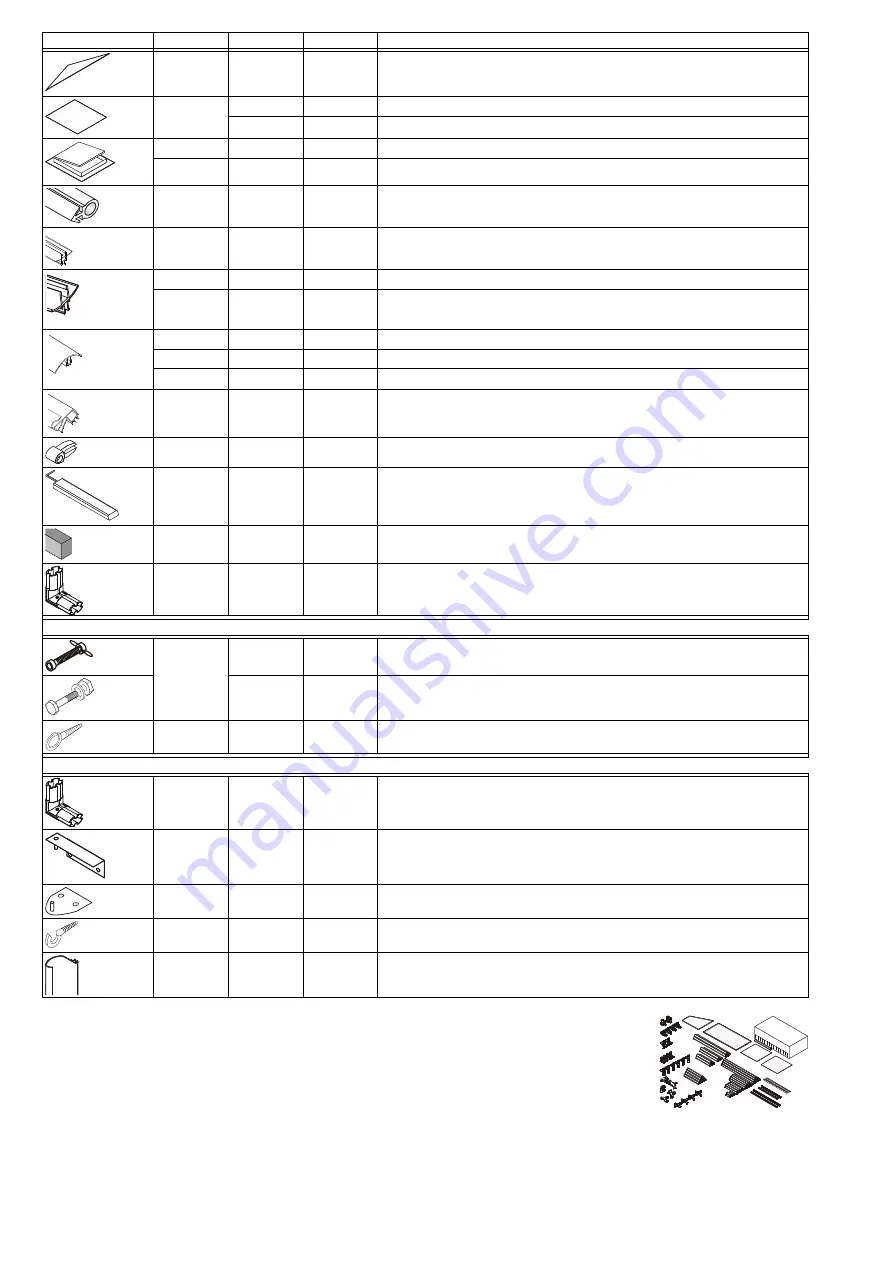
Prepare Your Parts for Assembly
Remove everything from your packages and sort them according to part type. Since
assembly is done from taking parts from every box, it is best to put everything together.
The boxes are printed with a ruler to help you distinguish between profiles. Some
glazing elements (RA, RB, RC, and RD) are placed inside the long profiles in the
interests of space.
Note:
Protect unassembled panels from the sun to prevent identification stickers from adhering to the glazing.
PN72
2
0
Pediment
Panel
(109.9
×
17.9 cm)
(3’7
B
” x 7”)
PN61
1
0
Upper Door Panel (59.7
×
44.7 cm) (1' 11
A
"
×
1' 5
F
")
1
0
Back Pediment Panel (option) (59.7
×
44.7 cm) (1' 11
A
"
×
1' 5
F
")
WIN34
1
0
Roof Vent
WINH31
2
0
Roof Vent Handle
DSN
1
0
Door Sealer (roll)
RA2
3
1
Bottom Roof Glazing (69.3 cm, 2' 3
B
")
RB1
12
4
Roof Glazing (52 cm, 1' 8
A
")
RB3
4
0
Roof Glazing (47.5 cm, 1' 6
M
")
RC1
8
2
Top Roof Glazing (66.6 cm, 2' 2
B
")
RC2
8
2
Top Roof Glazing (63 cm, 2'
C
")
RC10
3
1
Top Roof Glazing (69.8 cm, 2' 3
A
")
RD3
12
4
Window Roof Glazing (68.7 cm, 2' 3")
PIN1
380
60
Connector
Pin
GT1
2
0
Glazing Tool
SF
1 meters
.5 meters
Soft Foam Roof Insulation
18
2
0
Corner Oval Connector
Door Joint Kit
AS80
1
0
Upper Hinge Screw (with washer and wingnut)
2
0
Lower Hinge Screw (with washer and nut)
Dow1
1
0
Lock
Holder
Hinged Door Kit
18D
2
0
Corner Oval Door Hinge Connector
Hinge
1
0
Upper
Door
Hinge
Door22
1
0
Bottom
Door
Hinge
Dow2
1
0
Door Holder
LI6
1
0
Door
Latch
Part Code
ECO 1+2
ECO Middle
Description


