01/18
46
g
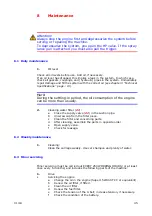
Check the torque of the attachment bolts for the engine; tighten
them, if necessary.
For more information concerning the engine, you can find it in the book deliv-
ered with this machine.
2.
Carriage:
Lubricate all mechanical moving parts in the system. Check that all
nuts and bolts have been correctly tightened.
3.
Pump system
•
Cleaning the high-pressure control (
):
When the high-pressure valve (
) has been closed, the pressure
gauge (
) should not indicate any pressure. Similarly, if the spray
gun is connected and closed, the pressure gauge (
) should not indi-
cate any pressure. If the pressure gauge does indicate a pressure, this
implies a leakage in the system or that the one-way valve may be dirty
or damaged. In which case stop the machine, unscrew the hose cou-
pling and clean or replace the one-way valve. Also, check the condition
of the O-ring and gasket.
Regularly clean the high-pressure control. Carefully remove all dirt!
Proper maintenance will increase the service life of this part.
•
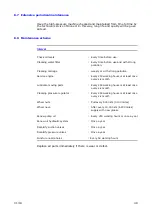
Changing the pump oil:
Change the pump oil in the high-pressure pump after every 1000
working hours (or at least once a year) (
For more information concerning the pump, you can find it in the enclosure de-
livered with this machine.
8.4 Hydraulic system
Renew oil (
Important!
You have to renew the hydraulic oil at least ones a year,
depending on oil quality!
see chapter 3.1 "General" page.: 13
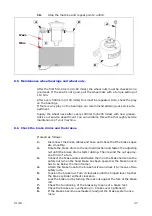
Check, every time before use, if the level of the oil is sufficient.
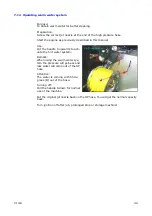
Proceed as follows:
1.
Stop the machine.
2.
Be aware that the machine is standing horizontal.
3.
Take the dipstick (A) out of the oil tank (B).
4.
Clean the dipstick with a tissue.
5.
Put the dipstick into the oil tank.
6.
Take the dipstick back and watch at the dipstick if the oil is between
maximum a minimum (C).
7.
Fill oil, if necessary.
8.
Fasten the dipstick onto the oil tank.
9.
Start the engine and let it turn for about 5 minutes.
Summary of Contents for MULTI JET
Page 4: ...01 18 4...
Page 8: ...01 18 8...
Page 12: ...01 18 12...
Page 16: ...01 18 16...
Page 20: ...01 18 20 36 Connection remote control 13 3 35 2 11 9 22 23...
Page 35: ...01 18 35 6 4 Security sticker...
Page 36: ...01 18 36...
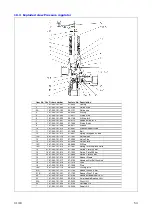
Page 51: ...01 18 51 10 Exploded Views and part lists...
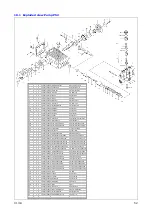
Page 53: ...01 18 53 10 2 Exploded view Pump P45...
Page 57: ...01 18 57...
Page 60: ...01 18 60...

