10 - 6
CZ180 / CV1860 Rev. 1.0
CHAPTER 10: MASTER REMOVAL SECTION
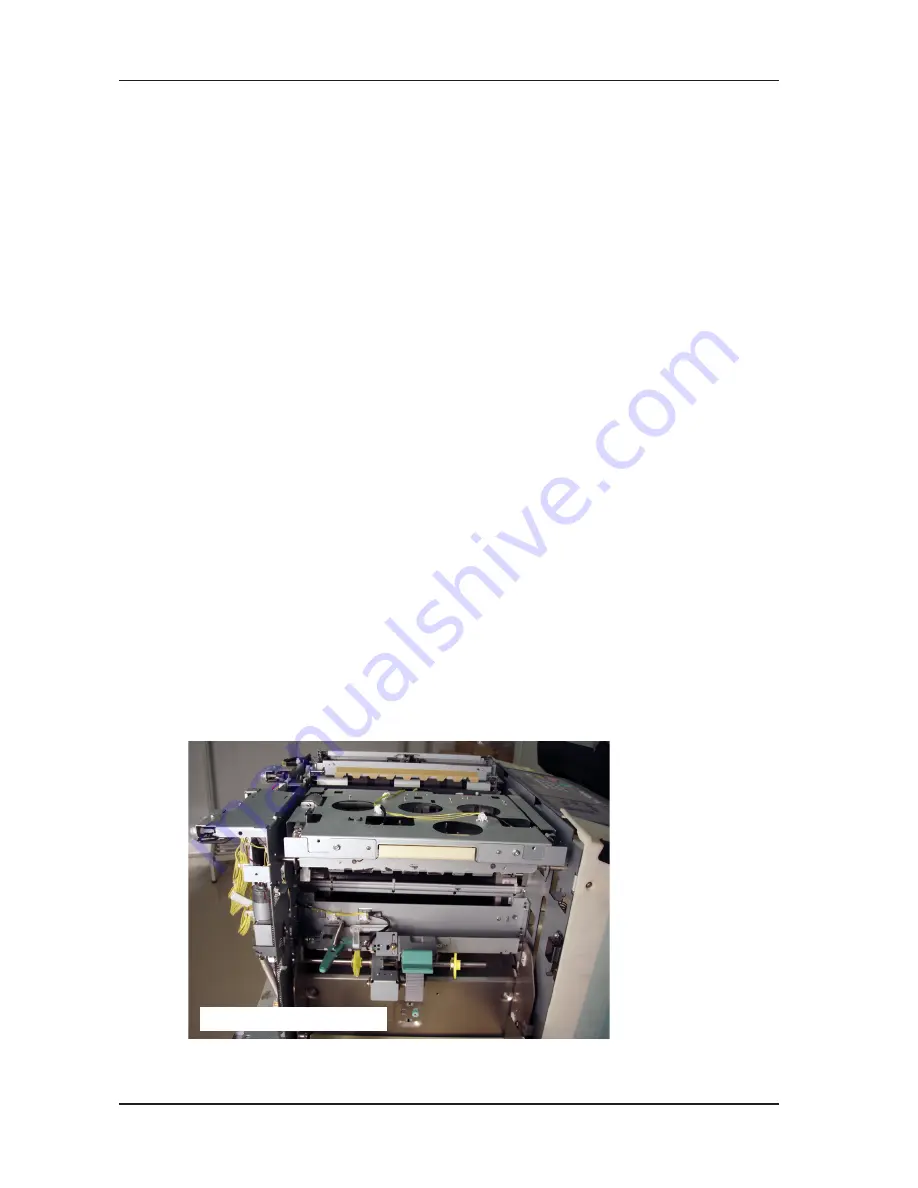
View with the cover removed
DISASSEMBLY
1. Master Removal Unit
Precaution in Removal
Be careful not to catch the wire harness when removing the unit.
REMOVAL
[ Removing the Master removal assembly (upper)]
1) Lower the paper feed tray, turn OFF the machine power, remove the Master disposal box and
following parts.
Master removal upper cover (M3x8 screws; 2 pcs)
Master removal lower cover (M3x8 screws; 4 pcs)
Rear cover (M3x8 screws; 5 pcs)
Scanning upper frame cover (M3x8 screws; 4 pcs)
Scanner unit cover (M3x8 screws; 4 pcs)
2) Open the PCB bracket on back of the machine. (M3x8 screws; 4 pcs)
3) Unplug the Master disposal wire harness connector.
4) Remove the Housing stay-A. (M3x6 screws; 2 pcs)
5) Keeping the Master removal assembly (upper) opened, unhook the two Springs. Then remove
the Master removal assembly (upper) by lowering it down.
[ Removing the Master removal assembly (bottom)]
6) Unplug the wire harness connector of Master loading sensor.
7) Remove the Master removal assembly (bottom) by removing wire harness and screws. (M3x6
screws; 2 pcs)
Precautions in Assembly
The precautions for the assembly continue after the photographs for the removal procedures.
RISO Inc. Technical Services & Support
US.RISO.COM


