8 - 6
CZ80 / CV860 Rev. .0
CHAPTER 8: PRINT DRUM
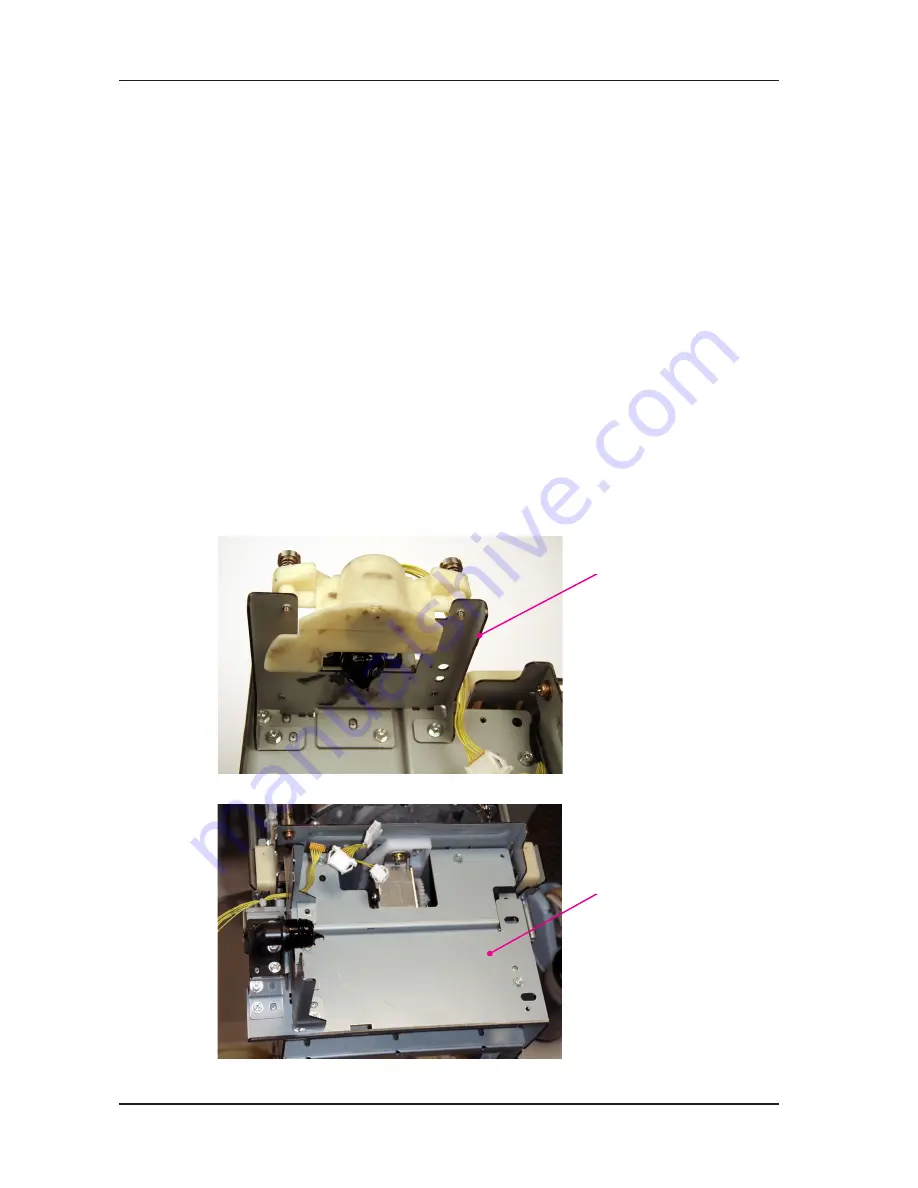
Holder bracket plate
4. Inking Motor
REMOVAL
) Remove the Drum out from the machine and pull out the ink bottle.
2) Remove the Drum cover. (M3x8 screws; 4 pcs)
3) Remove the Bottle switch cover. (M3x8 screws; 2 pcs)
4) Unplug the RF-PCB wire harness.
5) Remove the upper and lower Ink bottle guides. (M3x8 screws; 3 pcs)
6) Unplug the Bottle set switch wire harness.
7) Remove the Holder bracket. (M3x8 screws; 2 pcs)
8) Remove the Ink intake nozzle bracket. (M3x8 screws; 3 pcs)
9) Remove the Ink bottle base. (M3x8 screws; 4 pcs)
10) Remove the Grip handle. (M4x8 screws; 4 pcs)
) Unplug the Inking motor wire harness connector and remove the mounting screws of the Inking
motor to detach the Inking motor. (M4x10 screws; 2 pcs)
Precaution in Assembly
1) Using a wire harness band of about 100mm in length, fix the RF-wire harness firmly on the Holder
bracket. This is to prevent the wire harness from being pinched or cut when mounting the Ink
bottle guide.
Ink bottle base
RISO Inc. Technical Services & Support
US.RISO.COM


