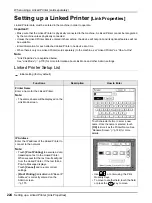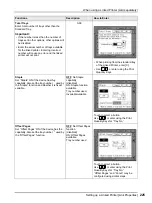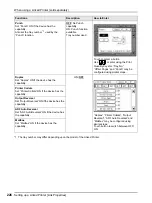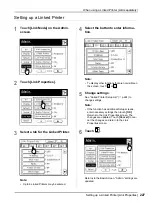
When using a Linked Printer (sold separately)
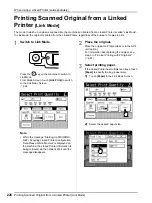
Printing Scanned Original from a Linked Printer [Link Mode]
229
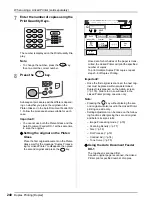
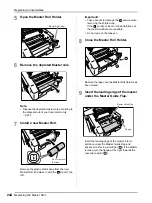
3)
Touch
[OK]
.
Tip:
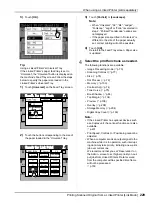
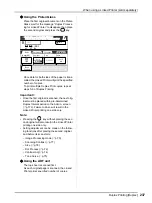
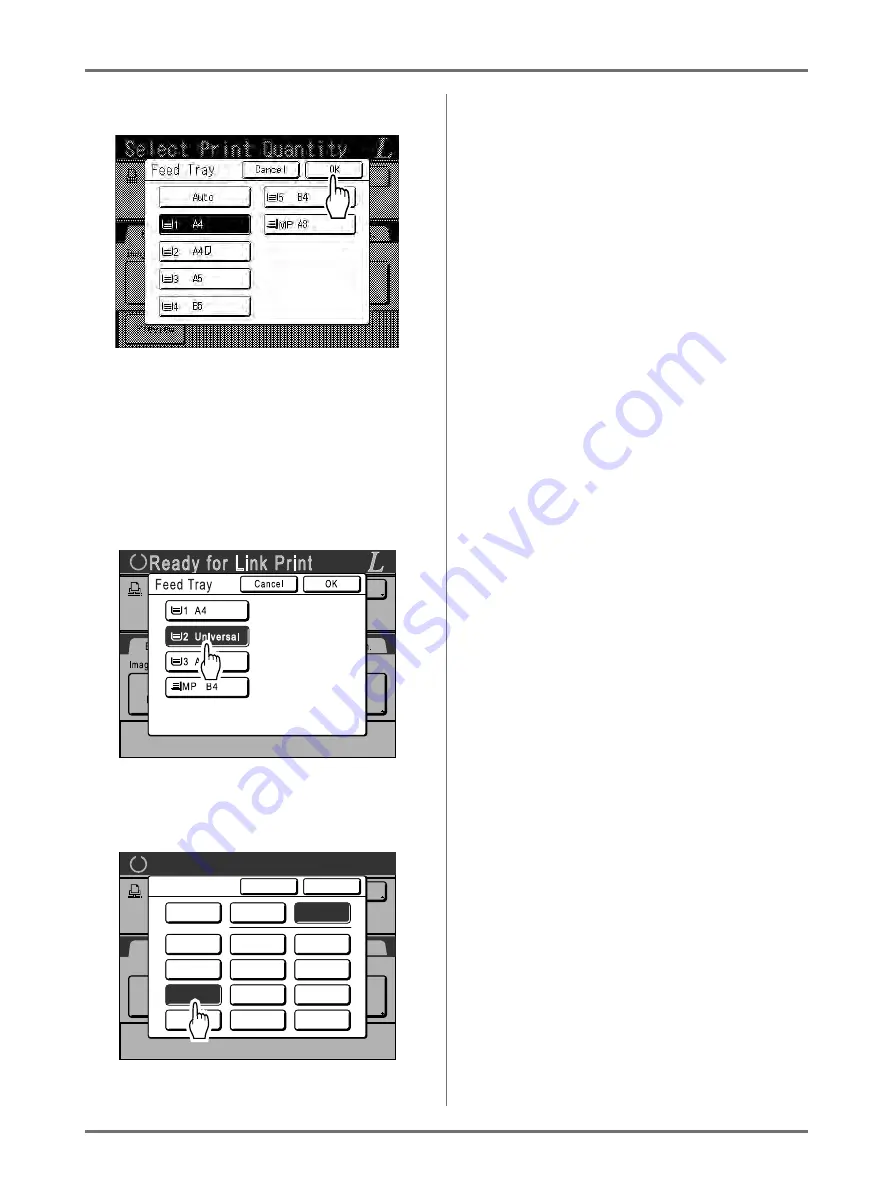
Using a Linked Printer's Universal Tray
If the Linked Printer’s paper feed tray is set to
“Universal”, the “Universal” button is displayed on
the machine's Feed Tray screen. Follow the steps
below to specify the paper size loaded in the
Linked Printer's Universal Tray.
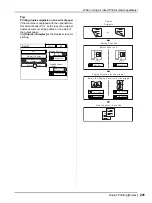
1)
Touch
[Universal]
on the Feed Tray screen.
2)
Touch the button corresponding to the size of
the paper loaded in the “Universal” tray.
3)
Touch
[Portrait]
or
[Landscape]
.
Note:
• When “Universal”, “A3”, “B4”, “Ledger”,
“Foolscap”, “Legal” or “Folio” is selected in
step 2, “Portrait”/“Landscape” options are
not displayed.
• If the paper size specified in “Universal” is
different to the size of the paper actually
set, correct printing will not be possible.
4)
Touch
[OK]
.
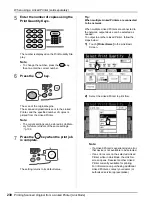
Returns to the Feed Tray screen. Paper size
is updated.
4
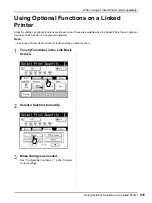
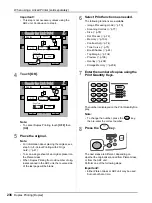
Select the print functions as needed.
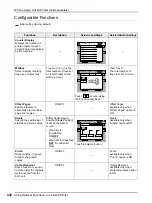
The following functions are available:
• Image Processing mode (
• Scanning Contrast (
• Size (
• Dot Process (
• Memory (
• Contrast Adj (
• Tone Curve (
• Book Shadow (
• Top Margin (
• Preview (
• Storage Memory (
• Digital Copy Count (
Note:
• If the Linked Printer has optional devices such
as a duplex unit, the optional functions are also
available.
• Print Speed, Contrast, or Positioning cannot be
adjusted.
• When a computer sends an output signal to the
machine while it is in operation, such interrupt-
ing data may take priority, initiating a new print
job over current one.
We recommend that you set “Reservation” on
the Admin. screen to set higher priority on out-
put jobs from Linked Printers. Data received
from the computer within specified time frame
will not be processed.
A4
1
L
Ready for Link Print
Image
Paper
Basic
Admin.
LBP1
MP
Idle
1
2
A4
A3
B4
Line
Paper Size
Cancel
OK
A5
Ledger
Legal
Folio
Statement
A3
A4
B5
Foolscap
Letter
Universal
Landscape
Executive
Portrait
B4
Summary of Contents for MZ770
Page 1: ......
Page 2: ......
Page 3: ......
Page 34: ...Getting Acquainted Display 31...
Page 114: ...Functions for Master Making Checking the Print Image Prior to Making Master Preview 111...
Page 196: ...Advanced Features Keeping Masters Secure After Printing 193...
Page 224: ...Storage and Scan Modes Option 2 Colour Printing with the Original and Storage Data Stamp 221...
Page 258: ...Replacing Consumables Disposal of Depleted Consumables 255...
Page 264: ...Maintenance Cleaning 261...
Page 300: ...Appendix Specifications 297...
Page 305: ...Index 302 024 36004 802...
Page 307: ...304 024 36004 802...

