Basic Operations
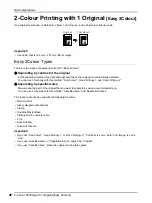
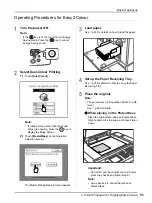
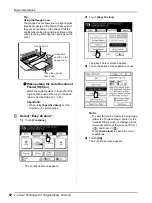
2-Colour Printing with 1 Original [Easy 2Colour]
57
2)
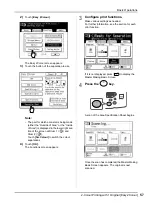
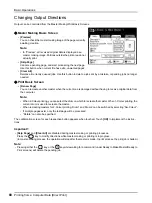
Touch
[Easy 2Colour]
.
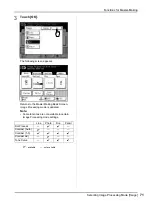
The Easy 2Colour screen appears.
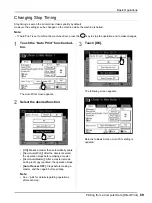
3)
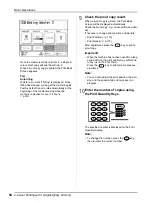
Touch the button of the separation to use.
Note:
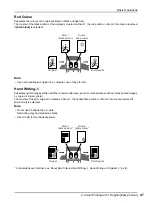
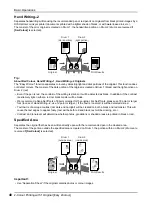
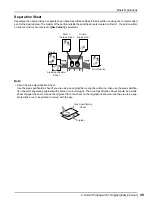
• The part for which a master is being made
(either the “Outside of Area” or the “Inside
of Area”) is displayed in the lower right sec-
tion of the screen at Drum 1 (
) and
Drum 2 (
).
Touch
[Sw.Colour]
to switch the colour
separations.
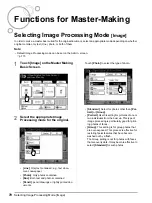
4)
Touch
[OK]
.
The Functions screen appears.
3
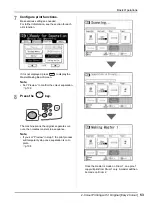
Configure print functions.
Make various settings as needed.
For further information, see the section for each
print function.
If it is not displayed, press
to display the
Master Making Basic Screen.
4
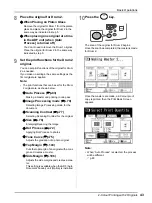
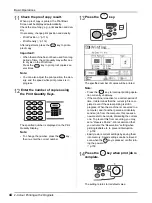
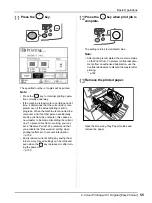
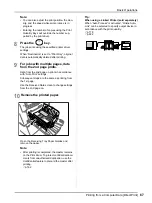
Press the
key.
A scan of the Area Specification Sheet begins.
Once the scan has completed, the Master Making
Basic Screen appears. The original is next
scanned.
Summary of Contents for MZ770
Page 1: ......
Page 2: ......
Page 3: ......
Page 34: ...Getting Acquainted Display 31...
Page 114: ...Functions for Master Making Checking the Print Image Prior to Making Master Preview 111...
Page 196: ...Advanced Features Keeping Masters Secure After Printing 193...
Page 224: ...Storage and Scan Modes Option 2 Colour Printing with the Original and Storage Data Stamp 221...
Page 258: ...Replacing Consumables Disposal of Depleted Consumables 255...
Page 264: ...Maintenance Cleaning 261...
Page 300: ...Appendix Specifications 297...
Page 305: ...Index 302 024 36004 802...
Page 307: ...304 024 36004 802...

