Basic Operations
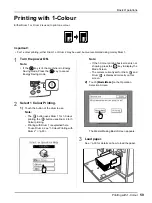
Printing with 1-Colour
60
4
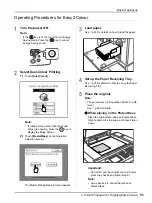
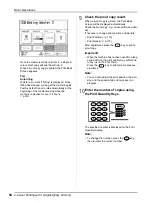
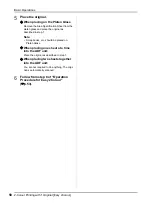
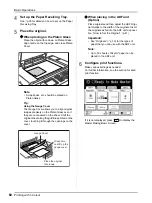
Set up the Paper Receiving Tray.
p.35 for details on how to set up the Paper
Receiving Tray.
5
Place the original.
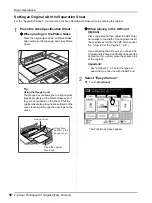
When placing on the Platen Glass
Place the original face down on Platen Glass.
Align centre on the top edge, and close Platen
Cover.
Note:
• Scrap books, etc. should be placed on
Platen Glass.
Tip:
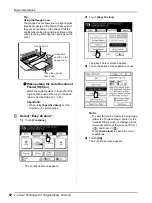
Using the Gauge Cover
The Gauge Cover allows you to align original
images precisely on the Platen Glass even if
they are not squared on the sheet. Shift the
original sheet along the grid lines printed on the
cover, touching it through the openings on the
cover.
When placing in the ADF unit
(Option)
Place originals and then adjust the ADF Origi-
nal Guides to the width of the originals. Insert
the originals as far into the ADF unit as possi-
ble. (“How to Set the Original”
p.41)
Important!:
• See “Originals” (
paper that you can use with the ADF unit.
Note:
• Up to 50 sheets of 64g/m
2
paper can be
placed in the ADF unit.
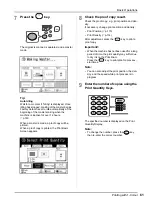
6
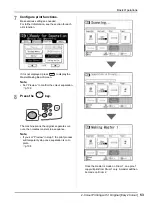
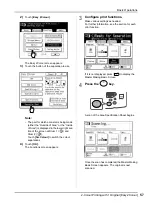
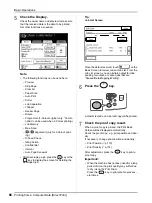
Configure print functions.
Make various settings as needed.
For further information, see the section for each
print function.
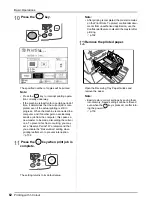
If it is not displayed, press
to display the
Master Making Basic Screen.
Gauge Cover
Grasp here
and lift up the
gauge cover
Place the original
face-down
Summary of Contents for MZ770
Page 1: ......
Page 2: ......
Page 3: ......
Page 34: ...Getting Acquainted Display 31...
Page 114: ...Functions for Master Making Checking the Print Image Prior to Making Master Preview 111...
Page 196: ...Advanced Features Keeping Masters Secure After Printing 193...
Page 224: ...Storage and Scan Modes Option 2 Colour Printing with the Original and Storage Data Stamp 221...
Page 258: ...Replacing Consumables Disposal of Depleted Consumables 255...
Page 264: ...Maintenance Cleaning 261...
Page 300: ...Appendix Specifications 297...
Page 305: ...Index 302 024 36004 802...
Page 307: ...304 024 36004 802...

