Basic Operations
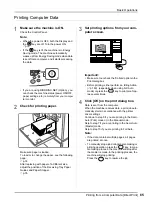
Printing from a Computer Data [Direct Print]
67
Note:
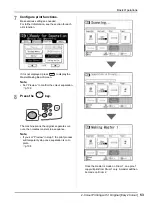
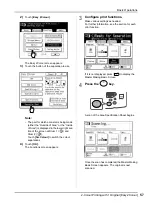
• You can also adjust the print position, the den-
sity, and the speed while print process is in
progress.
• Entering the number of copies using the Print
Quantity Keys will override the number sup-
ported by the print driver.
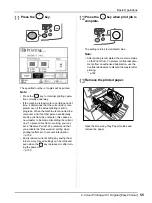
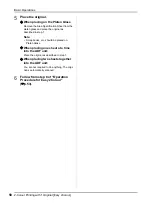
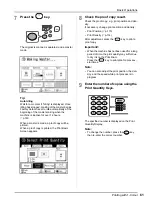
8
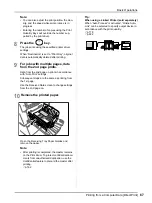
Press the
key.
The job prints using the specified printer driver
settings.
When “Destination” is set to “Print Only”, original
data is automatically deleted after printing.
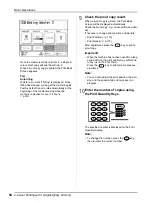
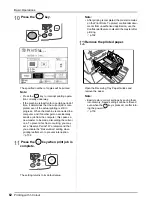
9
For jobs with multiple pages, data
from the 2nd page prints.
Data from the 2nd page on prints in accordance
with “Auto Print” settings.
Subsequent steps are the same as printing from
the 1st page.
Use the Received Data screen to change settings
from the 2nd page on.
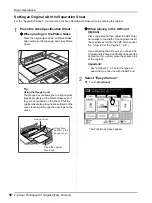
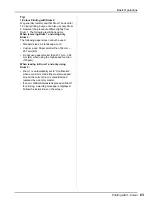
10
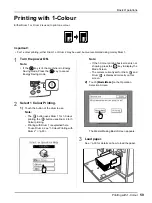
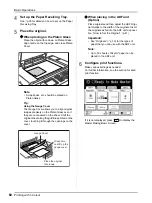
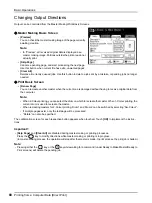
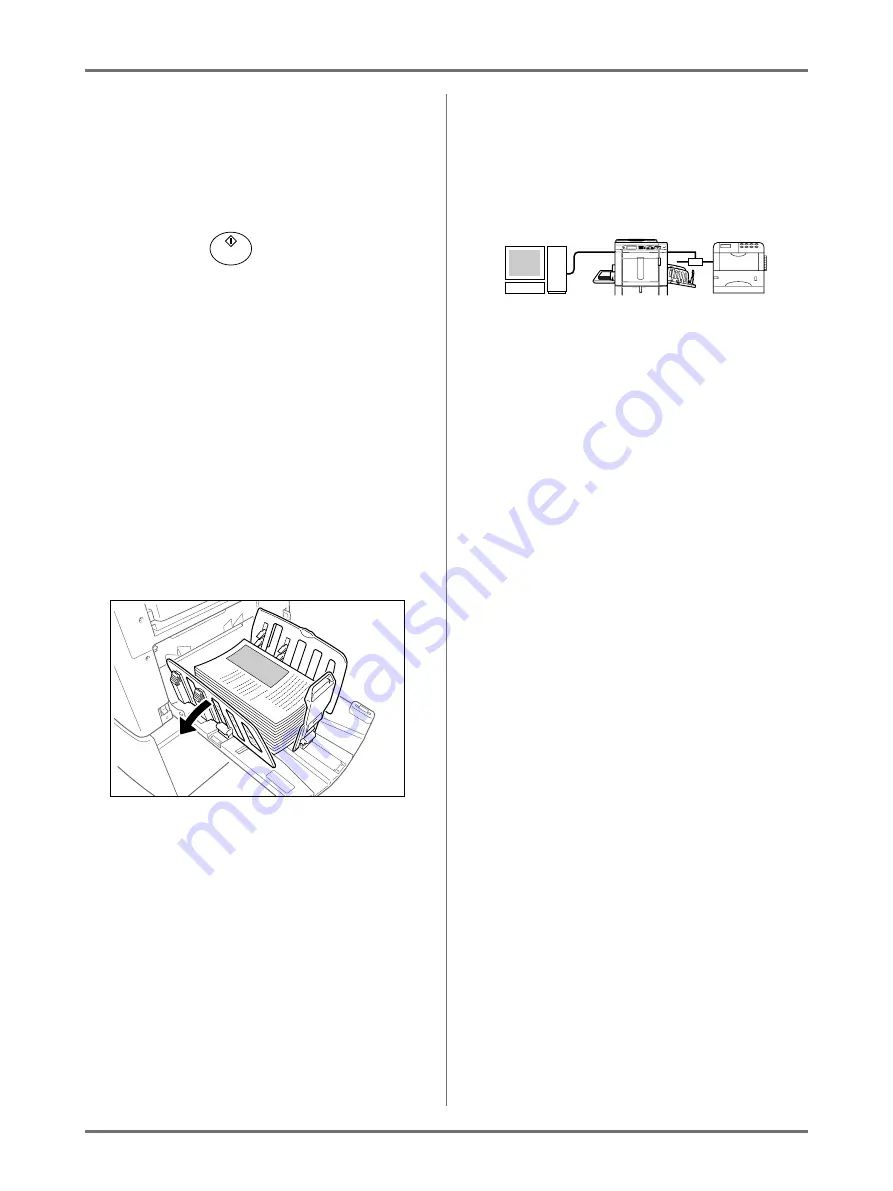
Remove the printed paper.
Open the Receiving Tray Paper Guides and
remove the paper.
Note:
• After printing is completed, the master remains
on the Print Drum. To protect confidential docu-
ments from unauthorised duplication, use the
Confidential feature to discard the master after
printing.
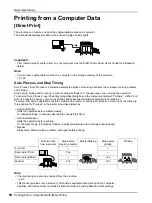
Tip:
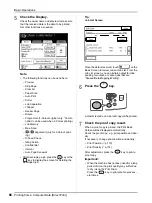
When using a Linked Printer (sold separately)
When “Auto Process” is activated, “Online Auto-
Link” can be selected to specify output device in
accordance with the print quantity.
Summary of Contents for MZ770
Page 1: ......
Page 2: ......
Page 3: ......
Page 34: ...Getting Acquainted Display 31...
Page 114: ...Functions for Master Making Checking the Print Image Prior to Making Master Preview 111...
Page 196: ...Advanced Features Keeping Masters Secure After Printing 193...
Page 224: ...Storage and Scan Modes Option 2 Colour Printing with the Original and Storage Data Stamp 221...
Page 258: ...Replacing Consumables Disposal of Depleted Consumables 255...
Page 264: ...Maintenance Cleaning 261...
Page 300: ...Appendix Specifications 297...
Page 305: ...Index 302 024 36004 802...
Page 307: ...304 024 36004 802...

