Functions for Master-Making
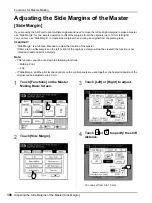
Making a Master that Utilizes the Maximum Printing Area [Max. Scan]
100
Making a Master that Utilizes the Maximum
Printing Area
[Max. Scan]
When a master is made, automatic paper size detection and image size adjustment applies to allow appropriate print
margins. This is to prevent paper jams, and to keep internal roller free of ink stains.
By selecting “Max. Scan”, maximum printing area will apply to the scanned image, regardless of the print paper size
or original document size.
Maximum Printing Area: 291 mm
×
413 mm
Important!:
• Be sure to check the sizes of the original document and the printing paper first.
• The 5mm margin on the top cannot be scanned even in the “Max. Scan” setting.
• Do not use print paper smaller than the area of the image made on the master.
• The entire surface of the Platen Glass must be clean.
By scanning the maximum size, dirt found outside the original document area will also be included in the master.
This may cause the internal roller to be stained with ink.
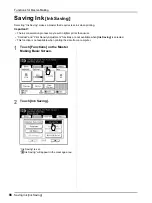
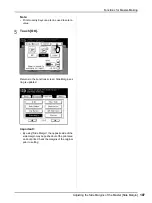
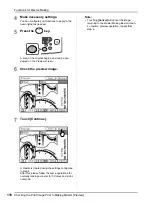
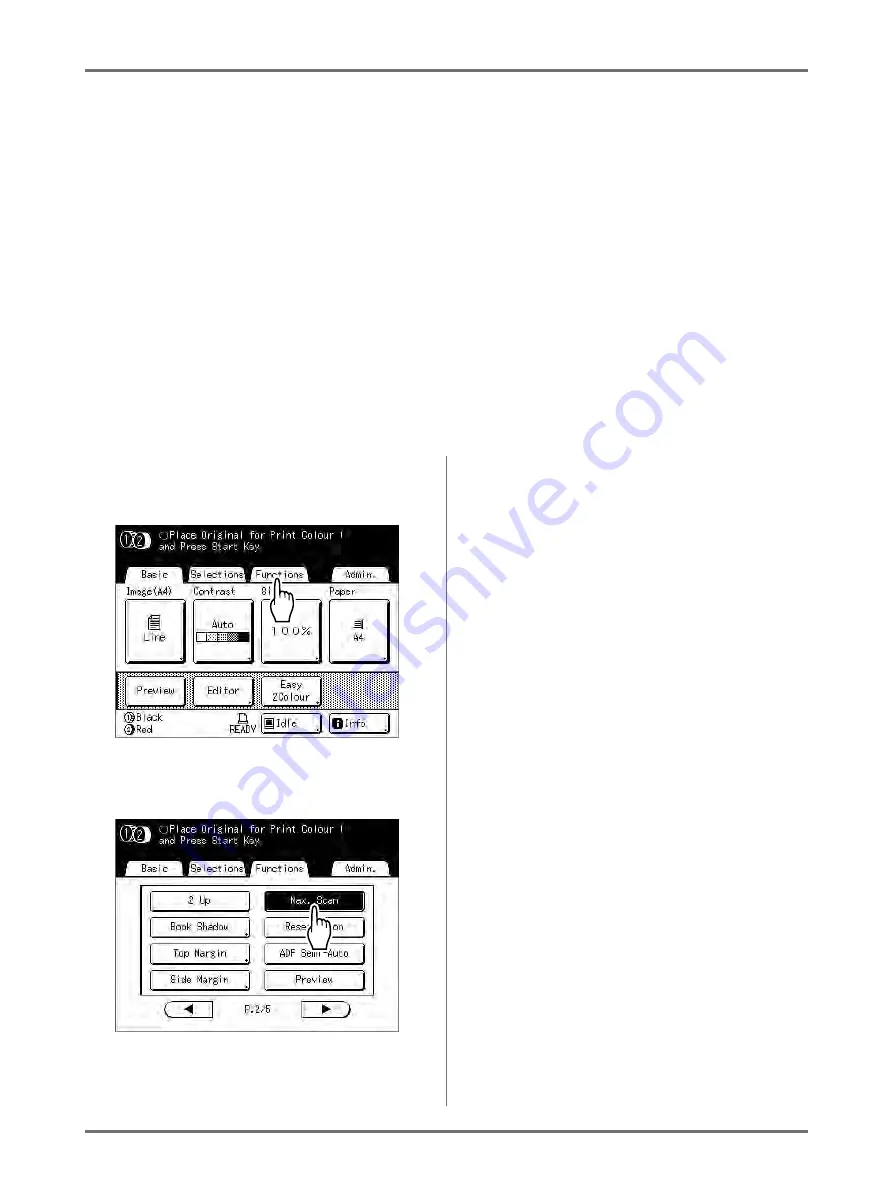
1
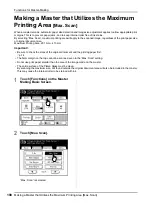
Touch [Functions] on the Master
Making Basic Screen.
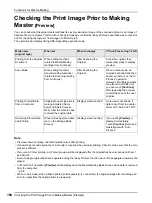
2
Touch [Max. Scan].
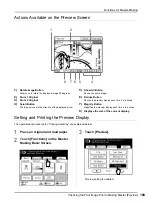
“Max. Scan” is selected.
Summary of Contents for MZ770
Page 1: ......
Page 2: ......
Page 3: ......
Page 34: ...Getting Acquainted Display 31...
Page 114: ...Functions for Master Making Checking the Print Image Prior to Making Master Preview 111...
Page 196: ...Advanced Features Keeping Masters Secure After Printing 193...
Page 224: ...Storage and Scan Modes Option 2 Colour Printing with the Original and Storage Data Stamp 221...
Page 258: ...Replacing Consumables Disposal of Depleted Consumables 255...
Page 264: ...Maintenance Cleaning 261...
Page 300: ...Appendix Specifications 297...
Page 305: ...Index 302 024 36004 802...
Page 307: ...304 024 36004 802...

