Functions for Master-Making
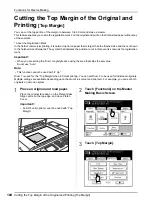
Cutting the Top Margin of the Original and Printing [Top Margin]
104
Cutting the Top Margin of the Original and
Printing
[Top Margin]
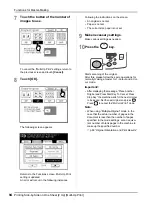
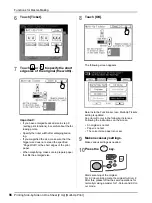
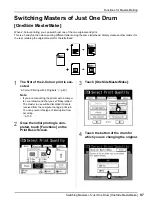
You can cut the top portion of the margin to between 0 to 99 mm and make a master.
This feature enables you to skip the registration marks
*
on the original and print on the finish-sized paper without any
of these marks.
* About the Registration Mark
In the field of commercial printing, it is normal to print on paper that is larger than the finished size and then cut down
to the finished size afterwards. The symbol that indicates the position to cut in this event is known as the registration
mark.
Important!:
• When you are setting the “Size”, magnify/reduce using the area that skips the set value.
Do not use “Auto”.
Note:
• This function cannot be used with “2 Up”.
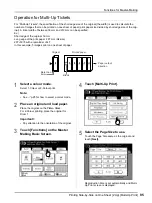
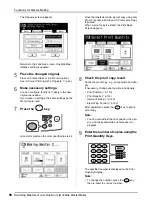
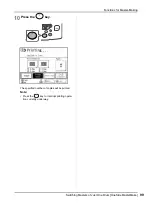
Drum 1 is used for the “Top Margin” when 2-Colour printing. You can set Drum 2 to be used for individual originals.
Multiple settings are available depending upon the drum's ink colour and print aim. For example, you can set both
originals or just one original.
1
Place an original and load paper.
Place the original face down on the Platen Glass.
Align centre on the top edge, and close Platen
Cover.
Important!:
• An ADF unit (option) cannot be used with “Top
Margin”.
2
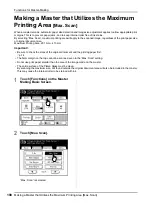
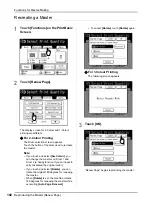
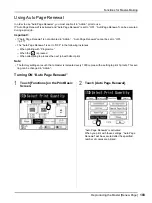
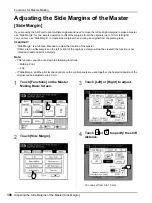
Touch [Functions] on the Master
Making Basic Screen.
3
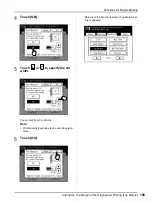
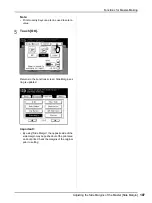
Touch [Top Margin].
Summary of Contents for MZ770
Page 1: ......
Page 2: ......
Page 3: ......
Page 34: ...Getting Acquainted Display 31...
Page 114: ...Functions for Master Making Checking the Print Image Prior to Making Master Preview 111...
Page 196: ...Advanced Features Keeping Masters Secure After Printing 193...
Page 224: ...Storage and Scan Modes Option 2 Colour Printing with the Original and Storage Data Stamp 221...
Page 258: ...Replacing Consumables Disposal of Depleted Consumables 255...
Page 264: ...Maintenance Cleaning 261...
Page 300: ...Appendix Specifications 297...
Page 305: ...Index 302 024 36004 802...
Page 307: ...304 024 36004 802...

