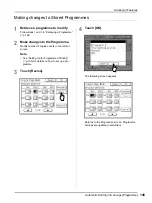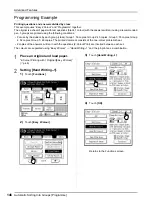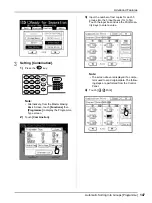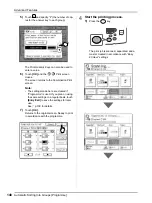
Advanced Features
Using Job Memory Functions [Job Memory]
151
Storing Job Memory
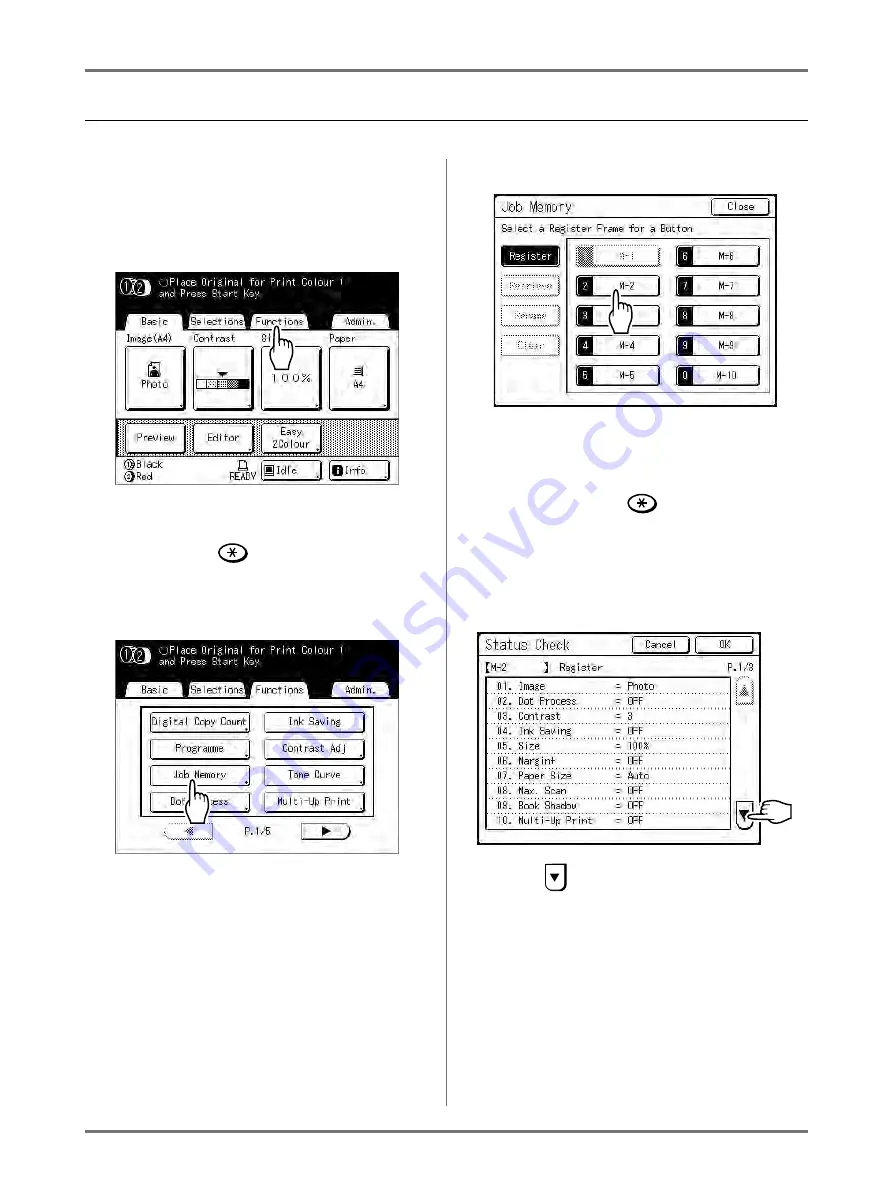
1
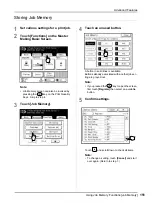
Set various settings for a print job.
2
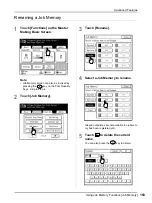
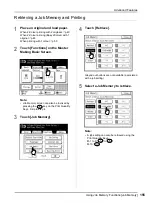
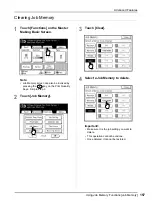
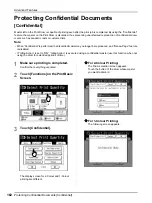
Touch [Functions] on the Master
Making Basic Screen.
Note:
• Job Memory screen can also be invoked by
pressing the
key on the Print Quantity
Keys. Skip to step 4.
3
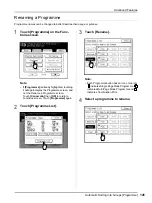
Touch [Job Memory].
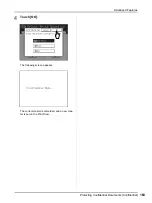
4
Touch an unused button.
A button in solid lines is available.
Buttons already associated with another job set-
ting are greyed out.
Note:
• If you pressed the
key to open the screen,
first touch
[Register]
then select an available
button.
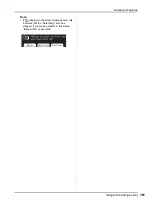
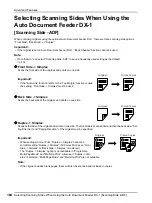
5
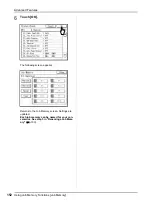
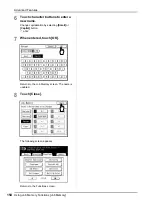
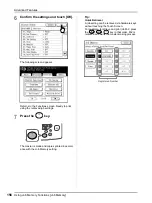
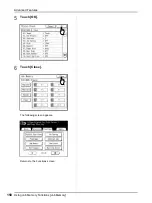
Confirm settings.
Touch
and scroll down to check all items.
Note:
• To change a setting, touch
[Cancel]
and start
over again. (Return to step 1.)
Summary of Contents for MZ770
Page 1: ......
Page 2: ......
Page 3: ......
Page 34: ...Getting Acquainted Display 31...
Page 114: ...Functions for Master Making Checking the Print Image Prior to Making Master Preview 111...
Page 196: ...Advanced Features Keeping Masters Secure After Printing 193...
Page 224: ...Storage and Scan Modes Option 2 Colour Printing with the Original and Storage Data Stamp 221...
Page 258: ...Replacing Consumables Disposal of Depleted Consumables 255...
Page 264: ...Maintenance Cleaning 261...
Page 300: ...Appendix Specifications 297...
Page 305: ...Index 302 024 36004 802...
Page 307: ...304 024 36004 802...

