Before Starting to Use
Originals
17
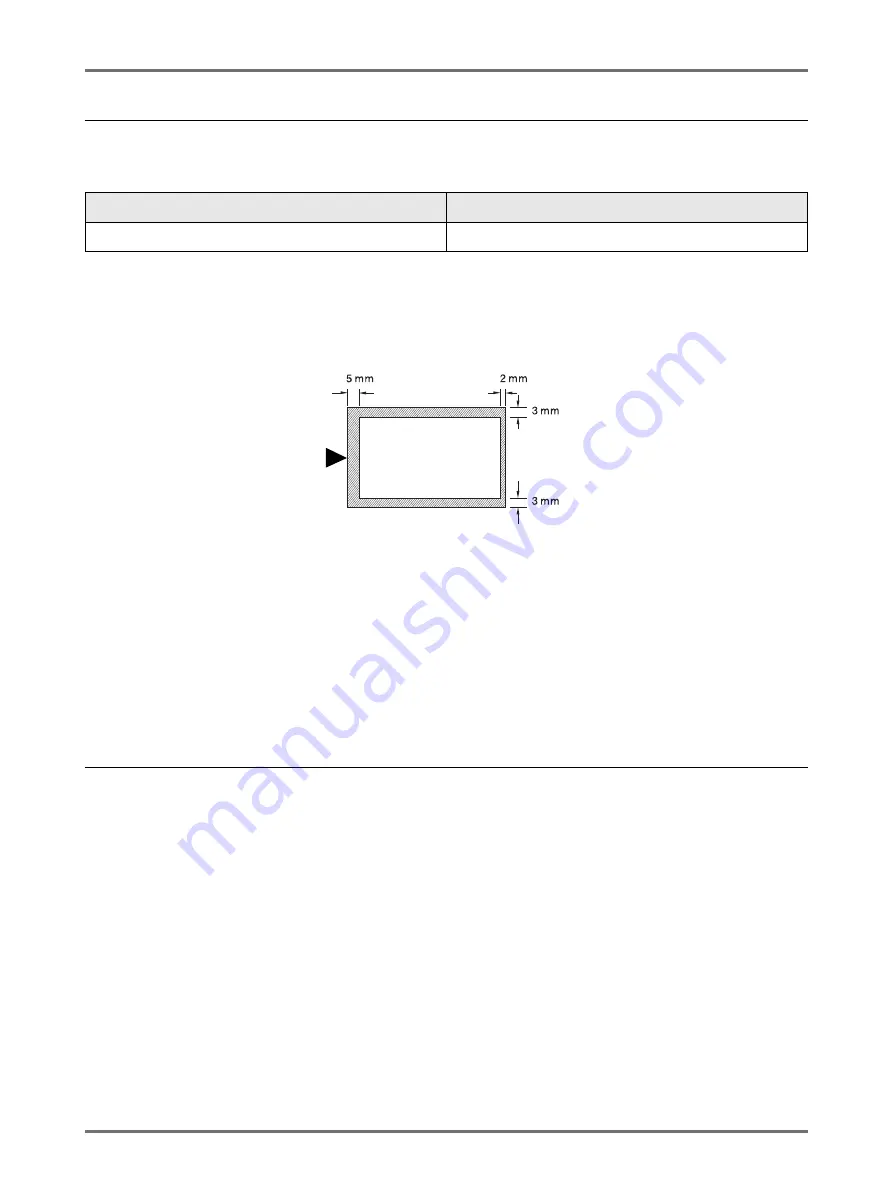
Maximum Printing Areas and Margins
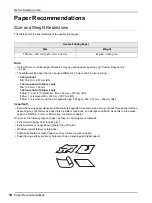
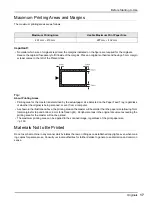
The maximum printing areas are as follows.
Important!:
• No matter which size of originals is printed, the margins indicated on the figure are required for the originals.
Reduce the original if necessary to fit it inside of the margins. Place an original so that its end having a 5 mm margin
at least comes to the left of the Platen Glass.
Tip:
About Printing Areas
• Printing area for the master is determined by the actual paper size detected on the Paper Feed Tray, regardless
of whether the original is being scanned, or sent from a computer.
• As shown in the illustration above, the printing area on the master will be smaller than the paper size (allowing 7mm
total margins for top and bottom, 6 mm for left and right). Peripheral areas in the original document exceeding the
printing area for the master will not be printed.
• The maximum printing area can be applied to the scanned image, regardless of the print paper size.
Materials Not to Be Printed
Do not use the machine in any manner which violates the law or infringes on established copyrights, even when mak-
ing copies for personal use. Consult your local authorities for further details. In general, use discretion and common
sense.
Maximum Printing Area
Usable Maximum Print Paper Size
291 mm
×
413 mm
297 mm
×
432 mm
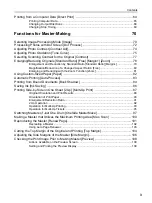
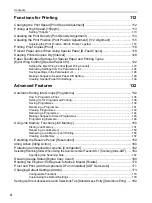
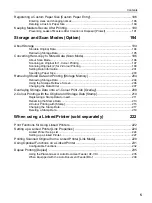
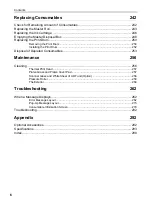
Summary of Contents for MZ770
Page 1: ......
Page 2: ......
Page 3: ......
Page 34: ...Getting Acquainted Display 31...
Page 114: ...Functions for Master Making Checking the Print Image Prior to Making Master Preview 111...
Page 196: ...Advanced Features Keeping Masters Secure After Printing 193...
Page 224: ...Storage and Scan Modes Option 2 Colour Printing with the Original and Storage Data Stamp 221...
Page 258: ...Replacing Consumables Disposal of Depleted Consumables 255...
Page 264: ...Maintenance Cleaning 261...
Page 300: ...Appendix Specifications 297...
Page 305: ...Index 302 024 36004 802...
Page 307: ...304 024 36004 802...

