Storage and Scan Modes (Option)
Converting Hard-copy to Stored Data (Scan Mode)
201
Setting Data Information
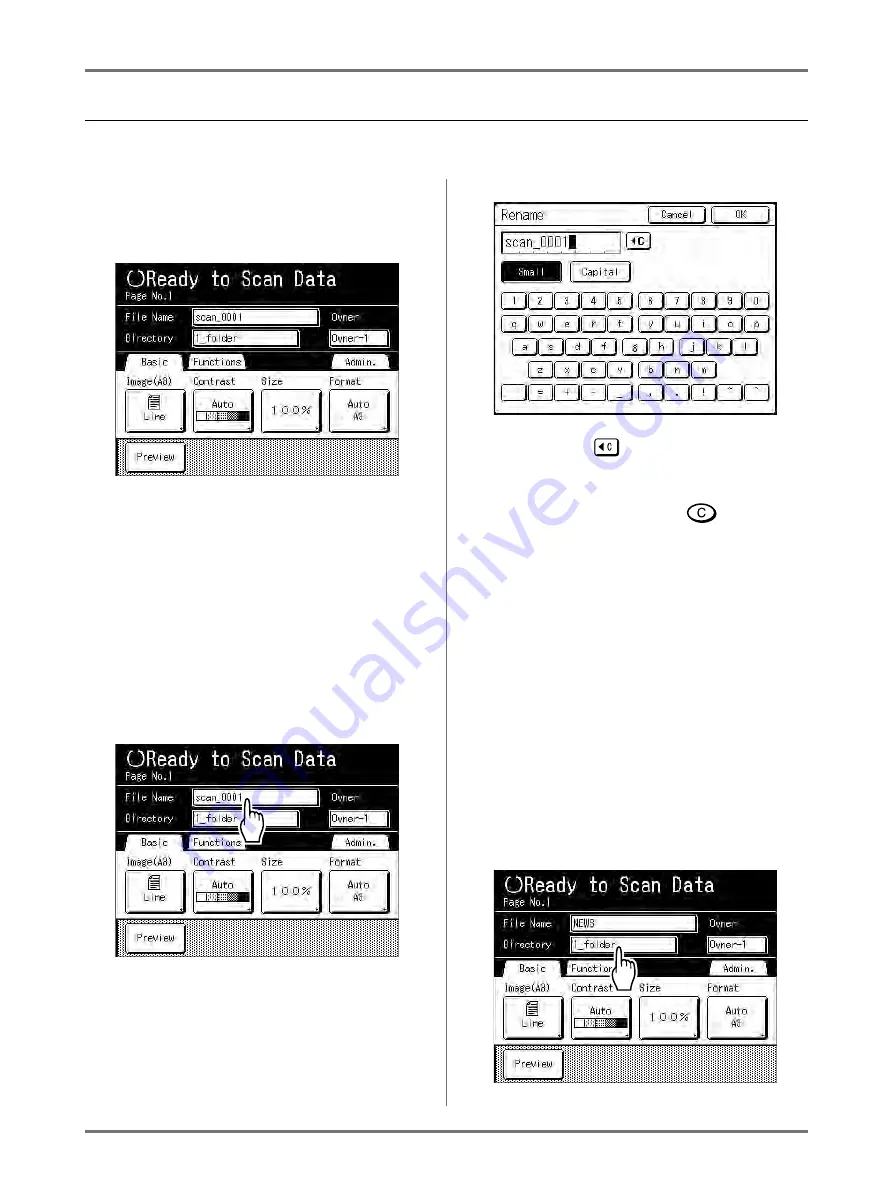
Settings for the data to be scanned and stored are configured on the Scan Basic Screen.
1
Select a scan mode.
See
p.196 for information about selecting a
scan mode.
The data name, save location and owner name
are automatically allocated when scan mode is
started, but you can change this preset informa-
tion if needed.
Note:
• Default settings for the “Directory” folder can be
changed in “Admin.”.
(
2
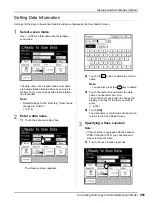
Enter a data name.
1)
Touch the data name input box.
The Rename screen appears.
2)
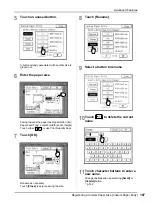
Touch the
button to delete the current
name.
Note:
• You can also press the
key to delete.
3)
Touch the text button and enter the data
name one character at a time.
Touch the Text Type button to change the
display, and look for the text you want to
enter.
(
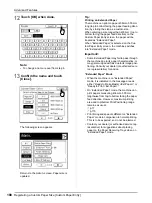
4)
Touch
[OK]
.
The data name is confirmed and the screen
returns to the Scan Basic Screen.
3
Specifying a Save Location
Note:
• If the machine is equipped with the optional
RISO Controller PS7R, you cannot specify
where to store the data.
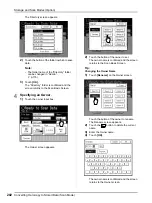
1)
Touch the save location input box.
Summary of Contents for MZ770
Page 1: ......
Page 2: ......
Page 3: ......
Page 34: ...Getting Acquainted Display 31...
Page 114: ...Functions for Master Making Checking the Print Image Prior to Making Master Preview 111...
Page 196: ...Advanced Features Keeping Masters Secure After Printing 193...
Page 224: ...Storage and Scan Modes Option 2 Colour Printing with the Original and Storage Data Stamp 221...
Page 258: ...Replacing Consumables Disposal of Depleted Consumables 255...
Page 264: ...Maintenance Cleaning 261...
Page 300: ...Appendix Specifications 297...
Page 305: ...Index 302 024 36004 802...
Page 307: ...304 024 36004 802...

