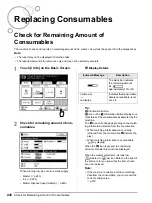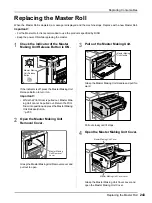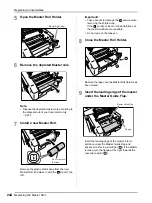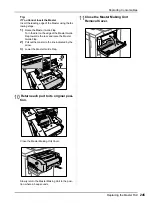
Replacing Consumables
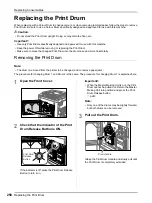
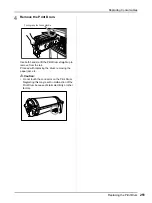
Replacing the Print Drum
252
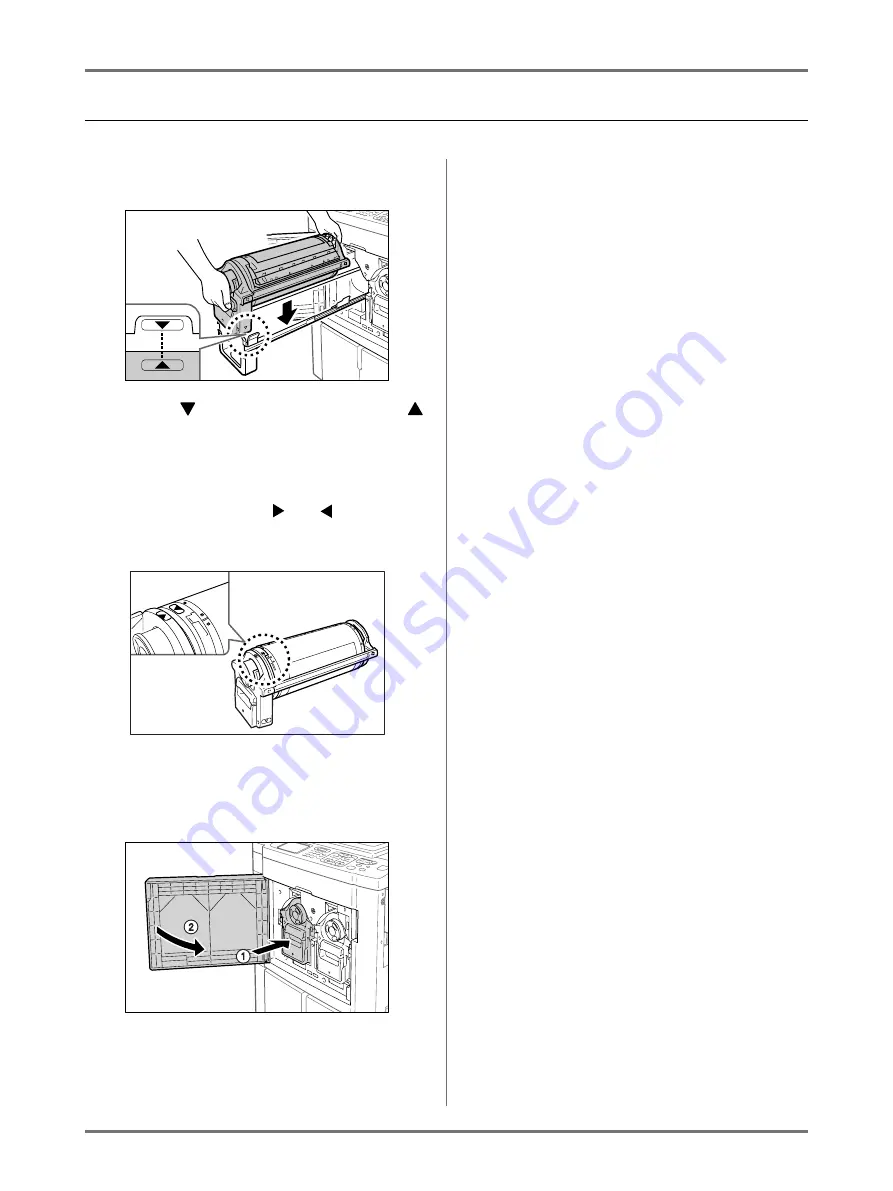
Installing the Print Drum
1
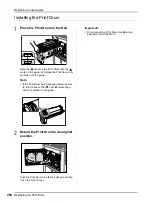
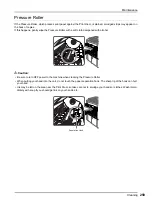
Place the Print Drum on the Rail.
Align the
mark on the Print Drum with the
mark on the guide, and place the Print Drum hori-
zontally onto the guide.
Note:
• If the Print Drum was manually rotated, be sure
to turn it back so that
and
marks align,
after it is placed on the guide.
2
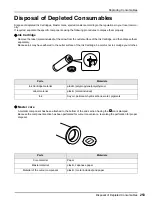
Return the Print Drum to its original
position.
Push the Print Drum in as far as it will go, and then
close the Front Cover.
Important!:
• Do not grasp the Print Drum Handle when
pushing in the Print Drum.
Summary of Contents for MZ770
Page 1: ......
Page 2: ......
Page 3: ......
Page 34: ...Getting Acquainted Display 31...
Page 114: ...Functions for Master Making Checking the Print Image Prior to Making Master Preview 111...
Page 196: ...Advanced Features Keeping Masters Secure After Printing 193...
Page 224: ...Storage and Scan Modes Option 2 Colour Printing with the Original and Storage Data Stamp 221...
Page 258: ...Replacing Consumables Disposal of Depleted Consumables 255...
Page 264: ...Maintenance Cleaning 261...
Page 300: ...Appendix Specifications 297...
Page 305: ...Index 302 024 36004 802...
Page 307: ...304 024 36004 802...

