Setting up for Scanning Originals
Automatic Printing [Auto-Process]
44
Automatic Printing
[Auto-Process]
With “Auto-Process” selected, enter the number of copies to be printed, and then press the
key. The master-mak-
ing and printing processes are automatically executed in a sequence.
Press the
key to turn on its indicator.
Note:
• When Auto-Process is selected and printing process
is finished, Print Quantity Display returns to show the
number of copies entered before printing.
• To clear the mode, press
key again to turn
off its indicator.
• If you place multiple originals in the ADF unit (option),
pressing the
key causes the placed originals to
be automatically printed for the specified number of
copies.
• Using the Custom Setting mode, you can make such
a setting that “Auto-Process” is always set to “ON”
when you reset or start the machine.
)
p.57
Setting up for Scanning Originals
Printing Originals Side-by-Side [2-Up Printing]
41
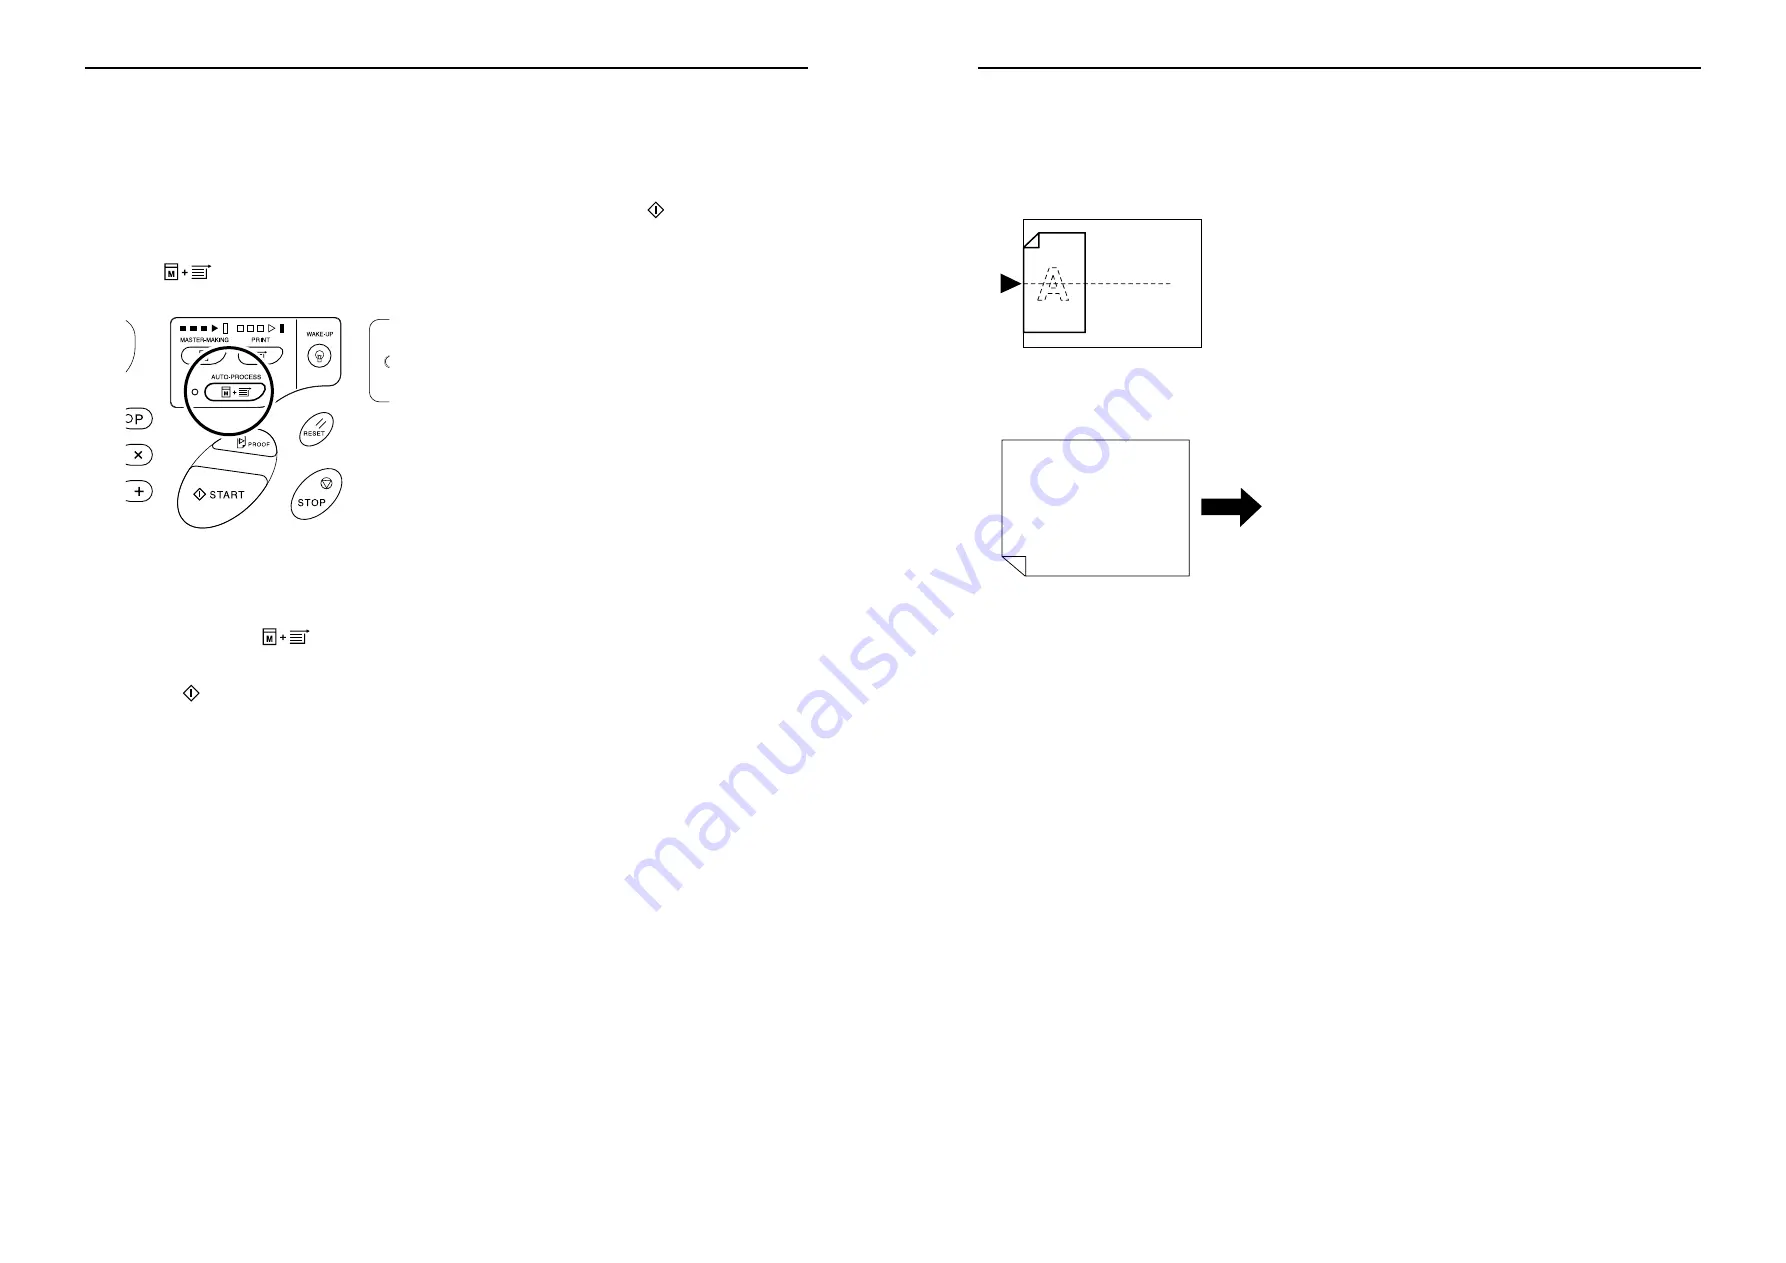
Paper orientation
Before printing, check the orientations of the original and print paper.
z
Orientation of originals
Always place originals in the orientation below.
z
Orientation of print paper
Always place print paper in the orientation below.
Note:
• You can specify the enlargement/reduction ratio by selecting the standard ratios or specify it in increments of 1%
using the Zoom function.
• Originals must have sufficient margins. Insufficient margins result in inappropriate page layout.
• Original margins are kept regardless of the enlargement/reduction ratio.
• For two-original printing, you can separately select the following functions for each original.
Image Processing mode, Pencil, enlargement/reduction ratio, dot process/scanning level
Riso Kagaku Technical Training Center Version


