Advanced Features
Registering a Custom Paper Size [Custom Paper Entry]
179
5
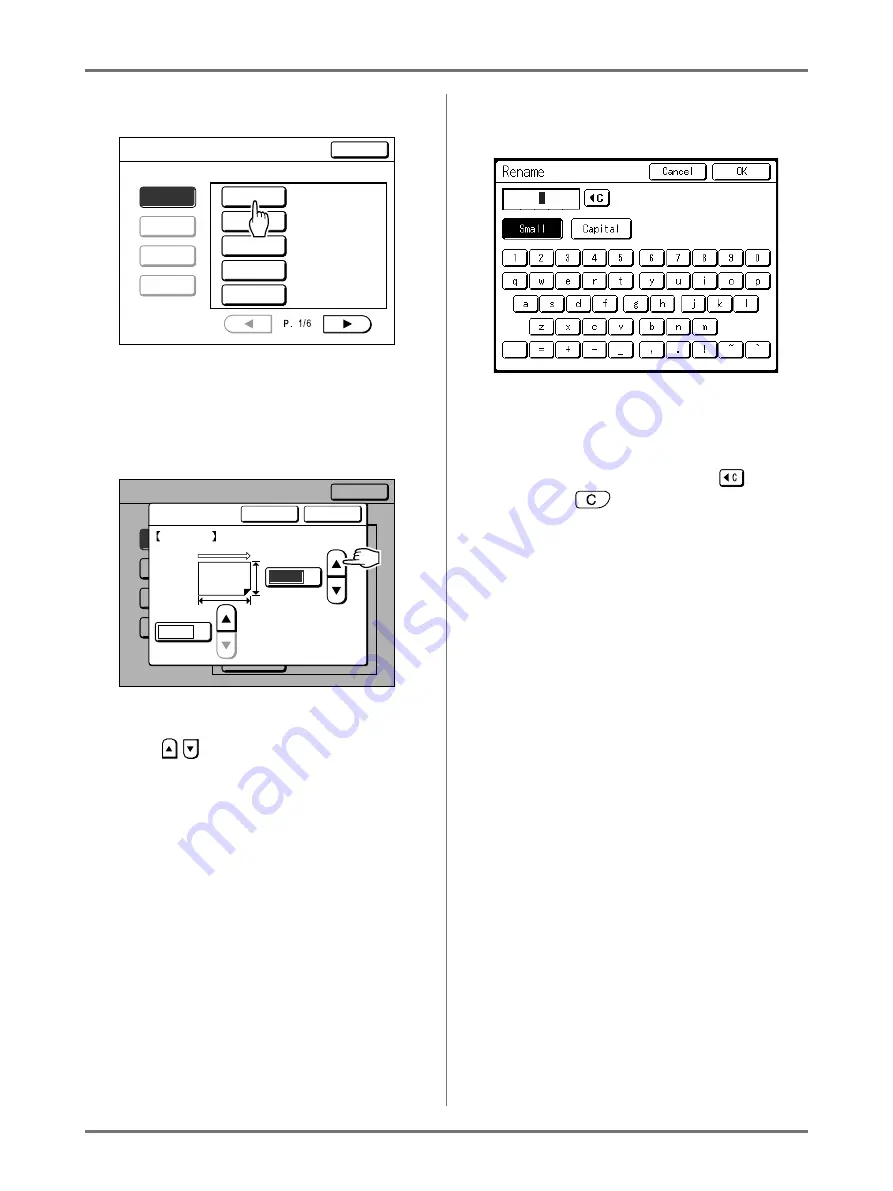
Touch an unused button.
Unused buttons are displayed with a solid line.
Used buttons are grayed out and are not avail-
able.
6
Enter the paper size.
Facing the paper feeding direction (into Feed
Tray), enter W (width) and H (height). Touch
either
, or use Print Quantity Keys.
7
Touch [OK].
Rename as necessary.
Touch
[Close]
to skip renaming the size.
8
Touch [Rename].
9
Select a button to rename.
10
Touch character buttons to enter a
new name.
Change capitalization by selecting
[Small]
or
[Capital]
button.
Note:
• To clear the current name, touch
button or
press the
key.
11
Touch [OK] when done.
Note:
• To change a name, repeat from step 8.
12
Confirm the name and touch
[Close].
Returns to the Admin. Screen. Feed Tray (Paper)
is updated.
Custom Paper Entry
S e l e c t a R e g i s t e r F r a m e f o r a B u t t o n
Close
Clear
Rename
Change
Register
No Entry
U - 1
No Entry
U - 2
No Entry
U - 3
No Entry
U - 4
No Entry
U - 5
Custom Paper Entry
S e l e c t a R e g i s t e r F r a m e f o r a B u t t o n
Close
Clear
Rename
Retrieve
Register
S i z e E n t r y
Cancel
OK
( N u m e r i c k e y p a d i s
a v a i l a b l e f o r i n p u t )
mm
mm
Feed
(100-340)
(148-555)
W
H
U-1
1 0 0
1 4 8
CardA
Summary of Contents for SE 9380
Page 1: ......
Page 2: ......
Page 97: ...Functions for Master Making Checking the Print Image Prior to Making Master Preview 95...
Page 203: ...Storing Original Data and Use Method Copying Moving Stored Data 201...
Page 223: ...Maintenance Cleaning 221...
Page 257: ...Troubleshooting Troubleshooting 255...
Page 263: ...Appendix Specifications 261...
Page 268: ...266 056 36003 001...


