Troubleshooting
Troubleshooting
247
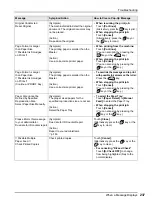
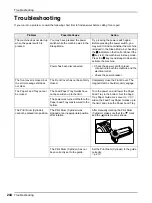
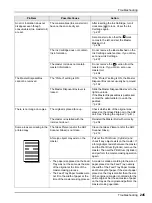
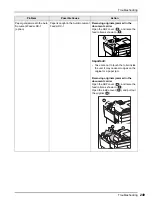
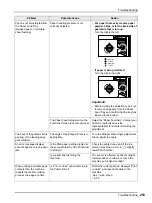
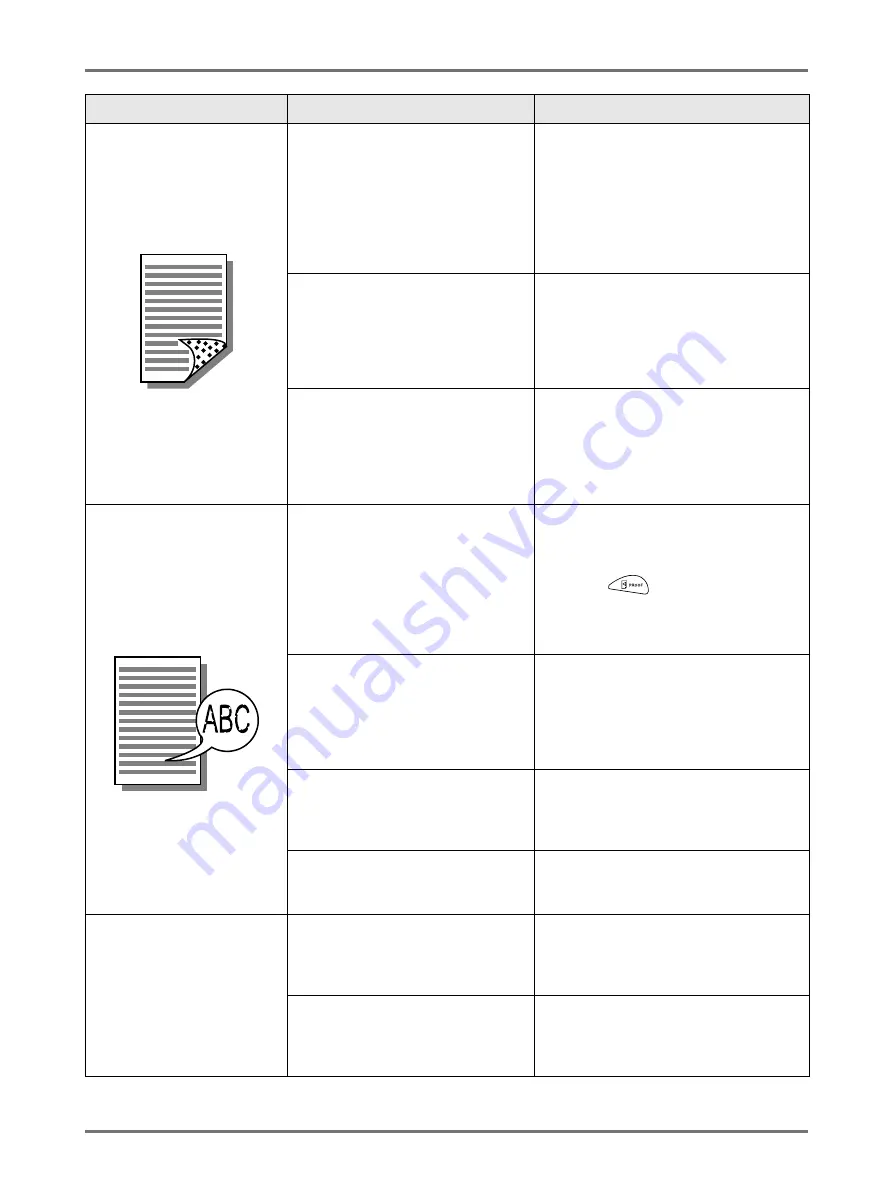
The back of the printed paper
is smudged with Ink
The Pressure Roller has been stained
with Ink.
Remove the Print Drum (Cylinder) and
clean the Pressure Roller.
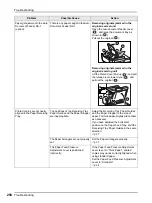
If the print position is outside the print
paper, this may cause the Pressure Roller
to be stained with Ink.
Be careful when changing the size of print
paper or shifting the print position.
The Feed Tray Paper Guides were
not fit to the width of paper at the time
of the master-making process.
Adjust the Feed Tray Paper Guides to the
width of the paper.
If the Feed Tray Paper Guides are set
wider than the width of the paper, a master
will become wider than necessary.
Are you using a paper that does not
efficiently absorb Ink?
The Ink did not dry fast enough, marking
onto the reverse side of the next paper.
Either change the paper or try “Ink Saving”
or “Interval” features.
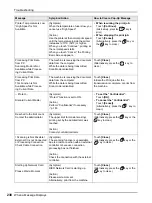
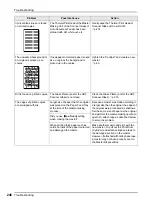
Printed images are faint.
Printed texts are blurred.
If the machine is not used for an
extended period of time, Ink on the
surface of the Print Drum (Cylinder)
may dry. This results in faint or
blurred printing just after printing
starts.
The Ink on the Print Drum (Cylinder) will
dry when the machine is not in use for an
extended period. Printing with dried Ink
will produce light or faded copies.
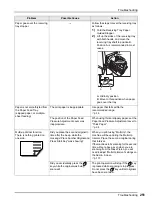
Press the
key and make several
copies before making copies to be actually
used. Or use the “Idling Action”.
Faint originals result in faint images.
Increase the scanning level and perform
the master-making operation again.
For originals written with a pencil, select
the Pencil mode.
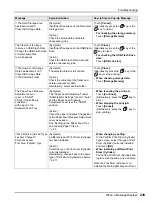
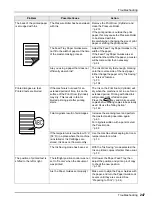
If the temperature is low (below 15
°
C
(59
°
F)) in a place where the machine
is installed or Ink Cartridges are
stored, Ink does not flow smoothly.
Use the machine after keeping it at room
temperature for a while.
The Ink Saving mode has been set.
With the “Ink Saving” mode selected, the
Ink on printed copies is fainter than usual.
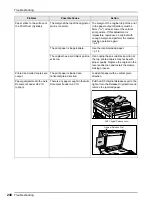
The position of printed text is
shifted to the left or right.
The left/right position control was not
set to “Center” when the document
was printed.
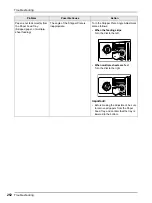
First lower the Paper Feed Tray, then
adjust the position and print a proof copy
to check the new position.
Are the Paper Guides set properly?
Make sure to align the Paper Guides with
the paper, and turn the Paper Guide Lock
Levers until they are secured. See
“Preparing to Print” (
Problem
Possible Cause
Action
Summary of Contents for SE 9380
Page 1: ......
Page 2: ......
Page 97: ...Functions for Master Making Checking the Print Image Prior to Making Master Preview 95...
Page 203: ...Storing Original Data and Use Method Copying Moving Stored Data 201...
Page 223: ...Maintenance Cleaning 221...
Page 257: ...Troubleshooting Troubleshooting 255...
Page 263: ...Appendix Specifications 261...
Page 268: ...266 056 36003 001...

