Functions for Master-Making
Laying out continuous originals on one sheet of paper [Layout]
82
1
Set the original and print paper.
Place the original on the Glass Platen or in the
optional ADF unit.
To place the original, see
Important!:
• Be careful with the orientation of the original.
• Make sure to set the printing paper in the orien-
tation shown in the figure below (the long side
points in the direction of transfer).
2
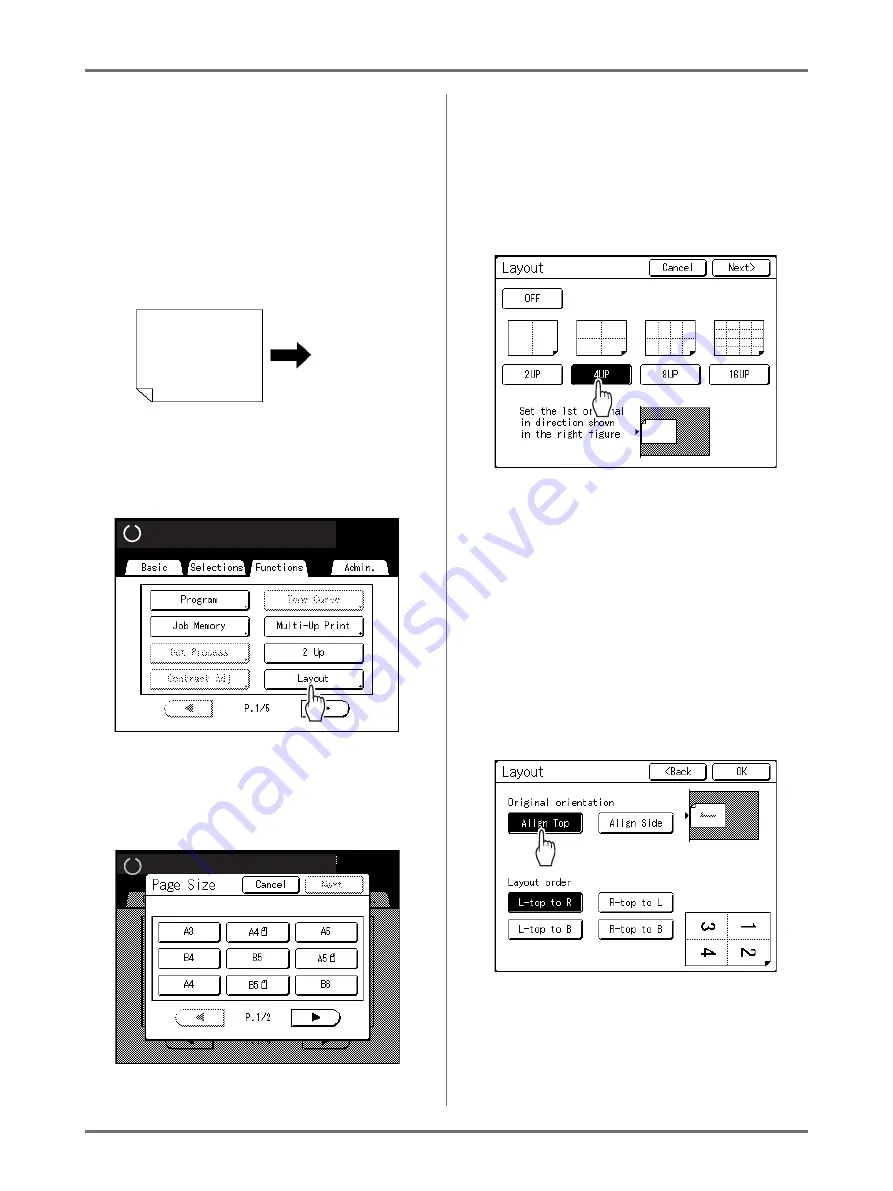
Touch [Layout] on the Functions
Screen.
3
Select the page size to use.
Touch the button corresponding to the size of the
original and touch
[Next>]
.
The reproduction size is automatically set and the
Layout Screen is displayed.
4
Touch the button for the number of
images to set.
Touch the button for the number of images to be
laid out and touch
[Next>]
.
Important!:
• Check if the orientation of the originals has
been set in the direction determined for the set
number of images.
Note:
• To cancel the Layout setting, touch
[Cancel]
.
5
Set the orientation of characters of
the original.
Select
[Align Top]
or
[Align Side]
for the orienta-
tion of characters on the original seen from the
touch panel side.
6
Touch the layout order button to set.
7
Touch [OK].
“Layout” is set and the Functions Screen appears.
Paper output direction
Ready to Make Master
Ready to Make Master
Ready to Make Master
Ready to Make Master
Summary of Contents for SE 9380
Page 1: ......
Page 2: ......
Page 97: ...Functions for Master Making Checking the Print Image Prior to Making Master Preview 95...
Page 203: ...Storing Original Data and Use Method Copying Moving Stored Data 201...
Page 223: ...Maintenance Cleaning 221...
Page 257: ...Troubleshooting Troubleshooting 255...
Page 263: ...Appendix Specifications 261...
Page 268: ...266 056 36003 001...


