D. Riser Tube
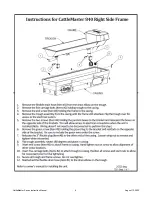
- Install a riser tube and extend it at least one foot below frost line or
down to horizontal underground water line. For optimum water line protection, use
the 12” diameter insulated
Ritchie Thermal Tube
, part numbers and sizes are shown
to the right. Tube opening must be kept clear.
NOTE: The supply line touching the riser tube is the most common cause of
the supply line freezing. Do not surround the supply line with insulation,
wood, or other foreign material. Any foreign material in the tube may cause
frost to migrate to the supply line causing it to freeze.
E. Mounting Platform
- A concrete platform must be provided for all fountains. Use a minimum of 4” thick,
(6” recommended thickness), large enough to accommodate fountain, and additional 4” step (on top of the
platform) extending 18” out from each side of the unit. This will protect the unit from manure handling
equipment, as well as discouraging animals from defecating in the fountain. Extending the platform provides
animals a place to stand while drinking, consider the size of your animals when determining the dimensions of
your platform. The concrete step and platform should slope away from the fountain for drainage and should be
flush with the top of the thermal tube. A rough broom finish to concrete surface provides better footing for
livestock.
F. Preparing the Bottom
- Apply the provided foam weather stripping to the bottom of the unit, along the
outside edge of the fountain.
G. Anchoring Fountain
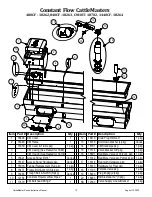
- CattleMaster Fountains have mounting pockets molded into the base. Use of Ritchie
part #16555, stainless steel anchor bolts (not included), is recommended.
Once you have verified the positioning of the fountain, drill, install, and tighten down anchor bolts. Use the large
washers provided to hold unit down. Tighten hold down anchors tight, but do not over tighten as this could
damage the plastic feet.
NOTE: Do not drill holes for anchors before location can be verified with unit.
H. Hose Connection
– Remove side panels and cover. Pull the bottom of the hose to the shut-off valve at the top
of the concrete. Leaving enough slack to be able to pull the valve assembly from the standpipe, cut hose to proper
length. Slip hose end on barb fitting and attached with hose clamp.
Hose should not touch insulation or outside surface of fountain.
Clamps and fittings are furnished to secure connections.
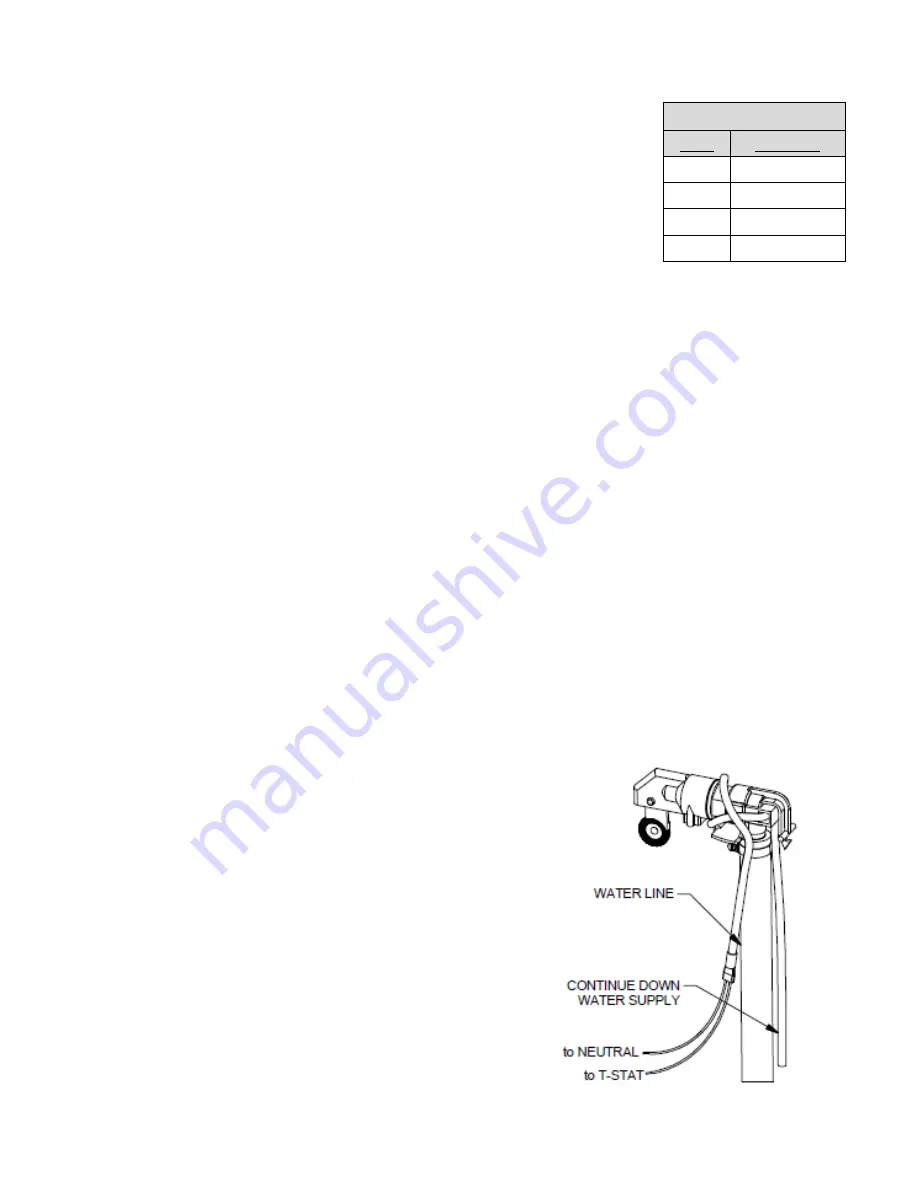
I.
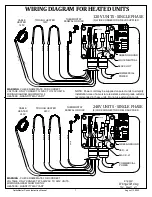
Cable Heater
– Uncoil cable heater and loop around the valve.
Attach the remaining part of the cable heater to the water supply, as
far down the riser tube as possible with the cable twist ties provided.
This heater is watertight but should not be immersed in water. Heater
may cross over itself but should not be tightened at those locations.
CAUTION: Installation must not cause any strain on
heater wiring connections. Avoid heater damage caused
by hot spots due to its leads lying close to each other.
Also, do not wrap additional insulation around heater.
Ritchie Thermal Tube
Part #
Description
18158
1’ Top Section
16417
2’ Top Section
16612
4’ Top Section
16416
2’ Extension
CattleMaster Series Instruction Manual
2
August 13, 2022

