RiteTemp Internal Document
Page 10
End of Season Maintenance and Storage
Motor
Requires no oil, as it is permanently lubricated. The motor is
equipped with a thermal 130 degrees C cut off fuse for safety.
Pump
Requires no oil or lubrication.
Getting Cooler Ready for Storage
If you have been using the unit, run unit in fan mode to dry
excess moisture from filter.
Turn unit off and unplug from wall.
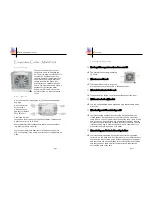
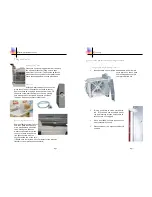
Take unit to a place that will allow you to
drain the water out. Be careful when moving
unit if full so that water
does not leak out dur-
ing moving.
Once in a place
that you can drain the
unit remove the side
tanks and remove valve
caps and drain remain-
ing water out of them.
Place them open part
down and let them dry out com-
pletely before replacing caps.
Next remove filter cover (see changing filter for details).
Remove and ether discard and replace filter or clean filter
carefully, allowing it to dry before replacing it in to filter
tray.
With a damp
sponge clean main
unit, and filter tray. Also
clean return tubs at
bottom of filter tray.
Page 7
R i t e T e m p
This document outlines the procedure and precautions involved in the
replacement of the filter media for the 5051 Evaporative cooler.
Materials needed:
Medium blade Philips or flat blade screw driver
A sturdy flat work area about 3 X 3 foot.
A replacement filter P/N:
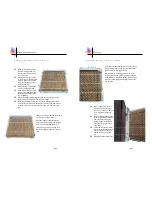
Now slowly and gently rock the
top of the filter assembly back
towards you about 20 degrees
or about 7 inches.
Gently lift up with a gentle right
to left rocking motion and the
filter unit will lift off.
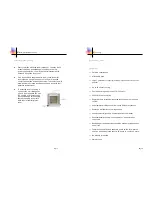
Set unit on to the towel with
the outside grill down and the
metal retainer up.
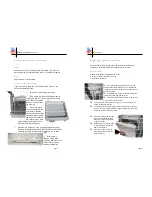
If you have been using the unit make sure the
pump has been off for at least one hour with the fan
running to drain out the water from the filter area and
dry out the media.
Completely turn off the unit (pump and fan) and
remove the power plug from the wall.
Find an area with a flat workspace at least 3 ft by
3 ft. and cover it with a towel.
Turn the unit so that the back is facing you; as you are facing it the
wheels should be to the left.
You will find two screws at the top, remove each screw by turning it
counter clock wise (either a Philips or regular blade screw driver will
work) and set them some where safe.
Replacing Evaporative Cooler Filter

