9 Operation
EN
50
Rittal Liquid Cooling Package
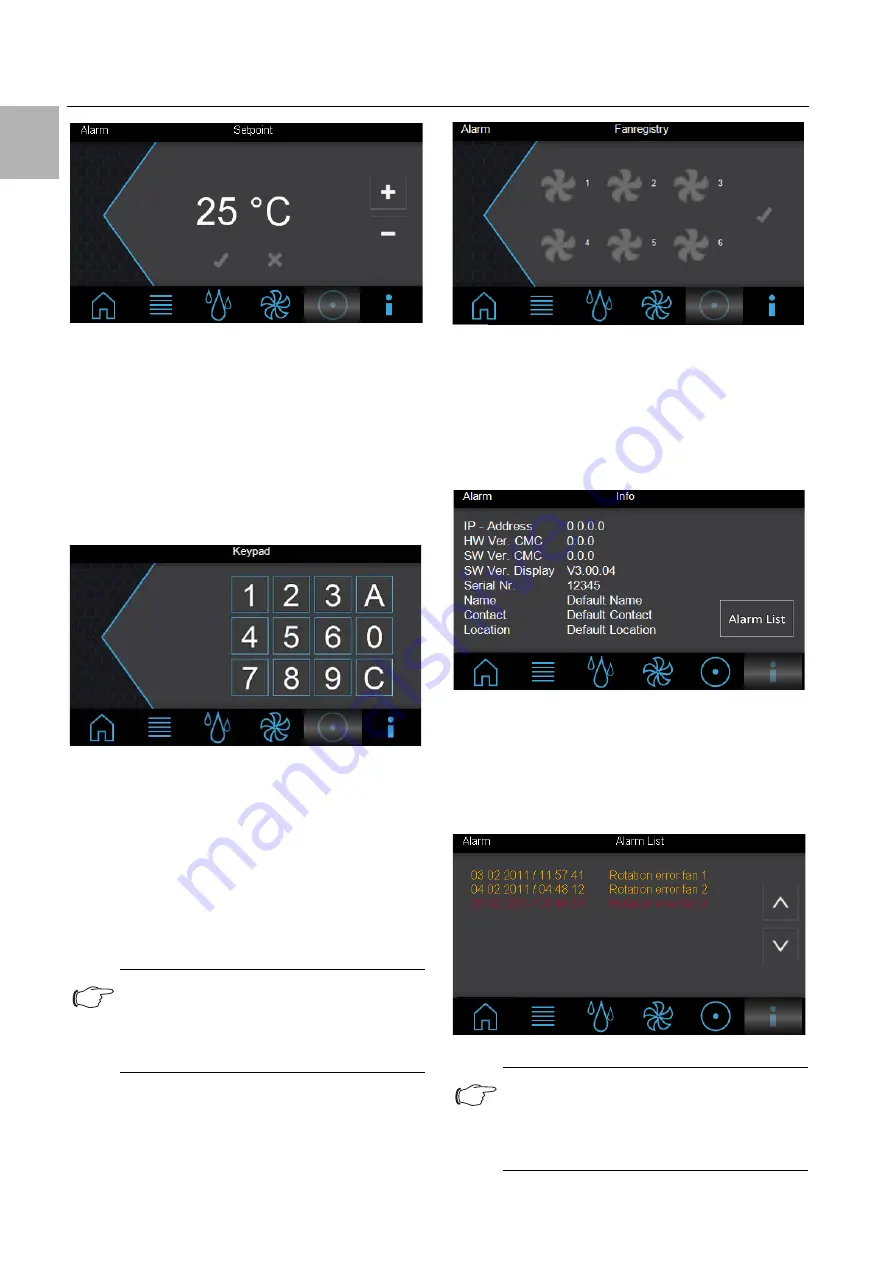
Fig. 62:
"Setpoint" screen
On the "Setpoint" screen, you can define the setpoint
for the server-in temperature.
Increase the displayed value by pressing the "+"
key, or reduce it by pressing the "–" key.
Confirm the value by pressing the "
" key.
If you do not wish to accept the change, press the
"
" key.
After selecting the "Fan Registry" entry, the "Keypad"
screen will open.
Fig. 63:
"Keypad" screen
The following selection options are available:
– Number pad (0–9)
– A (Acknowledge)
– C (Correct)
Enter the serial number using the number pad keys.
The serial number is displayed on the "Info" screen
(fig. 65) under the "Serial No." entry.
Confirm your entry using the "
A
" (Acknowledge) but-
ton.
The "Fan Registry" screen will open.
Fig. 64:
"Fan Registry" screen
The "Fan Registry" screen is used to activate and de-
activate the monitoring of individual fans.
Activate monitoring of the respective fan by clicking
on the grey fan symbol, and deactivate monitoring
by clicking on the blue fan symbol.
Confirm the setting by pressing the "
" key.
Fig. 65:
"Info" screen
Detailed information such as version numbers of the
Liquid Cooling Package is displayed on the "Info"
screen.
By pressing the "Alarm List" key, the "Alarm List"
screen will appear. Here, all pending alarm messages
are displayed in plain language.
Fig. 66:
"Alarm List" screen
Note:
Entry of the serial number will be retained for
10 minutes. After that, the operator must re-
enter it if he wishes to access the "Fan Reg-
istry" screen again.
Note:
Connect the Liquid Cooling Package to a
network for extended setting options (see
section 9.3 "Extended options by connecting
the Liquid Cooling Package to a network").


