1.
Remove the system from the packaging, place it on a stable base, and check it
for completeness and damage.
2.
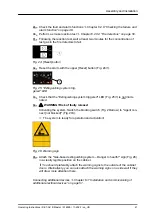
Check the temperature indicator for an increase in temperature
6.2.3 “Temperature indicator” on page 42
3.
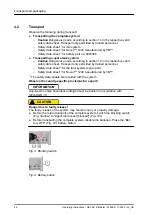
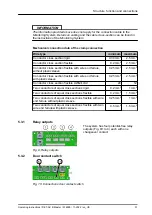
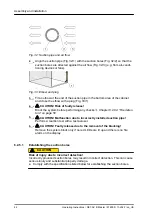
Blocking the system: Switch the blocking switch (Fig. 20/arrow) to "Agent dis-
Ⅱ
).
4.
Unscrew the front enclosure cover and disconnect the grounding cable.
5.
Connect the batteries.
6.
Refit the grounding cable and front enclosure cover.
7.
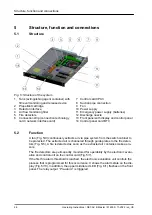
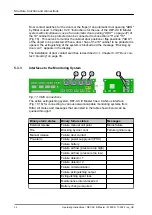
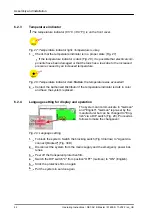
Activate the system using the battery button (Fig. 21) (Battery ON).
8.
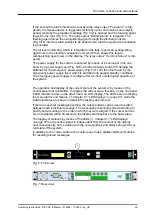
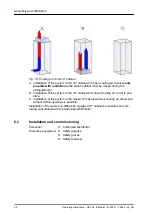
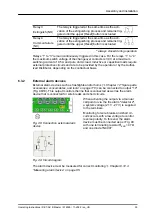
Check whether the "Failure" LED (Fig. 22/1) lights up and the display shows
“Failure tank triggering”
.
9.
When using door contact switches, configure the settings
“Door contact / blocking” on page 55
10.
When using additional extinguishing units (DET-AC III Slave), configure the
Chapter 6.3.6 “Combination of systems” on page 58
.
11.
Deactivate the system using the battery button (Fig. 21) (Battery OFF).
Fig. 20: Blocking switch
Fig. 21: Battery button
1
Fig. 22: "Failure" LED
Assembly and installation
Operating Instructions / DET-AC III Master / 916005 / 11-2022 / en_US
39

