32
Operating and Maintenance Instructions – 6 Installation – "Getting Started"
Rittal Liquid Cooling Package Plus
6.2.2 Installation and baying of the
Liquid Cooling Package
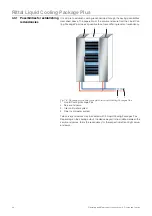
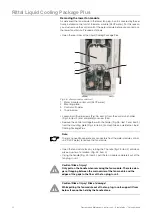
Fig. 22:
Liquid Cooling Package Plus - rear
1
Enclosure door
2
Cover
3
Assembly screws
4
Mounting hole
• Position the Liquid Cooling Package Plus on the side of the server enclosure
to which it is to be bayed.
• Align the Liquid Cooling Package Plus with the server enclosure using the le-
velling feet. Ensure that the Liquid Cooling Package Plus is aligned levelly
and that both enclosures are adjusted to the same height and are vertically
aligned to each other.
• Dismantle the door of the Liquid Cooling Package Plus whose hinges are on
the side on which the server enclosure is to be bayed. Proceed as described
in Chapter 6.2.1, "Preparatory work on the server enclosure".
• Loosen both assembly screws from the cover (Fig. 22, item 3) and remove
the cover (Fig. 22, item 2).
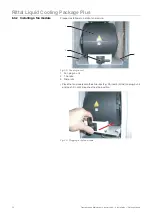
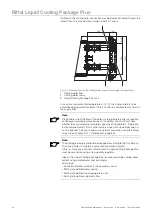
• Using assembly screws, fasten three baying connectors each (Fig. 23,
item 3) onto the intended attachment points in the frame on the front and rear
sides of the Liquid Cooling Package Plus (Fig. 23, item 1).
1
2
4
4
3
3
Note:
If the Liquid Cooling Package Plus is to be bayed between two server enclo-
sures, both doors of the LCP Plus must be dismantled before the baying
connector is installed and the cover must be removed from the lower section
of the rear so that the attachment points for the baying connector are acces-
sible.


