Upgrade and Maintenance Guide
107
Installing Hardware for Model Upgrades
Upgrading SteelHead CX, EX, and SteelFusion Core Appliances
For complete instruction on adding memory, see
“Replacing Memory Modules in 1U Appliances” on
.
5.
Remove the existing SSD drives in slots 2 and 3 and insert the new 200-GB SSDs.
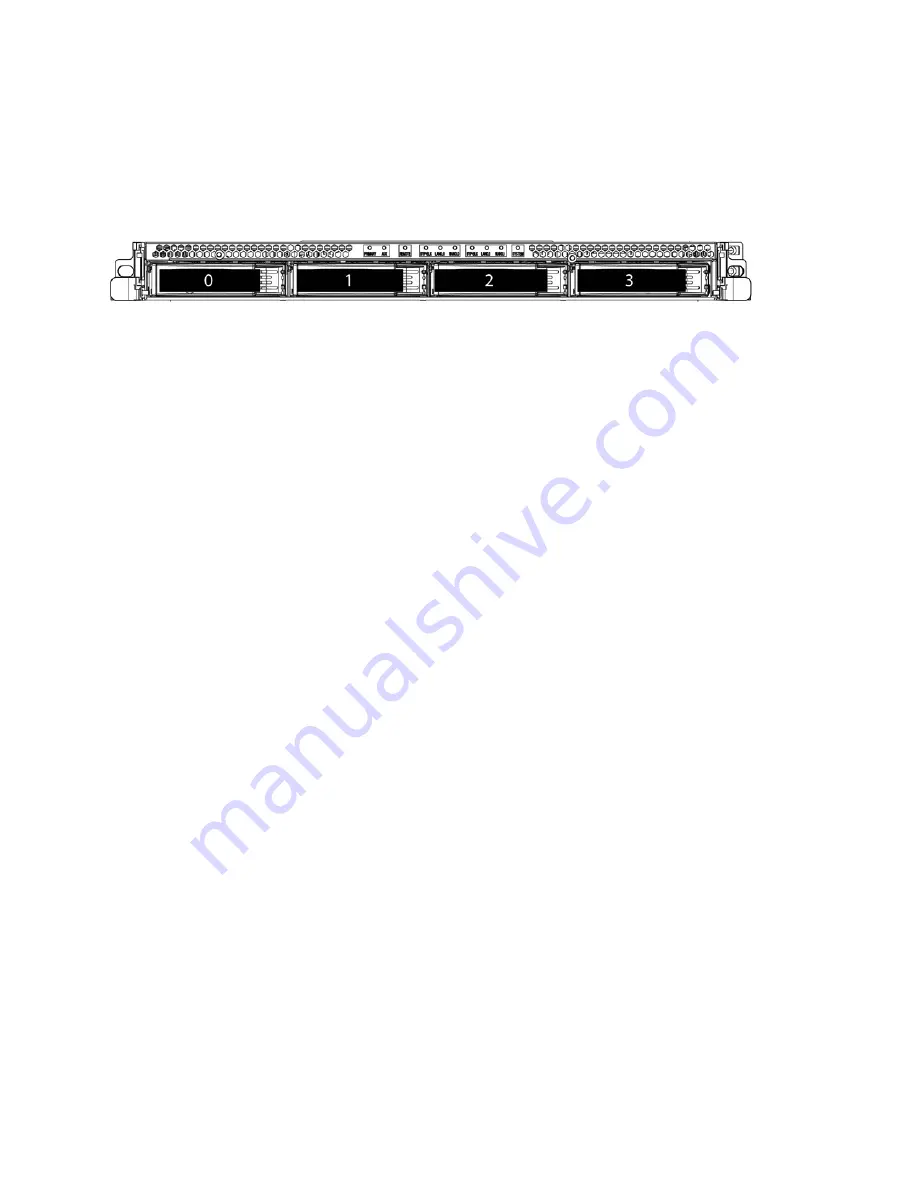
The drives are numbered in ascending order from left to right (that is, 0, 1, 2, 3).
Figure 4-9. Disk Drive Numbers
“Replacing Disk Drives in 1U Appliances” on page 49
6.
Plug the power cord into the AC circuit.
7.
Power on the system.
The system automatically reformats the new drives. You do not need to set up or configure the new disk
drives.


